A case that expands and redefines the Mini-ITX form factor market. See why!
Here's the spec:
| Material: Dimensions: Weight: M/B Type: 5.25" Drive Bay: 3.5" Drive Bay: 2.5" Drive Bay: I/O Panel: Expansion Slots: Cooling System: Power Supply: Maximum Compatibility: | Steel body, plastic bezel 250(W) x 404(H) x 359(D) mm N/A Mini-ITX 1 (Modular) 5 (3 + 2) 9 (5 are through the 3.5" drive bays) 2x USB 3.0, 1x Mic, 1x Audio, 1x Power, 1x Reset 2 1x 120mm Front Intake, 1x Rear Exhaust Standard ATX VGA card length: 330mm, PSU depth: 160mm, CPU cooler:160mm |
Exterior:
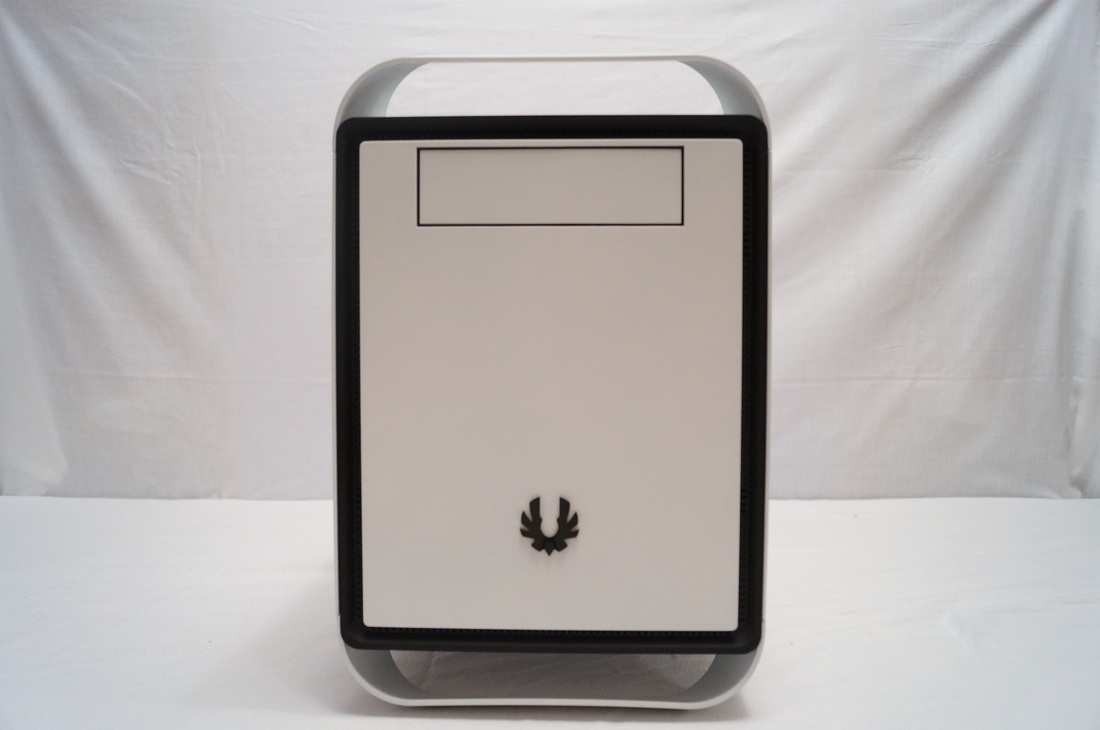
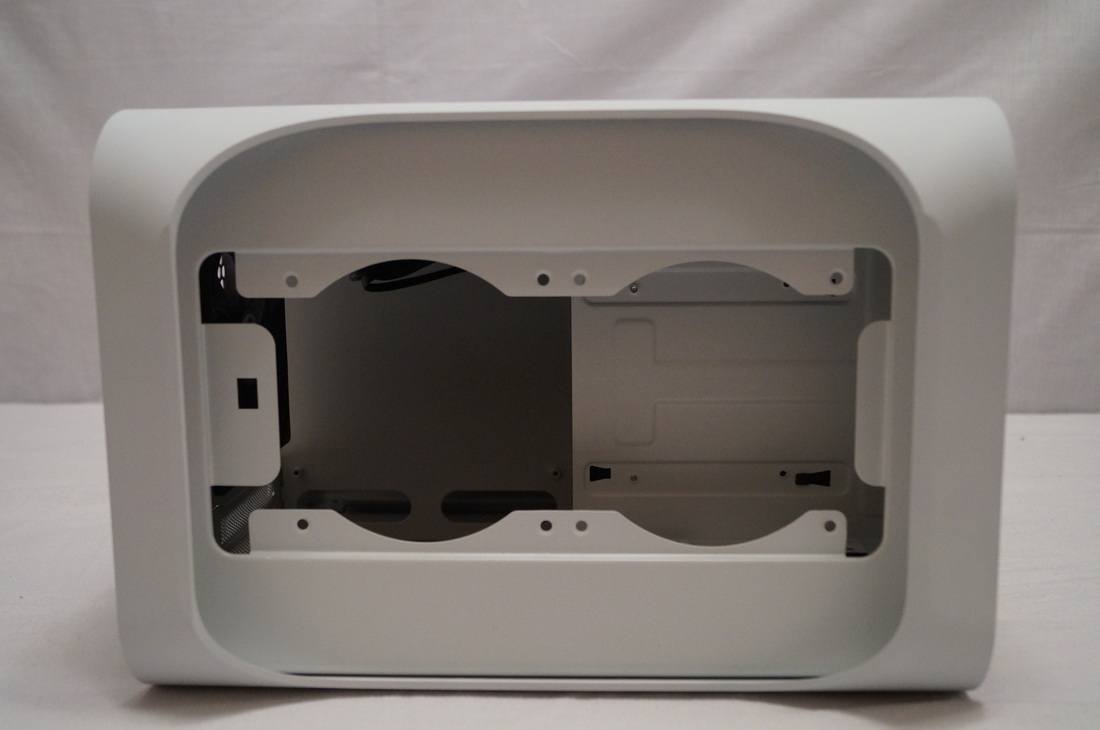
The exterior of the prodigy has already become instantly recognisable even at the point of writing this review. Clearly designed around the Apple's PowerMac G4 the case comes in very blocky but with what BitFenix are calling FyberFlex™ feet and handles, rounding off all the edges of the case. This and the front panel are both coated in their SofTouch™ treatment. To complete the package on the front we have a single 5.25" drive bay, a Bitfenix logo and ventilation running around the outer edge of the entire panel. They do also have a ventilated grill version in the black colour however I feel that the block colour front compliments the entire case nicely in a way that a grill can't. Please use the link about to find out all the colours that are available for the Prodigy from BitFenix.
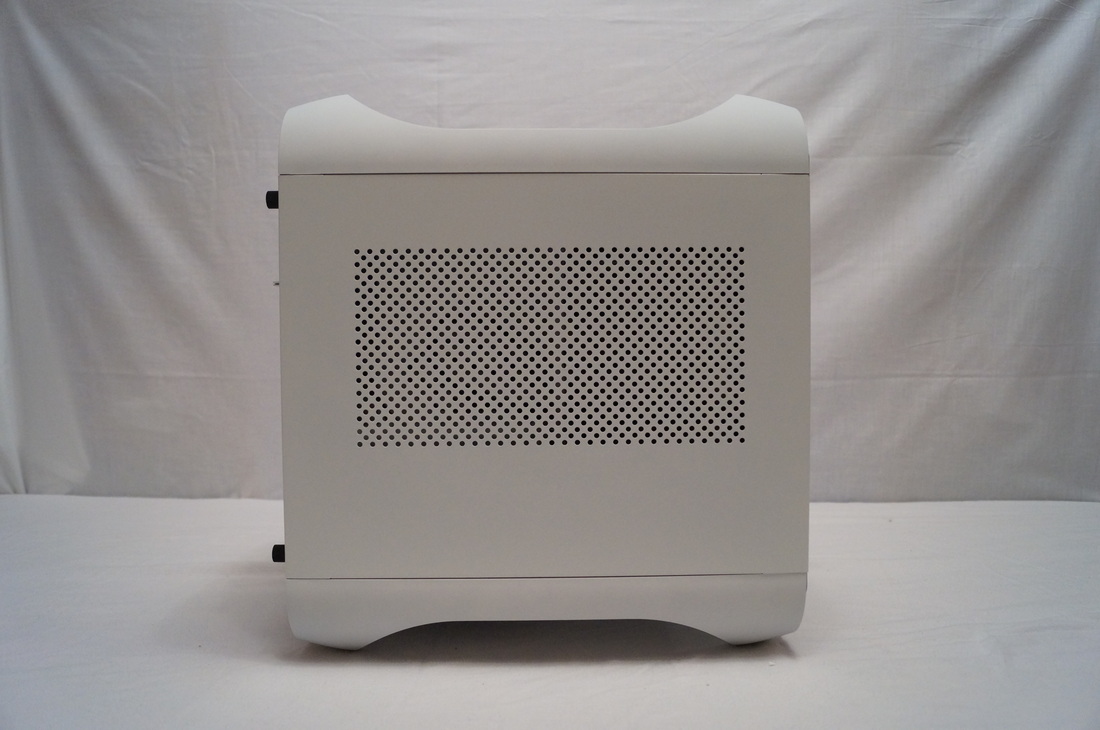
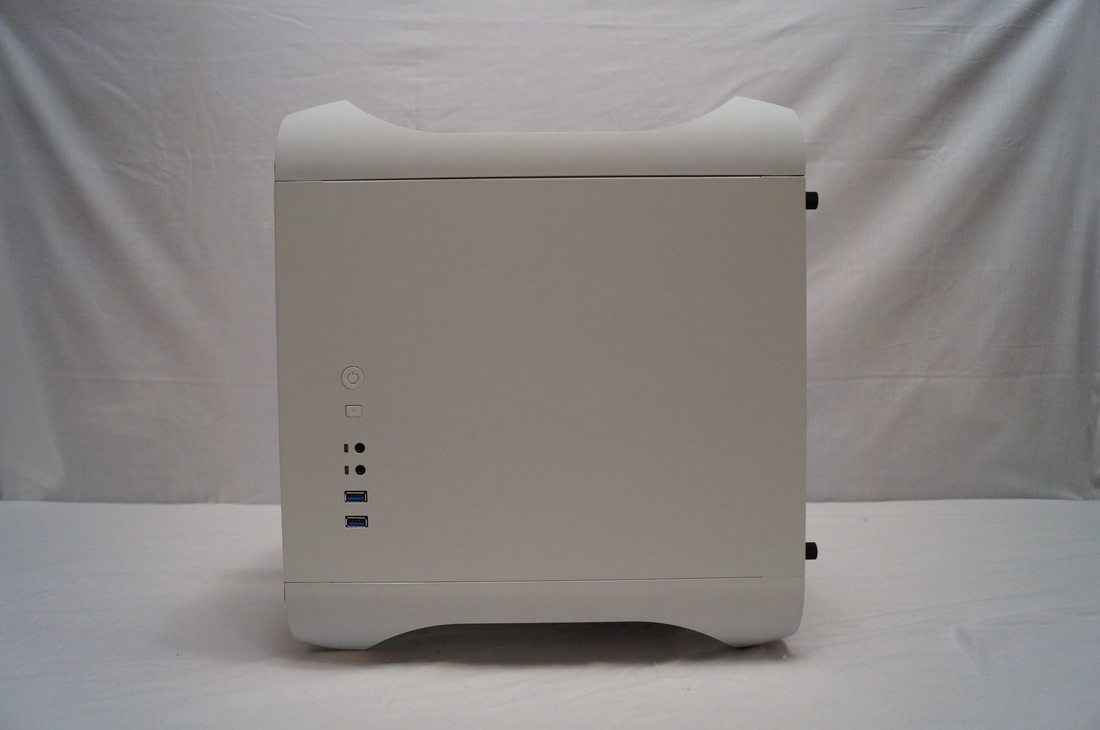
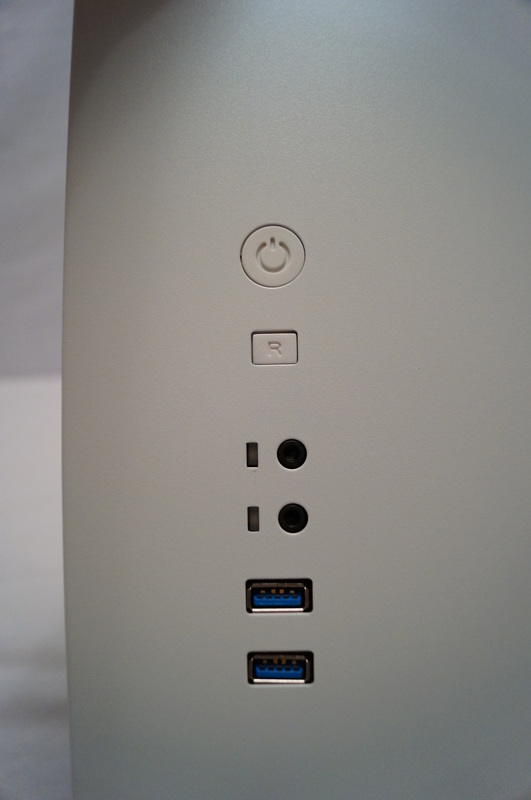
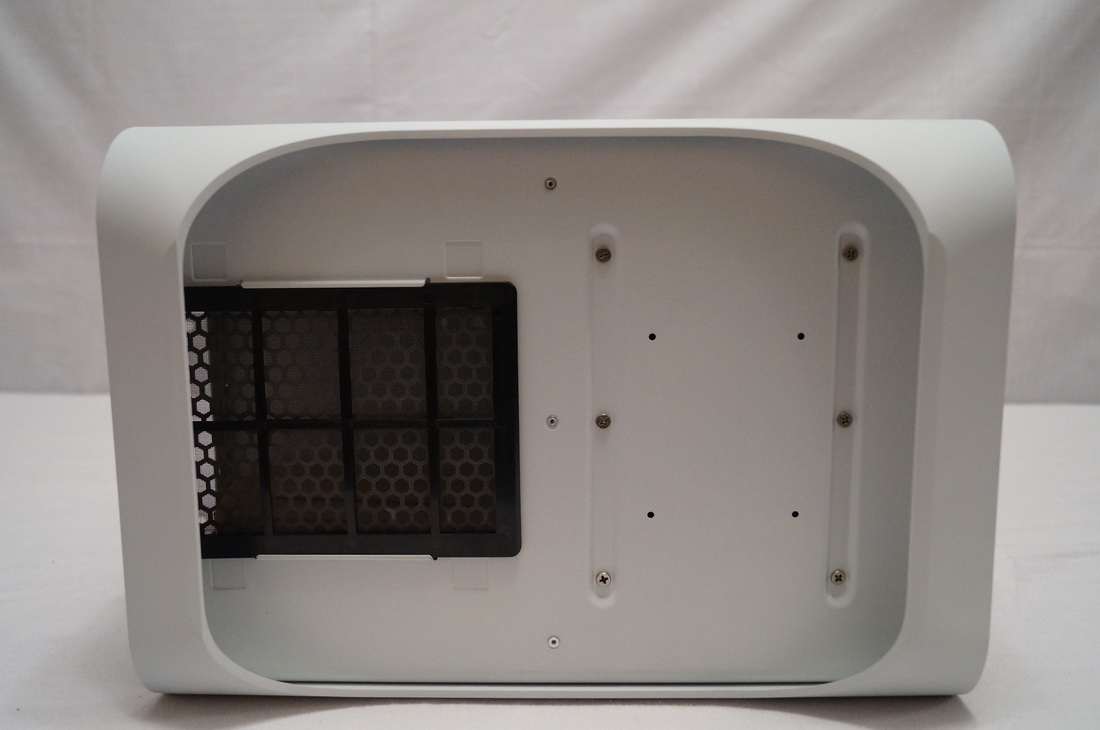
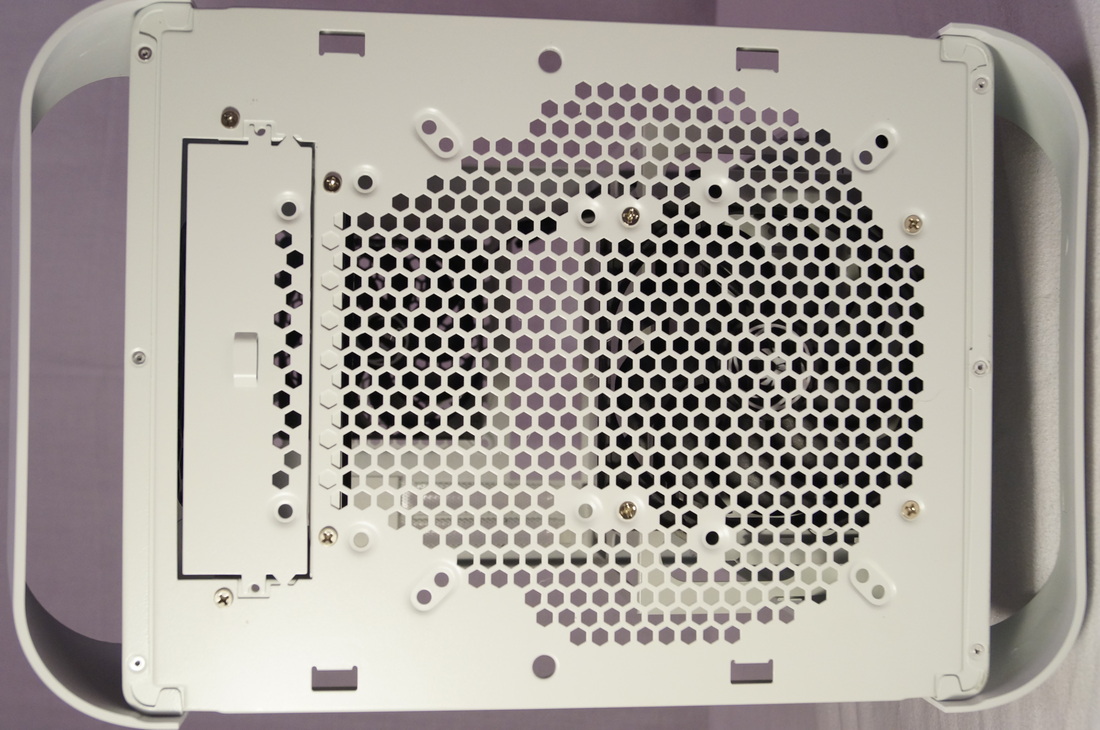
| The left side panel features a circular punched out grill that measures 260 x 132mm providing more than enough airflow to any graphics card you choose to put in with any style cooler on. If this is not your style they also sell a windowed side panel to replace this which I definitely prefer. One thing that has left me slightly confused by the Prodigy already is the constant switch between circular and hexagonal grilling on the case which you will see further into the review. I understand that one is more aesthetic while the other is more functional but it does leave the case looking a little mismatched when you look at certain angles. The right side panel Features your I/O with clicky rather than recessing buttons and your standard sort of package with 2 USB 3.0 ports and audio jacks. One thing to note is |
that the usb ports aren't full depth and only go in about half way. This is perfectly fine unless you are using a larger device such as Kingston's DataTraveller HyperX Predator. Those USB drives are however a scary device for any USB port and so proceed with caution!
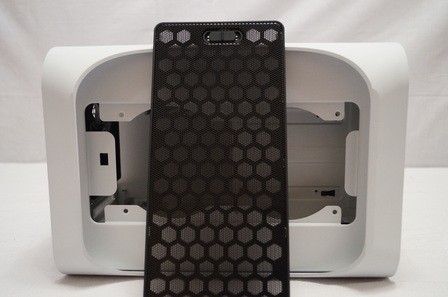
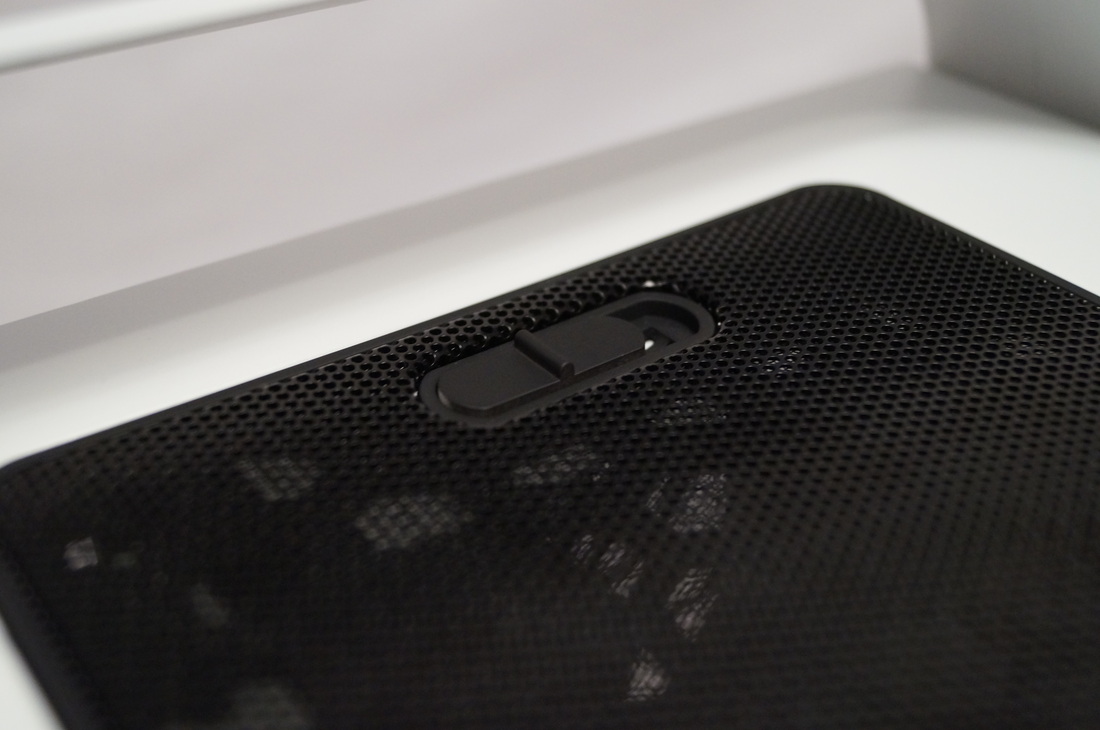
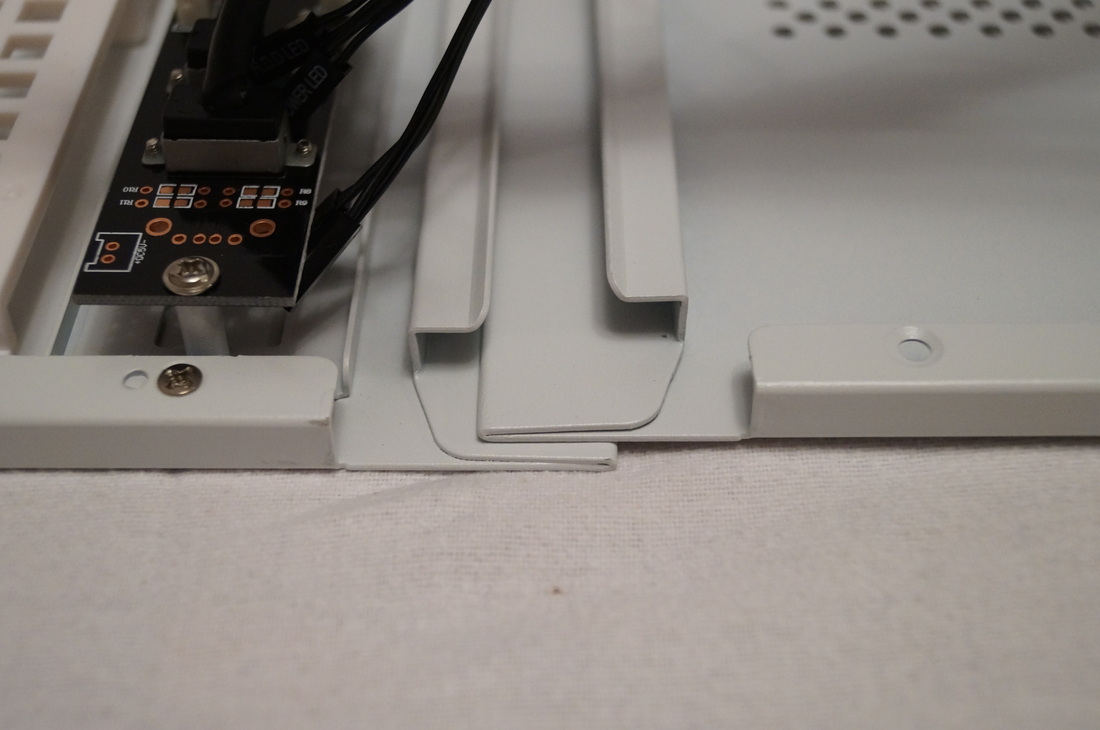
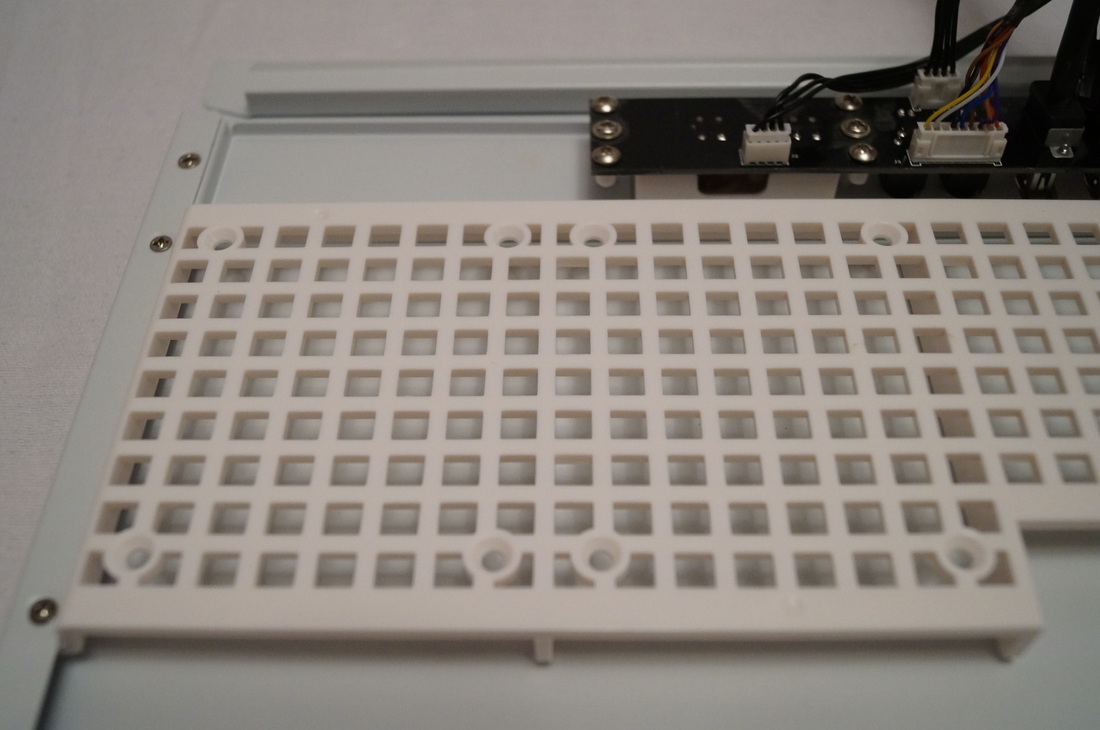
For the other 3 sections I will start with the top panel (Photo's: Above Left, Right). This area in general for me sums up my experience with the BitFenix Prodigy for a variety of reasons. The top features a dual 120mm fan mounting inside the case that can be used for 240mm radiators, to mount this it comes with a removable grill that is not only dust filtered on the bottom but also double layered with both a circular and larger hexagonal grill styling. This creates an absolutely gorgeous look to the top and is the only point at which I commend them for using both grill styles. Feeling very solidly built the cover is easily locked and unlocked via a small sliding mechanism at the back. My single gripe was that after unlocking the grill I did find myself having trouble taking it off without having to open the case up and push from below. The main point I took from this piece though is a point that is radiated through the case and that is it is an absolutely perfect fit when in place. There is no holes, no looseness, no nothing. The photo (Above Left) just shows how perfect this fit is. Last but not least we have the handles which are very nice to feel from the top due to the special coating they have on them and they look very nice too but I have noticed when grabbing them they do feel very sharp and uncomfortable leading to me tending to not use them as handles at all and carrying the case from the bottom instead.
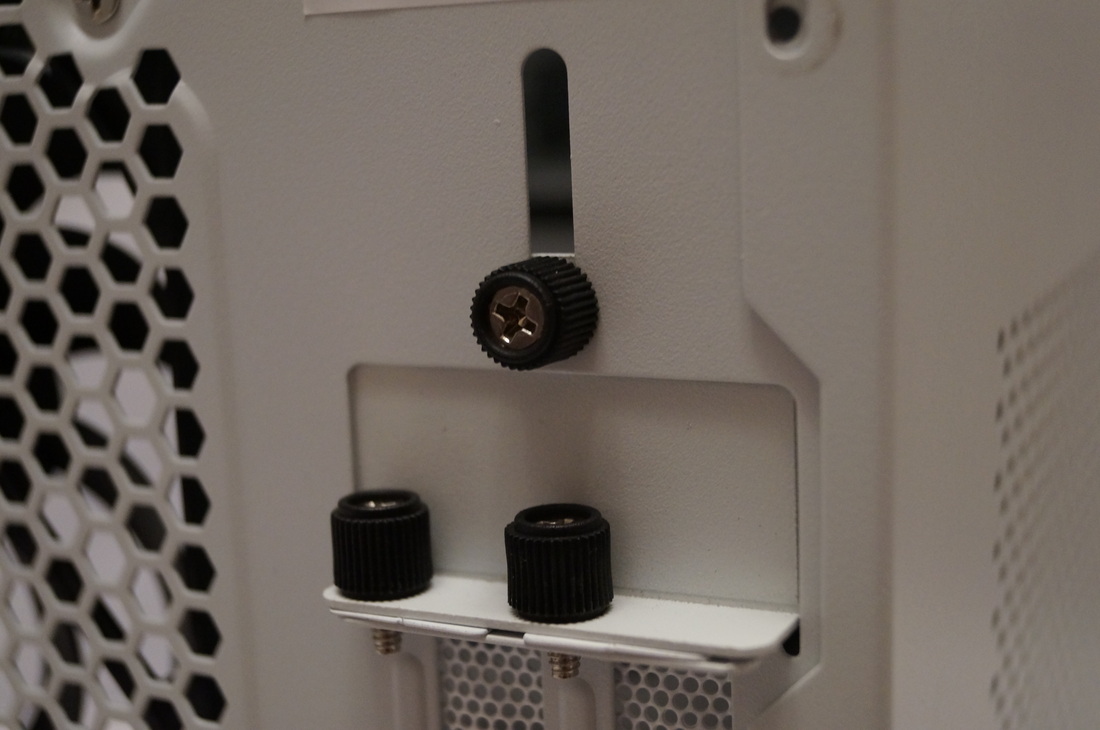
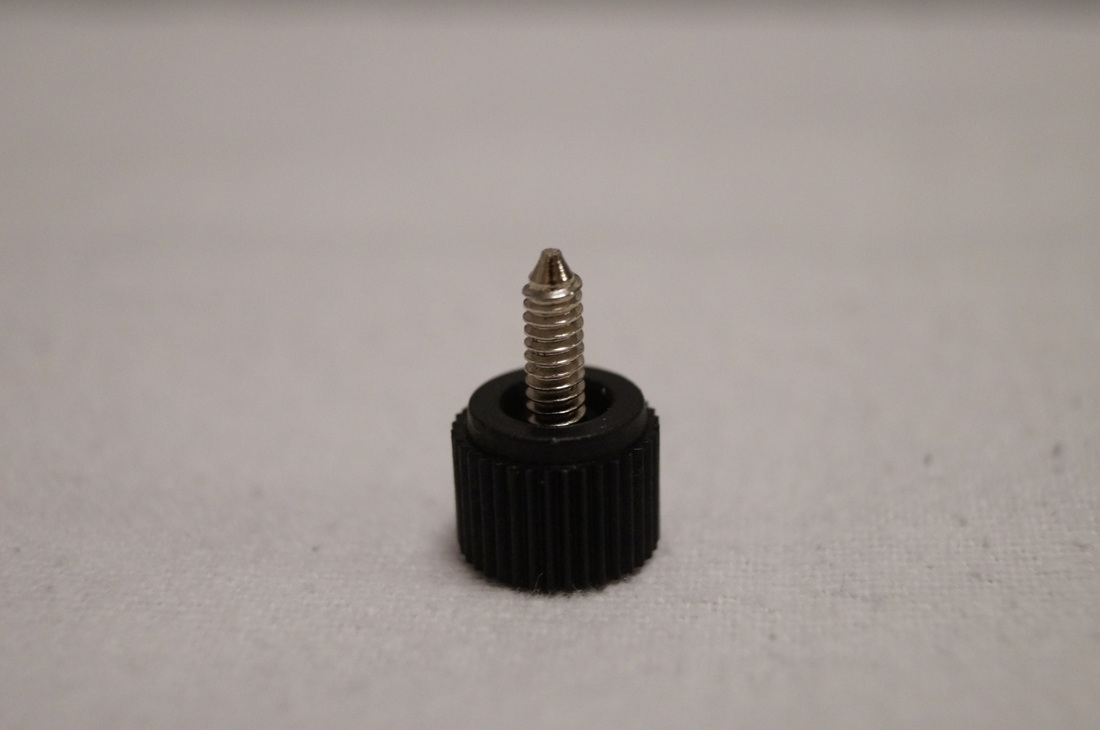
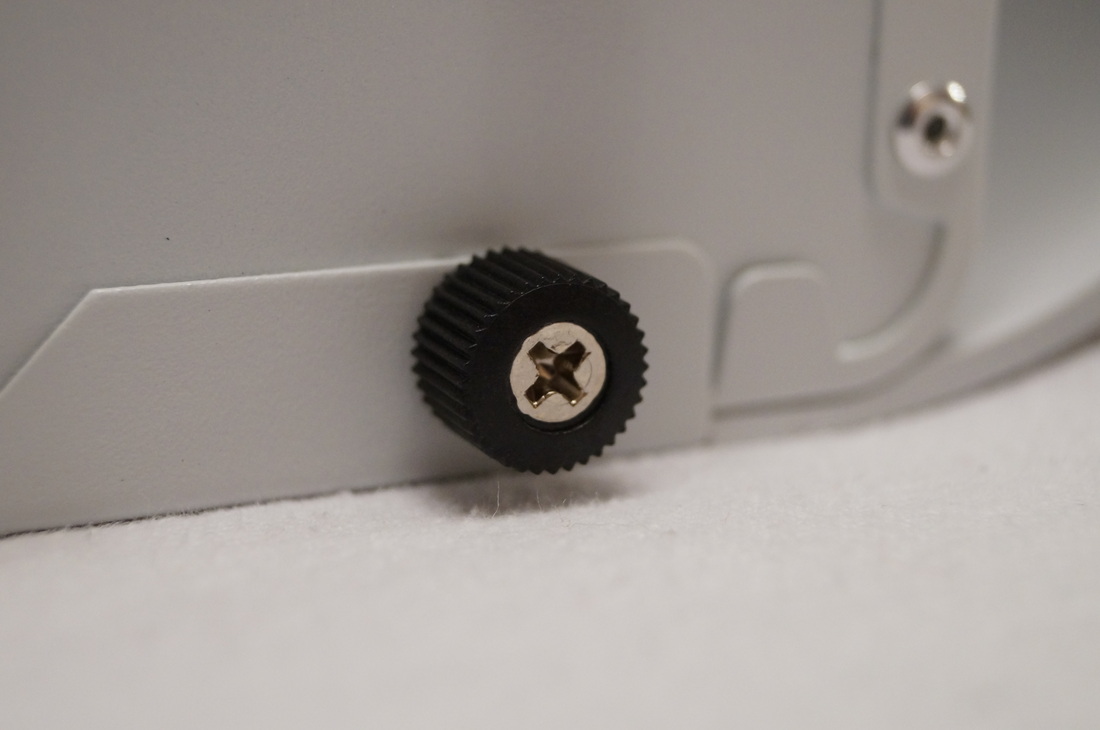
One last thing before we move on is that the thumbscrews provided are made of plastic with metal inserts. These are actually a lot easier to use than full metal ones and come in two sizes with the bigger ones being for the side panels.
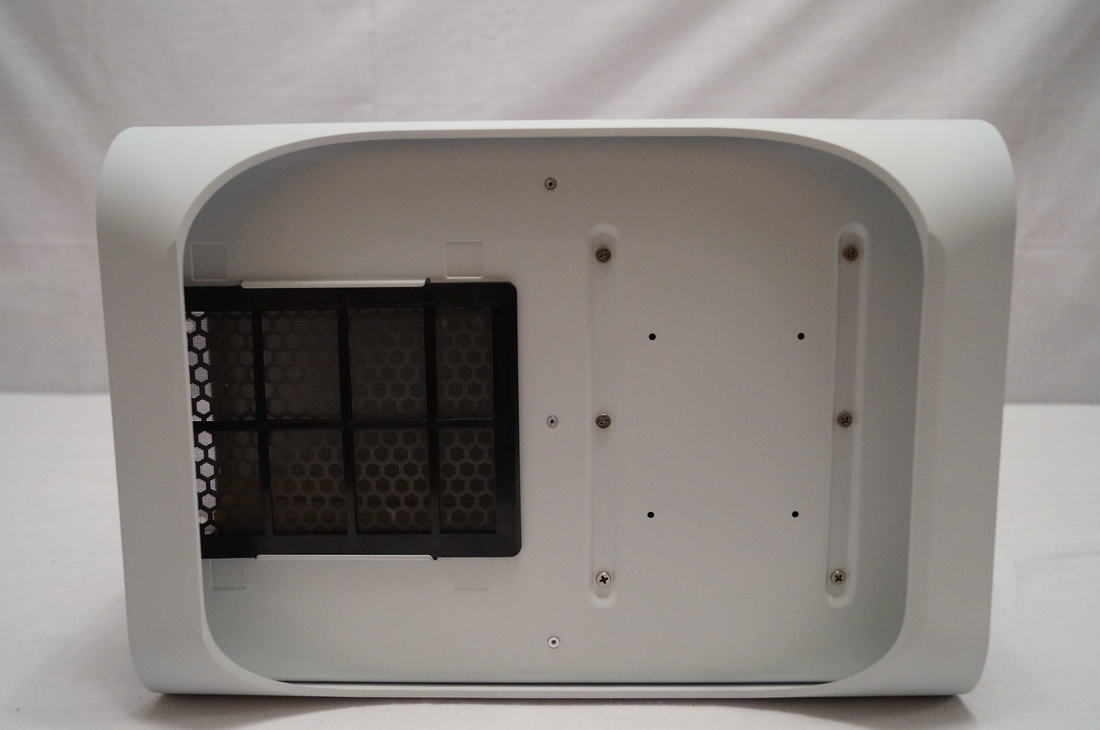
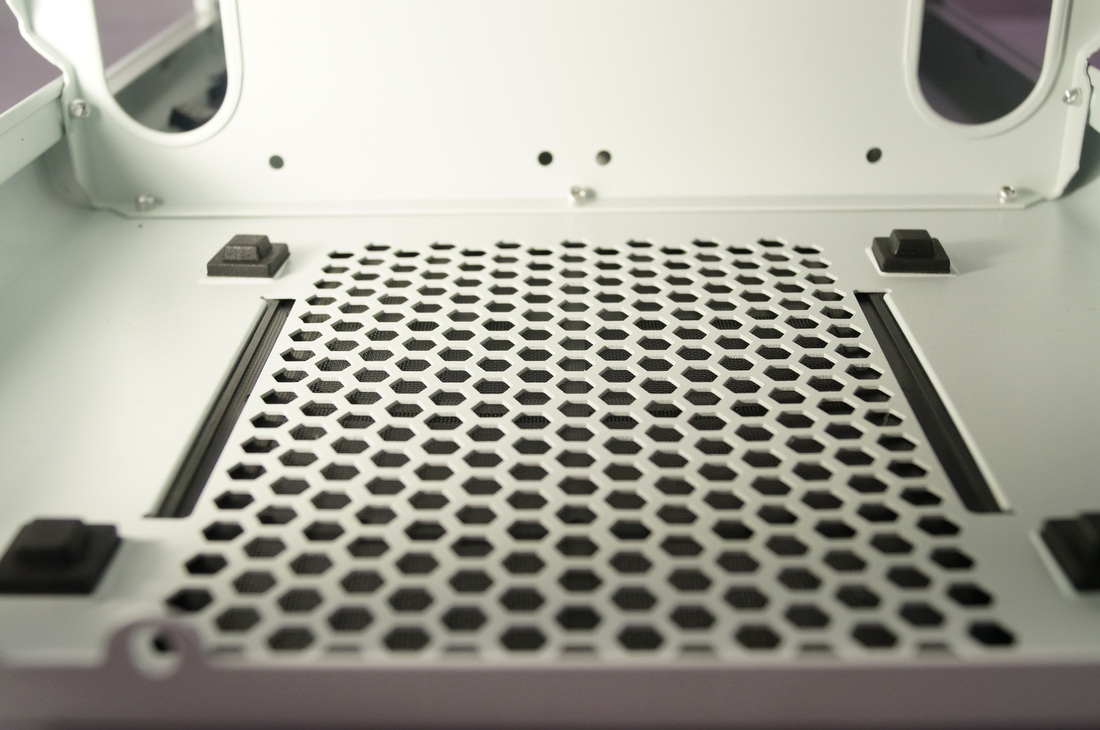
| To finish off the exterior sections we have the bottom of the case which shows off the power supply filter and 6 screws for connecting or disconnecting the hard drive cage so that if you want you can install radiators in the front of the case. But more on that when we get into the interior of the case. Oh an we also find holes drilled into the bottom that correspond with 2.5" mounting holes. Quickly though before we move on to the interior I want to say that never in my experience with cases have I EVER come across side panels that feel so dense and strong as these. The metal is bent around at the ends doubling up the thickness. The prodigy side panels feel as heavy as full tower case side panels do. Exceptional. |
Interior:
When it comes to the part of reviews where I cover the internal design I never know where to start or how to go about it. Either you go around in a clockwise style pattern or you cover separate categories in order. Either way it always leads to crossing over in previously covered portions but here goes. Lets start with storage options in the Prodigy.
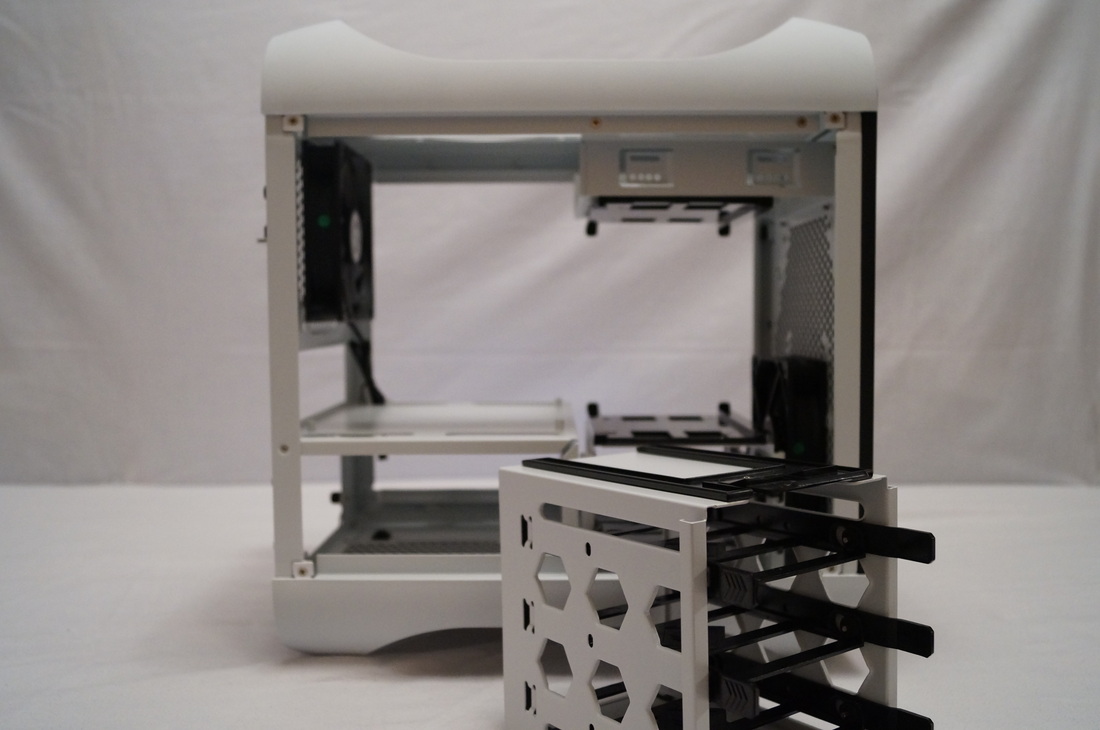
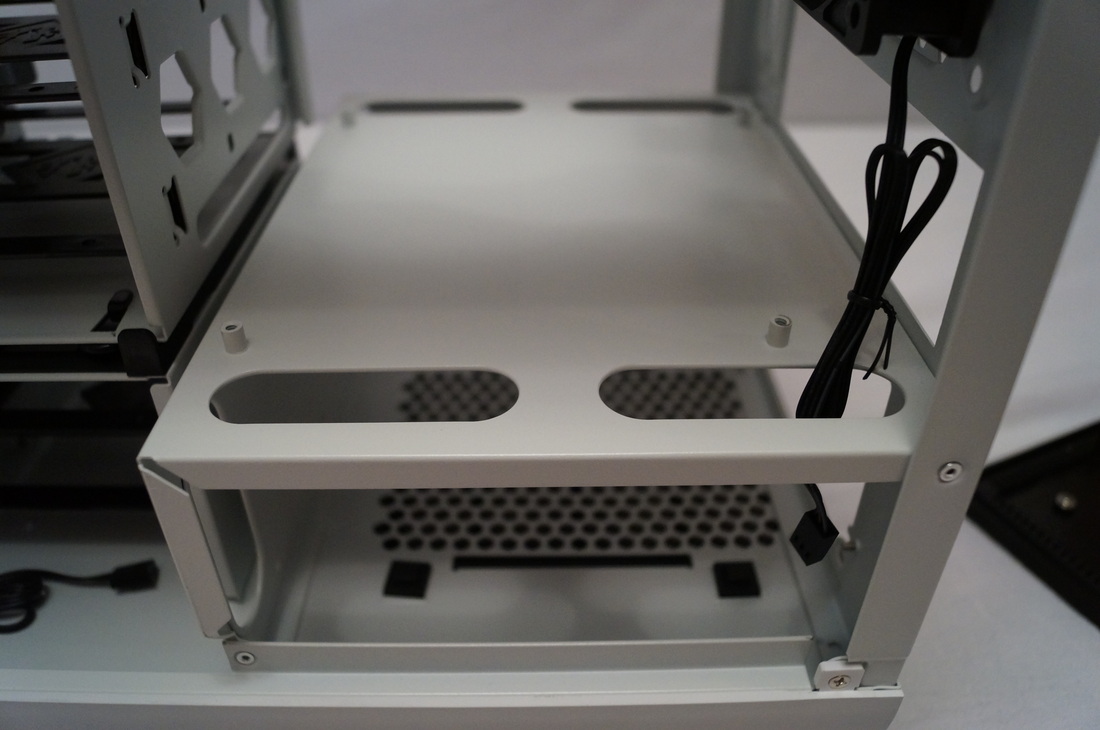
| For normal storage methodology we have five 3.5/2.5" drive bays separated into two separate cages. The top one holds three while the bottom holds two, this is to deal with expansion for longer graphics cards as the photo(Right) shows. Both of these cages are removable with the top just being held in with clips and the bottom being screwed to the bottom via six screws that we saw when | |
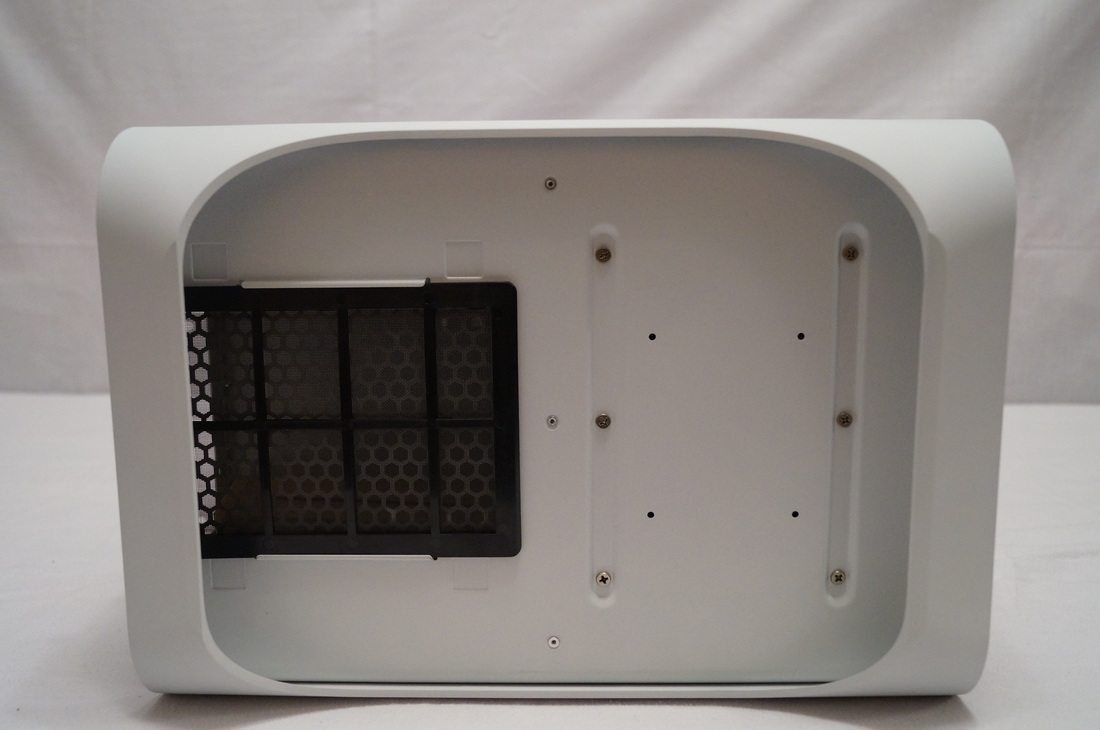
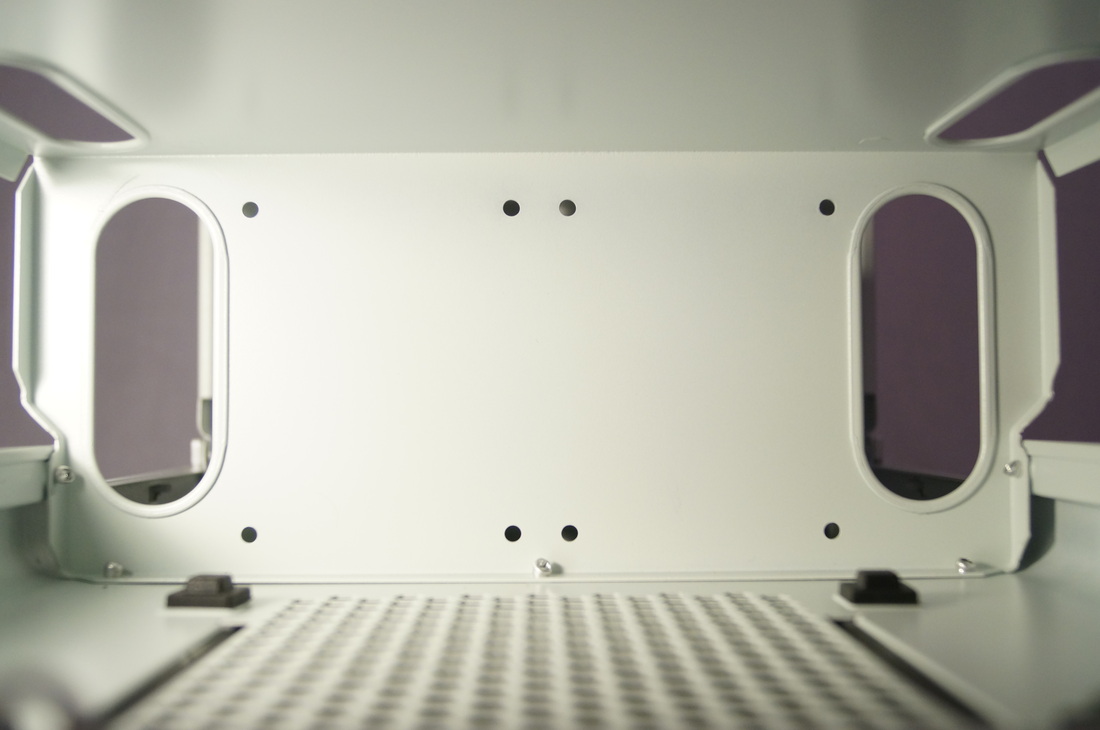
looking around the exterior previously. Directly next to these on the structure that holds the motherboard tray there is also two 2.5" mounting areas(Photo: Below Left) that are basically unusable while the cages are in. Not only that I don't recommend using them anyway as cabling will be an absolute nightmare. To add to the already seven 2.5" mounts, we have another two on the right side panel(Photo: Below Middle) next to the I/O panel, this is the same situation again in regards to cabling.
We find our tenth and final 2.5" mount on the bottom of the case right below the hard drive cages. This is the only 2.5"mount other than the ones in the cages that I would use and is quite a nice location if you chose to remove your cages and show off your fancy SSD.
We find our tenth and final 2.5" mount on the bottom of the case right below the hard drive cages. This is the only 2.5"mount other than the ones in the cages that I would use and is quite a nice location if you chose to remove your cages and show off your fancy SSD.
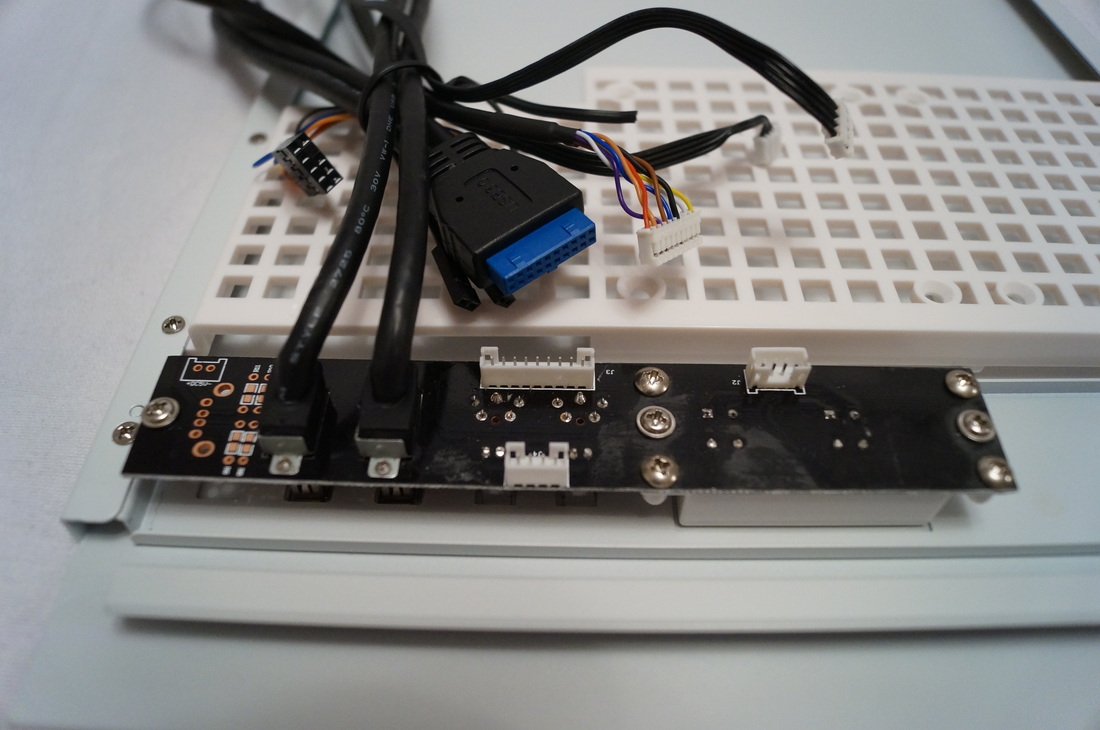
| The right side panel not only holds two 2.5" mounts but also the I/O panel. If you have kept up with the case reviews done at HalTechTV you will already be aware how passionate I am about the modularity of the cables and BitFenix definitely doesn't disappoint. Every cable/connector is removable, even the USB ports meaning you can easily remove those you don't want. |
Unfortunately the I/O is connected to the side panel via a plate that spans the height of the panel. This will make removing the side panel more difficult than it should and will make cable management rather messy. I would have much rather seen the metal plate be screwed to the top and bottom of the internal portion of the chassis, solving all these problems.
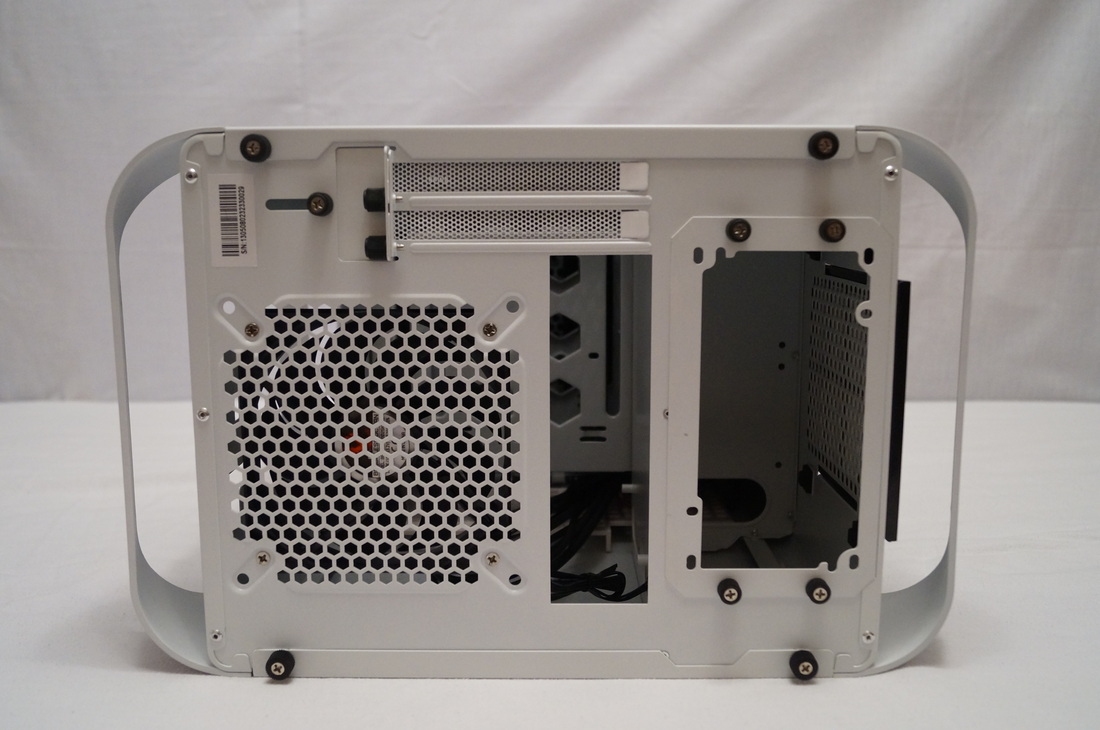
| The motherboard tray features a vast array of cable management options and they're laid out in a nice way. While they don't feature rubber grommets or anything I actually prefer the smoother look not to mention it will make things a little easier in the still slightly cramped space. These cable management holes are seen on both sides of the motherboard tray making cabling a little easier on a non-standardised platform. Below the motherboard tray is the power supply mount. While we see the benefits of a dust filtered grill for fan-down orientation and rubber mounts, you will be extremely limited with only 180mm of depth for both the power supply and it's cables. I would advise a semi-modular 140mm PSU for this case. Fully modular PSU's are almost a no-go. |
| Moving on to our final section of the review before we conclude is the cooling options. While I normally love to cover every single piece of this myself, for the overall list of possible fan options, check out BitFenix's spec list here. For the review I mostly want to focus on water cooling options as this is where it gets interesting. There is three locations to mount radiators in this case. The front, top and back. In the front you can mount either a single 140mm or up to a 240mm radiator but to do so requires the removal of all the 5.25" and 3.5" cages. Doing so however leaves you with 160mm of depth for radiators and fans and will not interfere with your graphics card on the 120/240mm rails. |
For the top you can mount up to a 240mm radiator but this will require the removal of the 5.25" and top 3.5" cages and can't be used in conjunction with a 240mm front rad but can with a 140mm front rad. This leaves the Prodigy being probably the most watercooling capable Mini-ITX chassis. It comes to be expected though due to the size of this case.
Finally you will find 120mm radiators will fit in the rear of the case also but wont fit comfortably if you have opted for even just a top fan in the rear of the case, it is possible though with some thin rads.
Finally you will find 120mm radiators will fit in the rear of the case also but wont fit comfortably if you have opted for even just a top fan in the rear of the case, it is possible though with some thin rads.
Conclusion:
Writing the conclusions for me is like therapy as it allows me to collate and sum up my feelings on each and every product that goes under review. The BitFenix Prodigy for me has to be honest been a very stressful product to review and so reaching this point is relieving.
When the Prodigy first hit the market I was at first sceptical of the true point of a product that goes in the opposite direction of what it's internal features are designed for. This obviously being a comment on the size of the case and it being Mini-ITX. I can finally say once and for all that I have been won over. The bitfenix prodigy has been lovely to work with as everything has enough space to get in and around, something I have found troubling at times with other ITX cases, even the ones on the larger end. It features enough storage options to keep any builder satisfied and does so in a manner that can be adapted for either functionality or aesthetics. The soft touch coating is addictive to say the least and BitFenix's attention to detail on the majority of the product has been exceptional.
Although I do still hold some grudges over the size of the case as they could have truthfully saved a few millimetres here and there and shrunk the case down substantially, I have left the review having an overall positive feeling. The only true downfall to this case is the option to go for a standard ATX power supply mount and then not supply enough depth to really fit one.
IT is with this feeling that I have awarded the product a 9/10 for it's rating regardless of price. Note that this is made in comparison to other Mini-ITX cases. For it's value rating we have given the Prodigy a 8/10 making it a 17/20 rated product and a SILVER award winner from us at HalTechTV.
Verdict:
Rating: 9/10
Value: 8/10
Value: 8/10
