Here's The Spec:
| Dimensions Materials Net Weight Net Volume Colour (Int&Ext) Motherboard Form Factor 5.25" Bays 3.5" Bays 2.5" Bays Expansion Slots Front I/O PSU Cooling Max CPU Cooler height Max GPU Length | 250(W) x 210(H) x 374(L) mm Aluminium front, steel body, plastic 4.9KG 19.5 Litres Black or White Mini- DTX, Mini-ITX 0 6 6(using the 3.5" bays) 2 2x USB 3.0, Audio jacks, Power & Reset buttons Standard ATX(up to 160mm in length) 2x 92mm Intake fans, 1x 140mm Exhaust (All included) 165mm 310mm(with 1 of 3 HDD cages removed) |
What Comes In The Box:
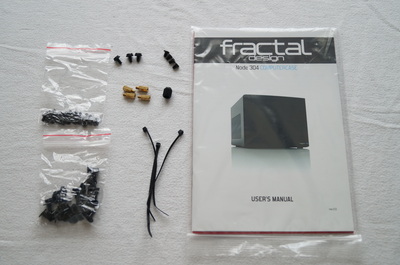
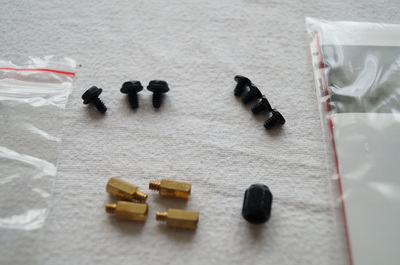
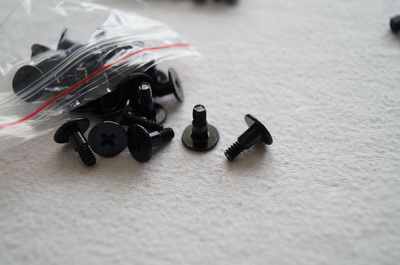
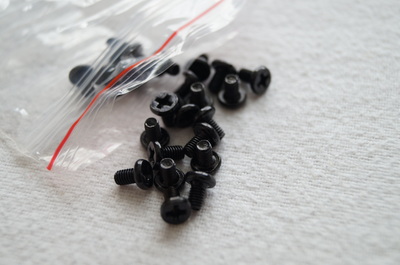
| First off we obviously have the Fractal Design Node 304 case itself. The Node has quite a lot of stuff already inbuilt into the case so they don't really need to give you many accessories. You are provided with an instruction manual and in the main bag; 3 screws for the power supply, 4 for the motherboard, risers for those motherboard screws, a tool to mount the risers and finally |
3 little cable ties, perfect for routing the front I/O cables round the case but nothing more.
Fractal design have made it incredibly easy to sort through your other screws by separating them into two little bags, one for 3.5" hard drives to mount in the cages and one for I believe to be 2.5" hard drives screws as they have different mounting set-ups for each size.
Fractal design have made it incredibly easy to sort through your other screws by separating them into two little bags, one for 3.5" hard drives to mount in the cages and one for I believe to be 2.5" hard drives screws as they have different mounting set-ups for each size.
Exterior:
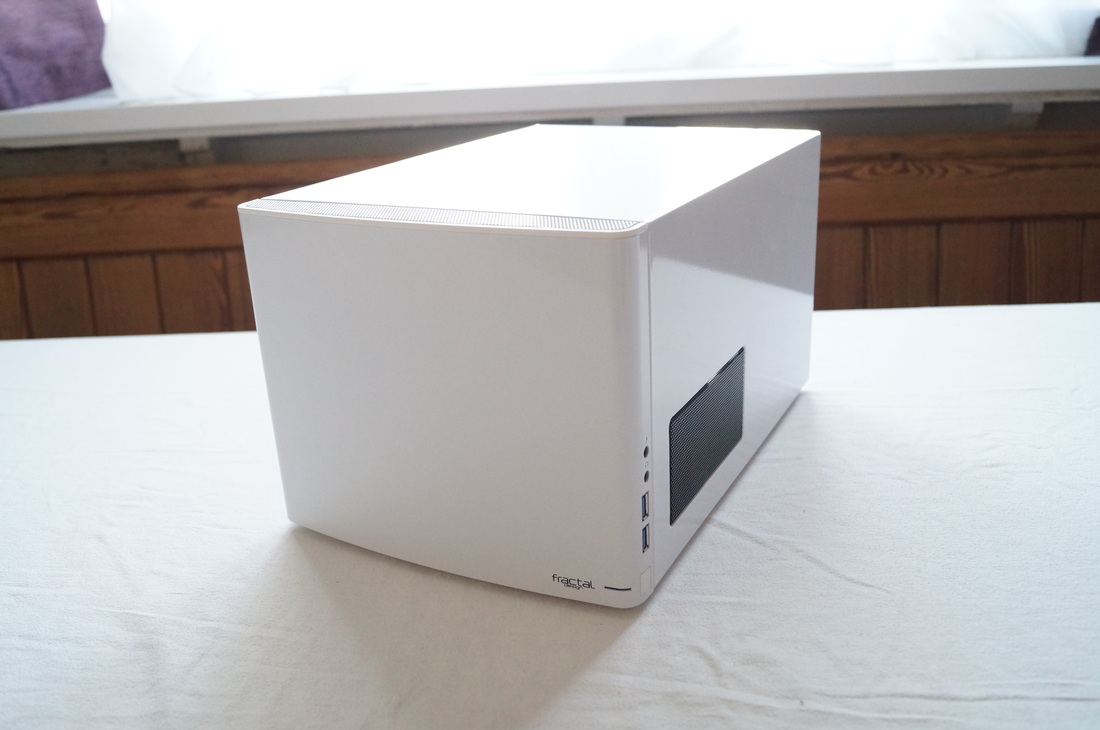
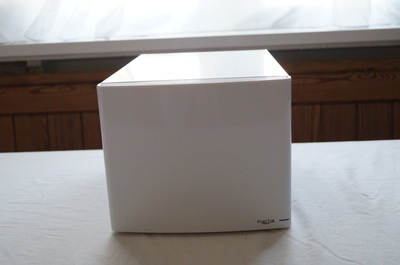
In typical Fractal Design fashion the Node 304 does everything it can to make you feel the quality straight out of the box. They have used as little plastic as humanly possible on this case but more importantly they have made sure that not only is the quality of the material there but also the paint job. This all costs though, but we'll cover that later.
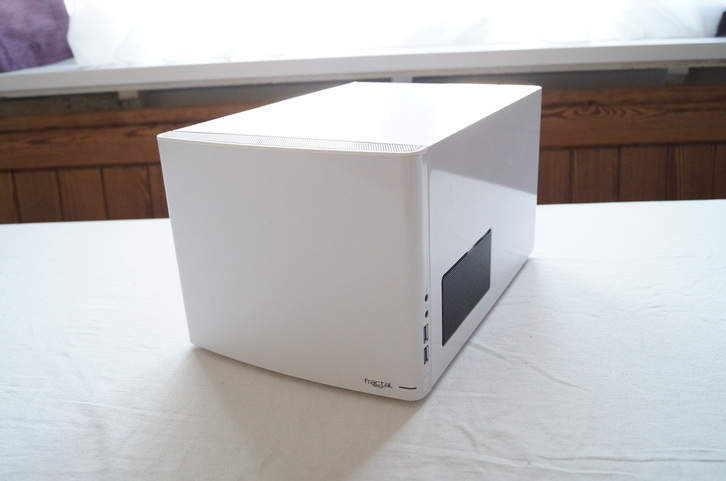
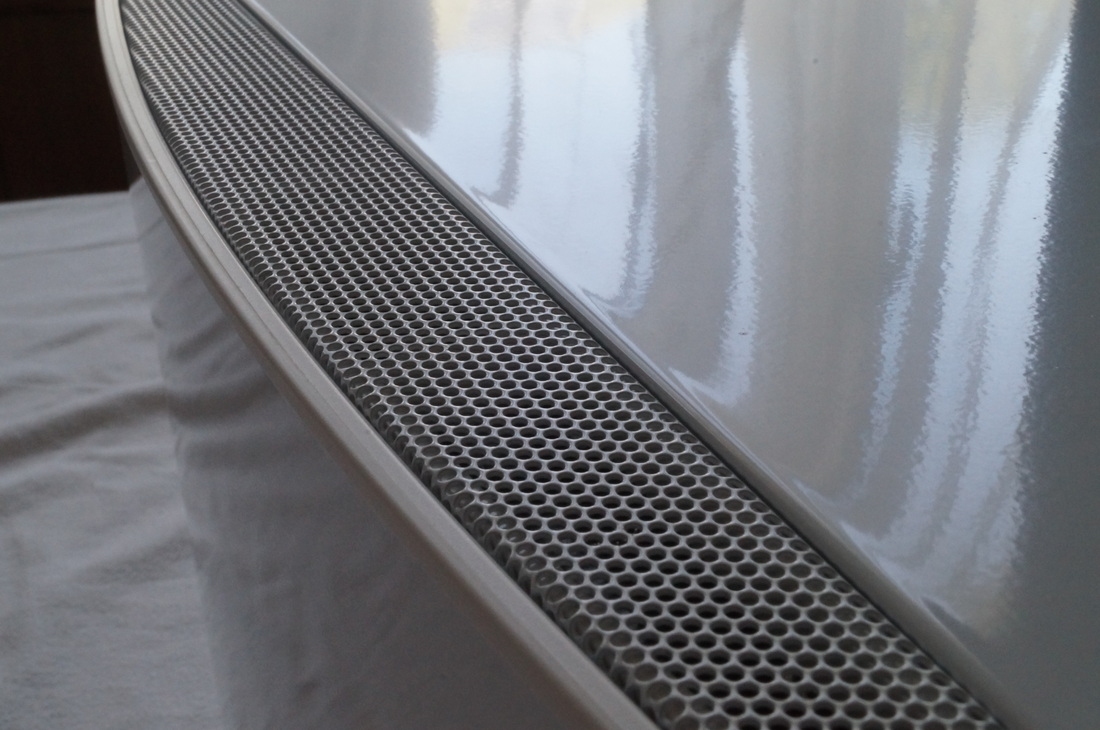
The Node 304 changes what would be a very box-shaped case into a more curved style that seems to accentuate the fact it is a metal fronted case rather than plastic. You can tell very quickly on curved cases whether they are plastic or not and here it clearly isn't.
The Node 304 changes what would be a very box-shaped case into a more curved style that seems to accentuate the fact it is a metal fronted case rather than plastic. You can tell very quickly on curved cases whether they are plastic or not and here it clearly isn't.
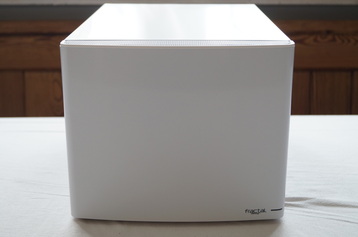
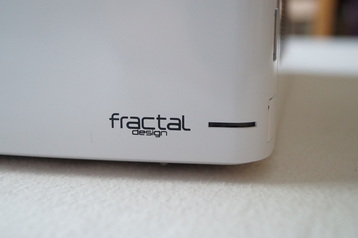
| On the front of the case we don't find anything really, just Fractal's logo in the bottom right corner next to your activity LED. The clever thing about the activity LED? Well it shows you where the power button is if you can't see around the side of the case. Definitely a nice touch but I'm not a huge fan of having a nice sleek empty case front and then this light LED down in the bottom corner. I probably wouldn't connect the light if I used this day to day. Discussing the front panel brings up the question; how do they connect an aluminium panel to the main chassis and still have it easy to disconnect quickly for an efficient building experience? The front aluminium panel is connected to a plastic backing with easy to release clips that are common among cases. |
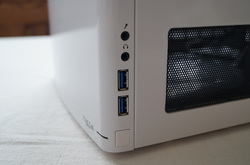
This is both a positive and a negative on the Node 304. To trim the aluminium with the plastic backing it has meant actually having the exposed plastic on the front of the case, anarchy! In truth it's not actually that bad and the addition of circular ventilation up top actually helps with the tiny transition between metal and plastic, overall keeping an extremely impressive and attractive aesthetic.
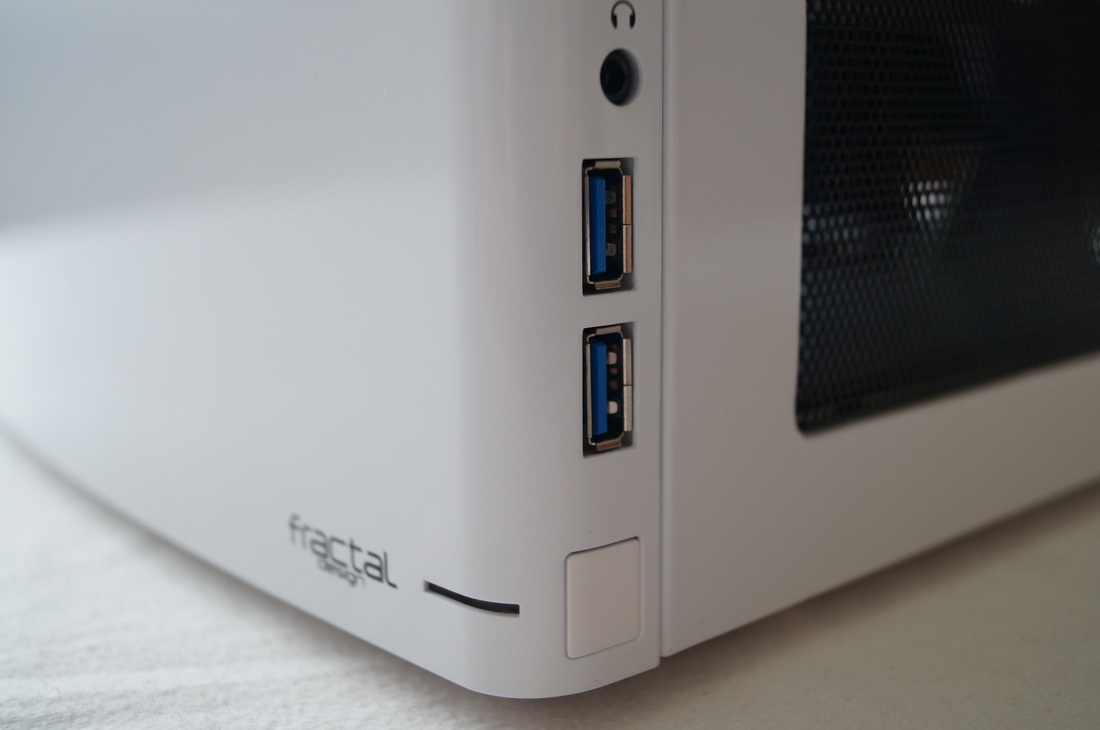
The final thing to discuss on the front panel is the I/O, which although it is located on the side of the case, is still in a convenient location on the front panel itself which means no hassle when you are building or changing things in your system. The smooth transition of the curved front to the side of the panel helps hide the I/O which I do like as compared to the size of these case, connections can look quite bulky and obtrusive if on the front of the case. The blue of the USB 3.0 ports has a nice contrast to the white version too.
The final thing to discuss on the front panel is the I/O, which although it is located on the side of the case, is still in a convenient location on the front panel itself which means no hassle when you are building or changing things in your system. The smooth transition of the curved front to the side of the panel helps hide the I/O which I do like as compared to the size of these case, connections can look quite bulky and obtrusive if on the front of the case. The blue of the USB 3.0 ports has a nice contrast to the white version too.
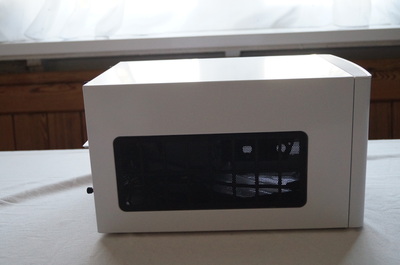
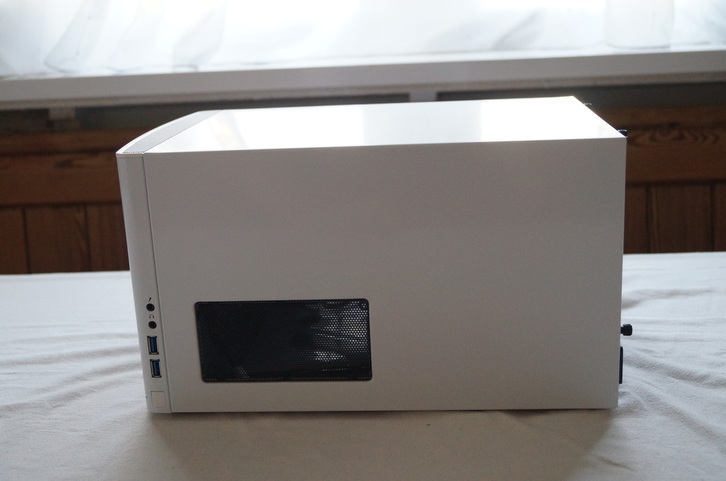
Moving round to the left side panel we have a massive rounded rectanglular grill (on a side note did you know there is a shape called a Squircle? Neither did I) which common sense dictates will be the intake for you expansion slots. The grill is circularly meshed, in coordination with the mesh on top and opposite side panel however, this one is both filtered and removable, popping out and refitting easily with tiny little clips on the inner side.
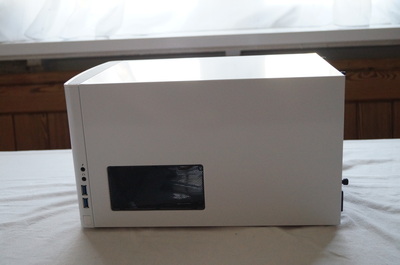
Round the other side we get that other grill we mentioned but this one isn't filtered as it will be your power supply exhaust. These side views of the case put into perspective how well the colour matching is between the front and side panels of the case. On the white version this has been easily achieved as the front metal plate is painted just the same as the rest of the case rather than being a bare brushed aluminium plate like the black version.
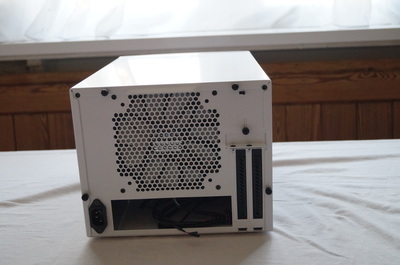
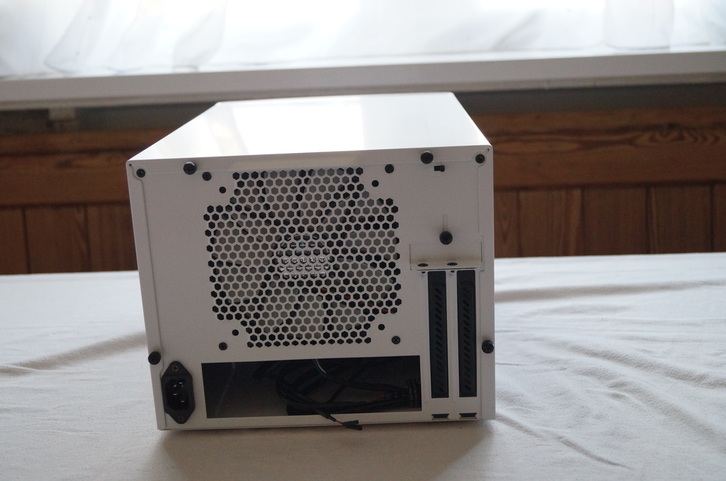
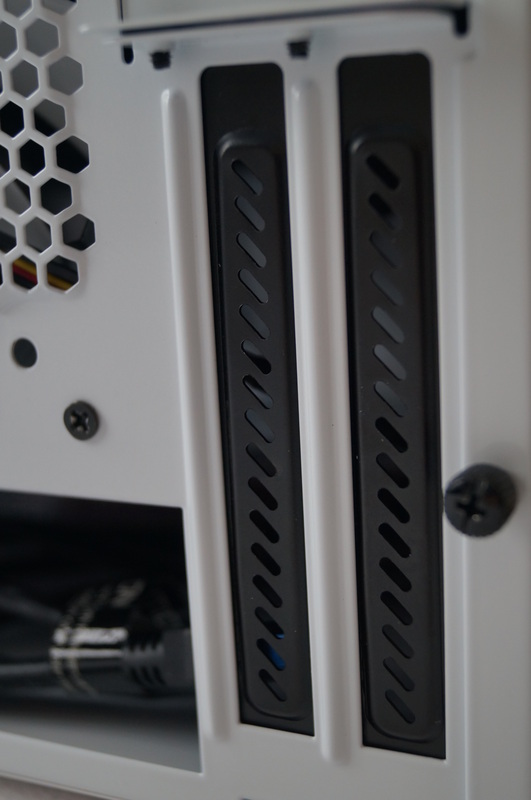
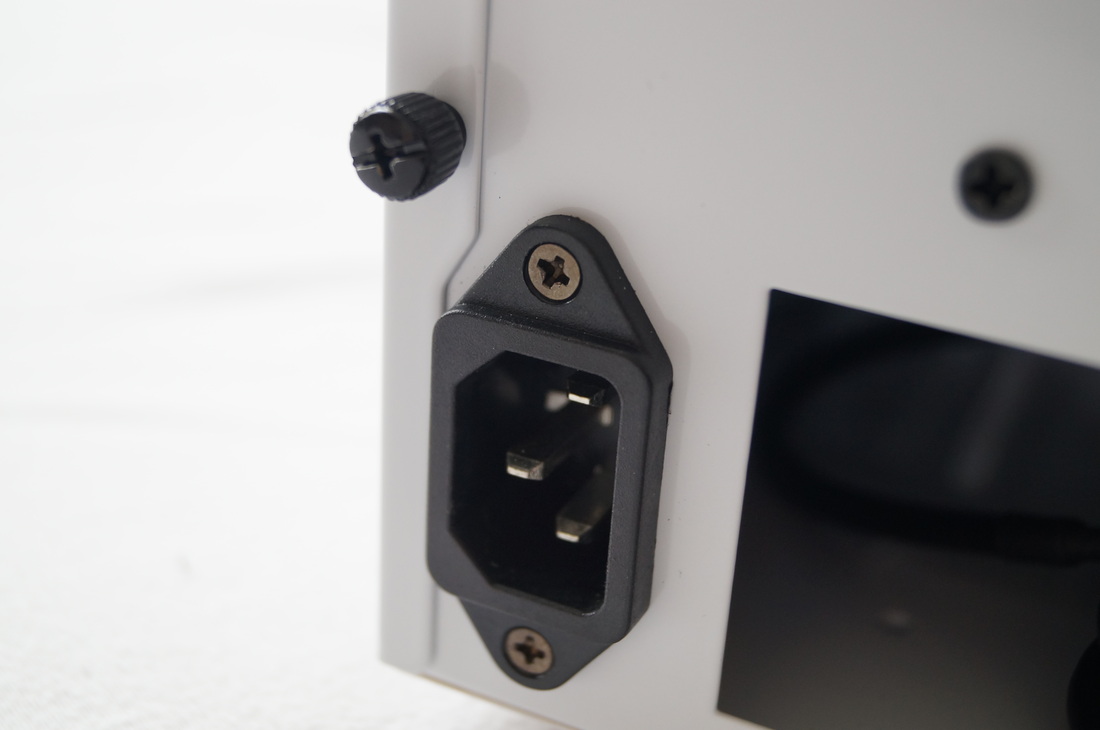
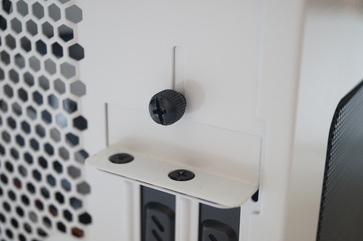
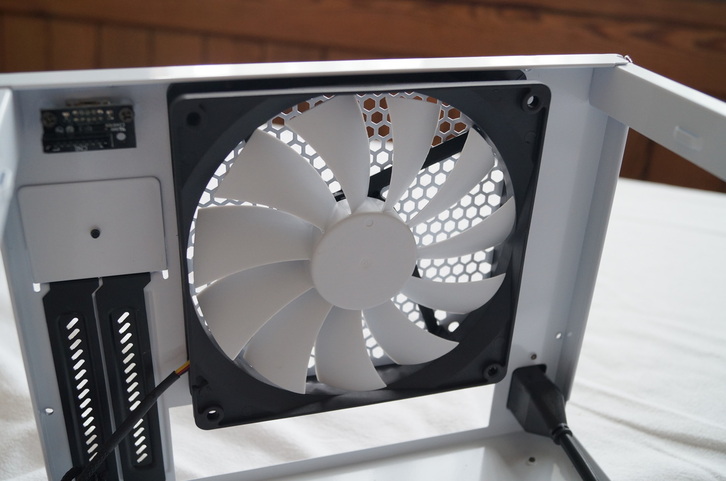
Going on to the back, we have a power plug which connects to an extension for the re-located power supply, a 140/120mm fan mounting location ALREADY fitted with a Fractal Design fan, a 3 mode fan speed switch and finally two expansion slots.
| The main things I notice here are subtle, but really express the quality of the material, manufacturing and design that has gone into this case. For example one of these is the expansion slot blanking plates; they are different, set apart in design from the rest of the case and they are in contrast too to it in colour too. Not just that but they have the same quality paint job and fit so flush with the case it would almost be sad to replace them with an actual expansion card. Next up is the power supply connection. It too is so flush with the chassis it almost looks part of it. Coupled with the slight cut out of the side panel to allow the connector, makes it seem normal and ordinary when it's not really that common even today. These factors are something the normal user may not notice and I wouldn't blame them, they only see or feel the case as a whole |
and there's nothing wrong with that. But as someone who has seen hundreds of cases with the job of looking at the detail, it's refreshing to see everything so flush and fit so well.
| The one thing I'm not too impressed with at all in fact, is the fan controller. Yes it has a fan controller and that is a massive bonus but I would have thought a cheap plastic switch would be a little below the quality standard the rest of the case has. I would much prefer a metal dial type of fan controller or even some form of metal front to the switch as the bare plastic feels very very cheap. | |
Finally before we go on to the interior we have the bottom of the case. We haven't really mentioned the top because there isn't anything to say about it, it's completely blank.
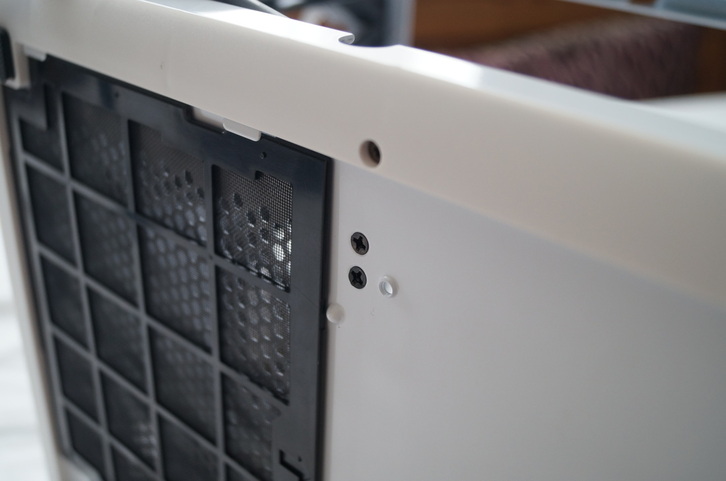
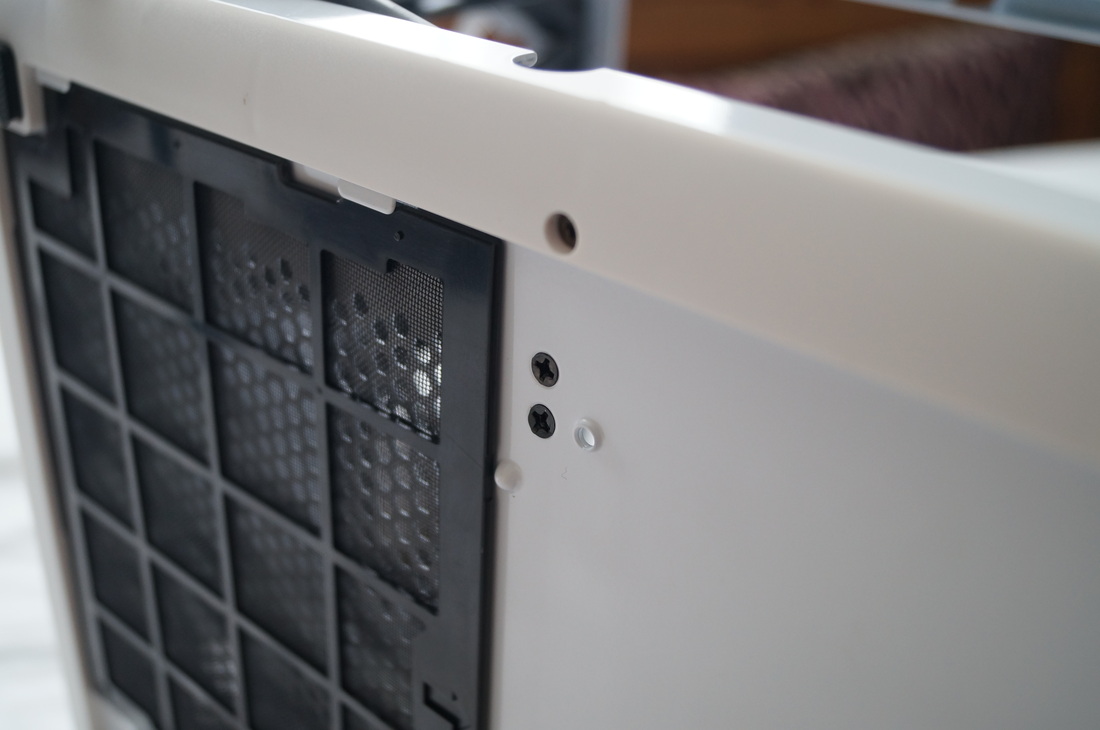
On the bottom they have added a plastic trim around the outside with 4 rubber feet stuck onto it. The curved trim somewhat softens the edges and aesthetic from a side view but only from certain angles and can be removed via screws if wanted when modding. We also get a nice big intake and dust filter for the power supply which we have space for and is hidden thanks to the plastic trim with space still left for airflow into the case.
On the bottom they have added a plastic trim around the outside with 4 rubber feet stuck onto it. The curved trim somewhat softens the edges and aesthetic from a side view but only from certain angles and can be removed via screws if wanted when modding. We also get a nice big intake and dust filter for the power supply which we have space for and is hidden thanks to the plastic trim with space still left for airflow into the case.
Interior:
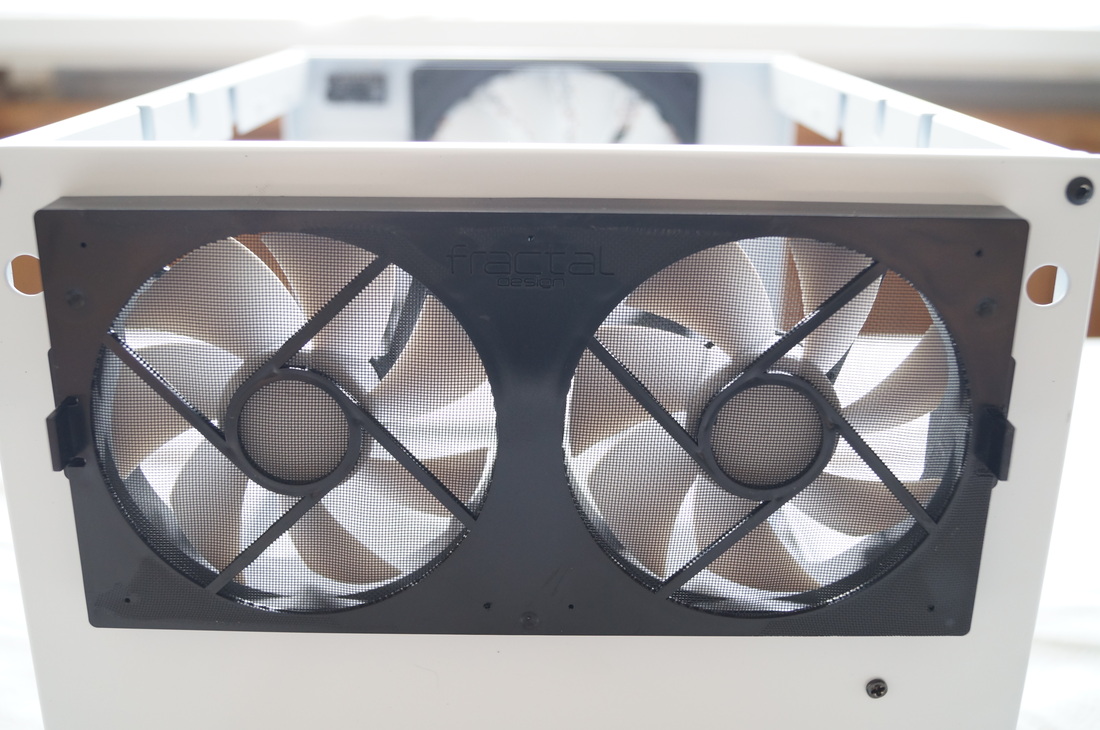
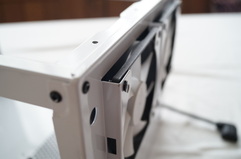
While technically still part of the exterior, removing the front panel shows off the two 92mm intake fans with included dust filter. The dust filter is just like any other filter, nothing special but it's disappointing that you can't access it from the front. Part of this is due to the fact they have made the case so condensed with features it would be hard to get clear external access but as SilverStone showed on the PS09, they could have put the filters on the intakes. I would have been seriously impressed if the top intake grill was filtered and removable but nonetheless, the filter casing is high quality, fits perfectly and is very easy to use thanks to the too clips on the sides.
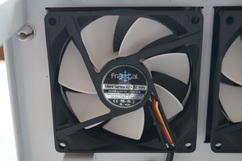
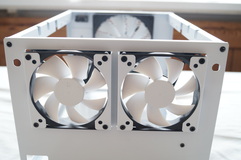
Behind the dust filter is two 92mm Fractal Design fans colour coordinated with the Node 304's black and white contrast styling. Including two 92mm fans instead of going for a larger single 120mm fan to me shows that space efficiency has been of the utmost importance when designing the case as too many cases nowadays just gun straight for fitting as many large fans in the case as possible. In this case the two 92mm fans blow a higher combined airflow through the hard drive cages, then into the case and on to the exhaust at the back which is much better than a 120mm fan which would make the case larger and be half blocked by the power supply anyway. I also like the fact they have been pulled forward to take advantage of the void in the front panel and the extra support for 80mm fans should you choose to replace these stock ones.
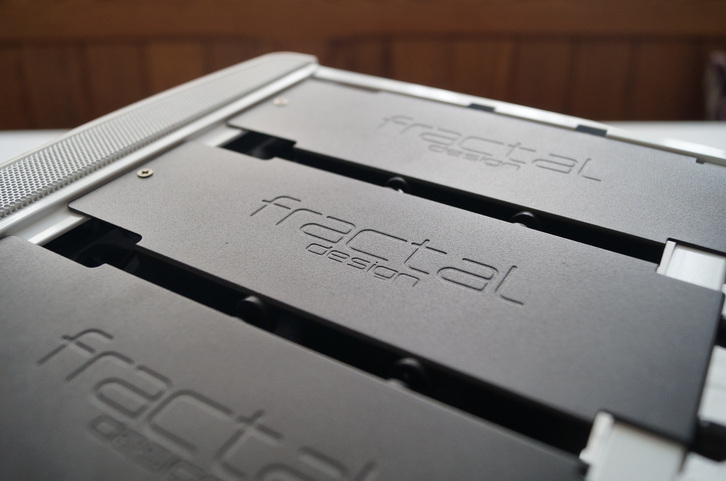
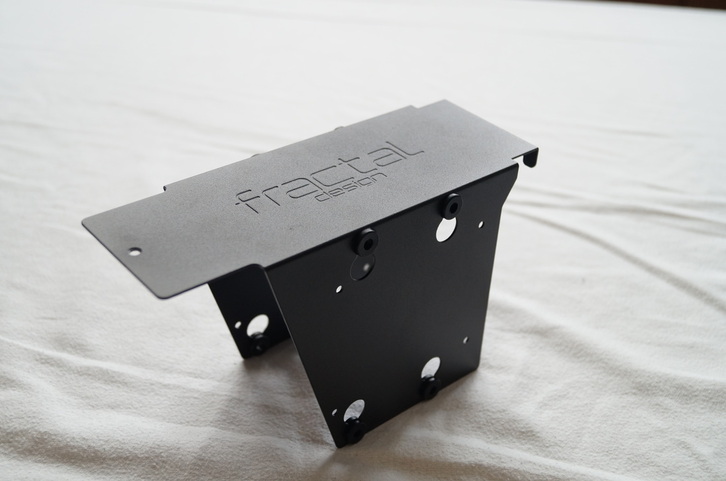
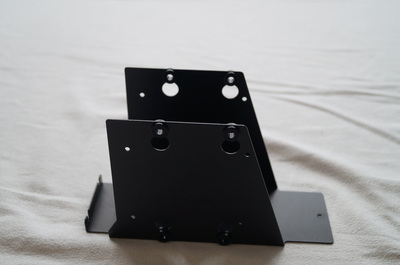
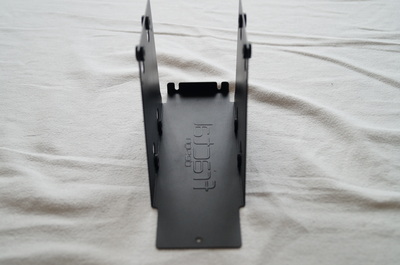
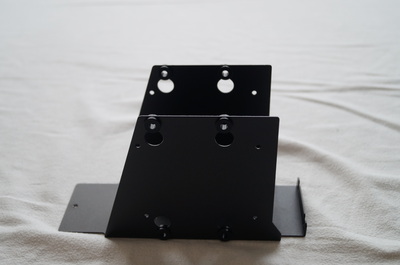
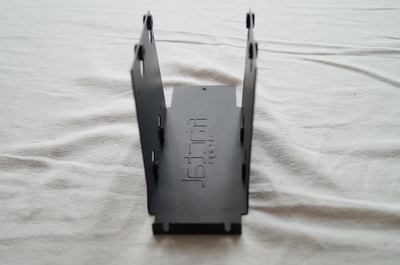
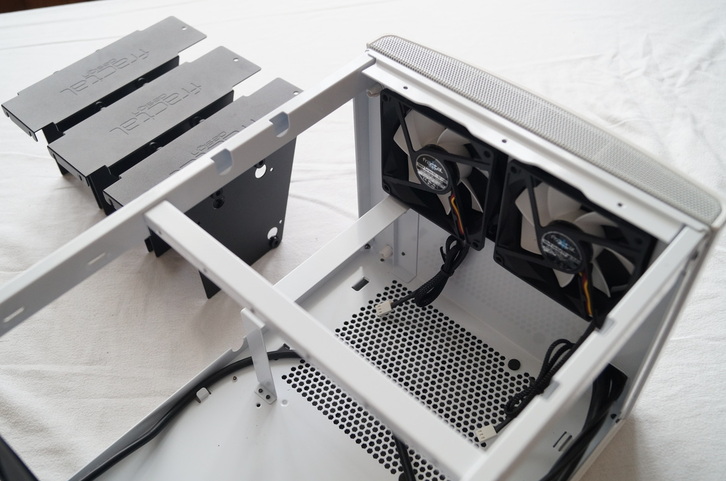
Behind the fans on the inside of the case is where the hard drive cages mount. We get three hard drive cages, each supporting two hard drives for a total of six. The contrasting black cages works well and really shows off the Fractal Design logo's on the top. They also work almost like a blanking plate, hiding all the cable mess below, of which there could be a lot!
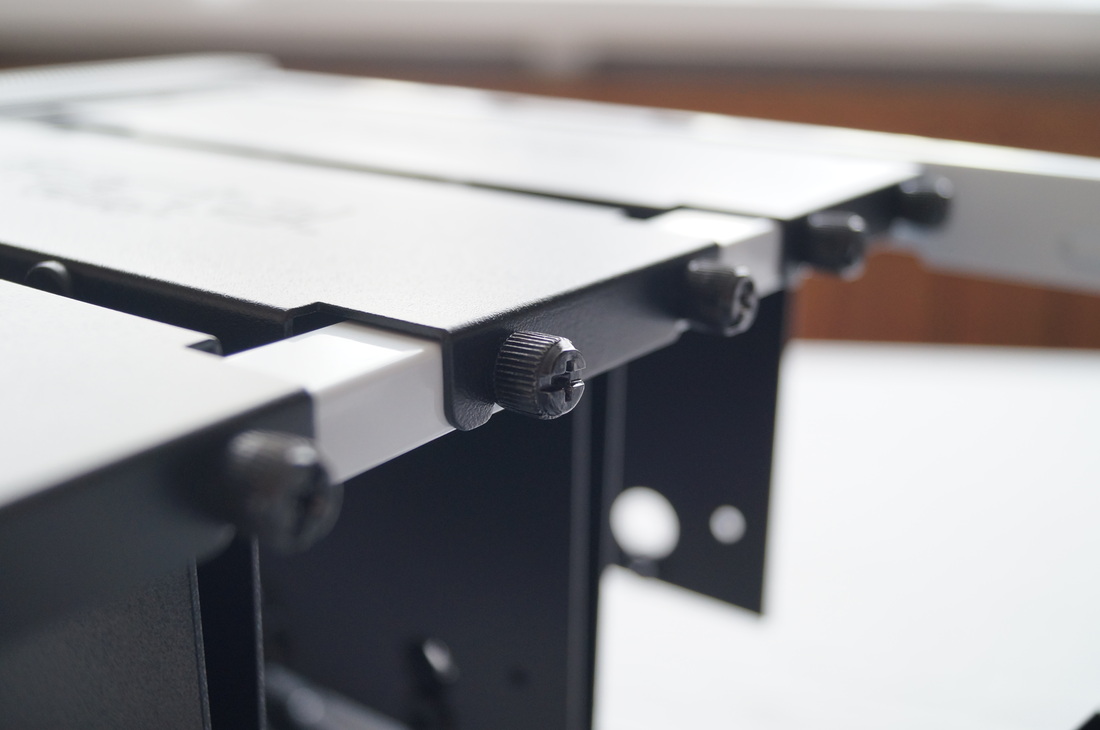
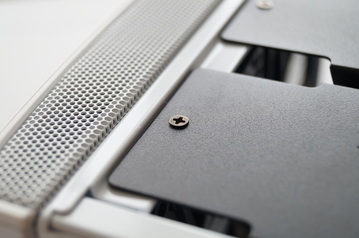
hard this would have been for a 'normal person'. After getting the pliers out and several damaged paint jobs and knurling later, I finally got all the thumb screws removed. It wasn't an awful ordeal but I know had I paid for the product, to have to damage it to use it would have really annoyed me no matter how relatively small the damage is. Luckily thumb screws are replaceable and none of the case itself was damaged. It actually pointed out how impressive the paint job was on the drive cages. The mottled paint job holds up very nicely to knocks and bumps with no scratches and no marks at all. I've put a little gallery down below of the drive cages to give you a better look around the product.
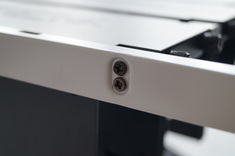
The cages and the bar they connect to are both removable to give clear access to the power supply mount below. The cross-bar is removed via 4 screws, two on each side. With support for up to 160mm power supplies when a long graphics card is also installed, you can fit a decent power supply in though nothing extreme. With recent PSU releases it won't be hard at all to find a power supply to fit in here, just look at their Integra M series as an example. With graphics cards under 175mm or so, it would be possible to fit a power supply up to 190mm reasonably with 24mm to spare for the cables and connectors coming out of it, you may want a shorter PSU if you are going modular though and tbh it would really defeat the purpose of having a larger power supply if you then limited the most power hungry component, the GPU.
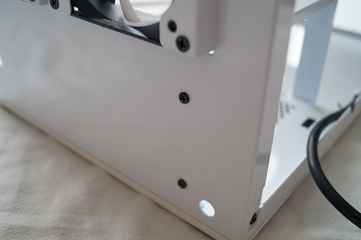
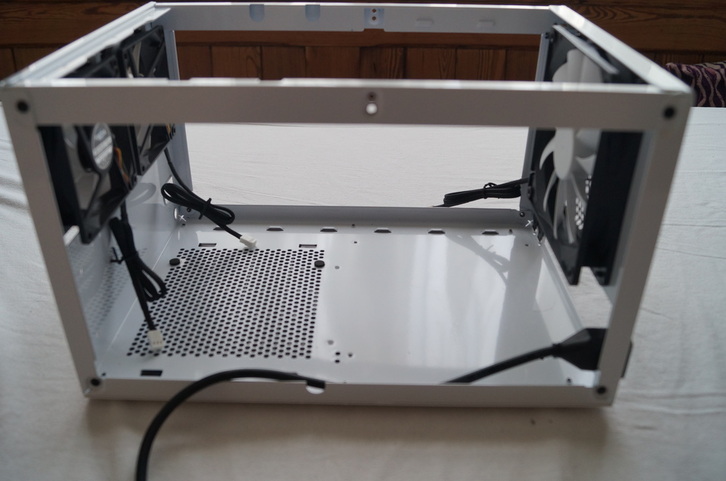
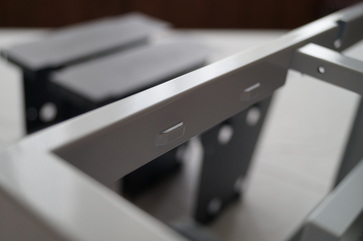
| At the bottom there is a small loop to hold the power supply extension down but this may also be useful for some smaller cables too. The power supply case is also removeable via four more screws on the case, two on the bottom and two on the front. Pretty much all of the case can be taken apart with screws and the only riveted parts is the main skeleton which really isn't that much at all, see photo. |
Because there's not much to say about the motherboard tray as it's an ITX case we will for lack of a better term skip over it but you can find photo's in the slideshow at the bottom of this section. Interestingly though the screw adaptor to fit the motherboard risers, did not fit the motherboard risers at all. I got around this by screwing the motherboard screws into the risers and screwing it in as a whole, removing the screws again after.
At the back we find a 140mm fan included. This can be replaced with a 120mm fan should you so wish AND it can fit AIO 120mm water cooling kits making the Node 304 water cooling friendly. For a case this size you aren't going to get much better support than this, although it is pretty minimalist. For maximum cooling just opt for a product with a thicker radiator.
At the back we find a 140mm fan included. This can be replaced with a 120mm fan should you so wish AND it can fit AIO 120mm water cooling kits making the Node 304 water cooling friendly. For a case this size you aren't going to get much better support than this, although it is pretty minimalist. For maximum cooling just opt for a product with a thicker radiator.
| Next to the fan we find the back end of the fan controller which provides all three case fans with power through a single molex and also allows you to run then at low, medium and high which are presumably 5V, 7V and 12V. I'm not sure what the idea was behind putting the fan controller here because it's neither easily accessible on the outside or in a good location for cable management inside. | |
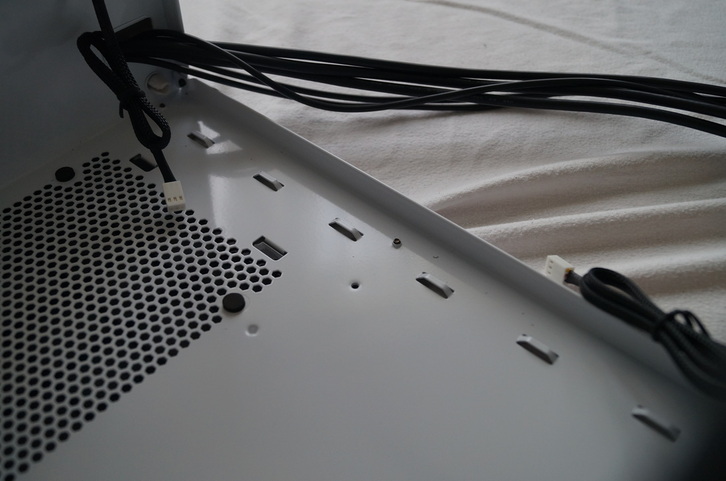
| Leaving on a positive note, they've made the cable management a little bit easier thanks to cable tie loops on both top bars of the chassis and also along the entire left hand side, even under where a graphics card may go. Totalling a whopping 10 cable tie loops this is more than a lot of mid-tower cases offer! Cable management should be a pretty simple ordeal if you have gone modular on the PSU. |
Gallery:
Here is all the product shots taken for the review, plus some that haven't been used. Have a look through to get a good feel for the case!
Conclusion:
Fractal Design have made a very high quality product here. The Node 304 offers a lot of features in a very compact design, being capable of having up to 6 hard drives, a 310mm graphics card albeit not all at once, and a full size ATX power supply make for a very adaptable and compatible case. Not only is it adaptable to support most types of systems, from a home server to a gaming system, but it also looks the part too thanks to its unobtrusive and abstract styling. The aluminium front panel and high quality paint job coupled with as little plastic being used as possible, project an aura of quality and expensiveness around the product that is both distinctive and a rarity.
The somewhat intuitive and main feature of the case is the hard drive cages which allow for clear access to your drives should you need to remove or replace them at any point, but to say that this Node 304 is a good option for anything more than a small file server for a single household would be pushing it a little far. Lack of hot-swap, tool less drive cages or external access make me want to look elsewhere if I needed a long-term professional storage solution. For storage needs, the BitFenix Prodigy, the Node 304's biggest price to price ITX competitor has a much easier tool less hard drive cage to set up and use, though in a larger solution (and with only 5 bays). I am also extremely let down by the thumb screw features used on the case. It's no so much the screws themselves but rather the threading on the case itself, it makes it absolutely impossible to unscrew them by hand. This coupled with the motherboard riser adaptor not fitting left me very puzzled for a long time sitting with an unusable case. When I buy a case I want it to work straight out of the box.
However, if you remove a single hard drive cage it would provide most people with enough storage and would mean you can then put a powerful graphics card in it and really have the freedom to built a decent system, especially thanks to it's ability to put standard ATX form factor power supplies in. In other words, what I'm really saying is the Node 304 is not really capable of anything specialised, if you have a very specific demand it may not meet it, even if the spec sheet says so but otherwise It's an absolutely lovely case to use (when you finally can), feel and look at. Support for water cooling, having all the case fans included and dust filters are all other features that also show how well rounded the case is as a whole.
Unfortunately we have to discuss pricing. The Node 304 is on the top end of the ITX case market in regards to pricing and this makes it almost twice the price as some other ITX cases we have reviewed that may meet all your demands already. What are you really paying for with this case then that makes it more expensive? For the most part I would say pure craftsmanship. Making sure every single angle, edge, screw hole, filter and fan is so perfectly aligned costs and then you have the pure quality materials on top of that. You will be hard pressed to find a better built, feature rich, solid case that comes with all your case fans included for a cheaper price, but that doesn't automatically make it viable. Overall despite its little slip ups, this is a very impressive case but the price will leave a lot of people wondering whether or not they can really fit it into their budget.
Search pricing for this product:
If you wish to buy the product, don't forget to use this affiliate link to help support us as we get a nice little kick-back from it!
