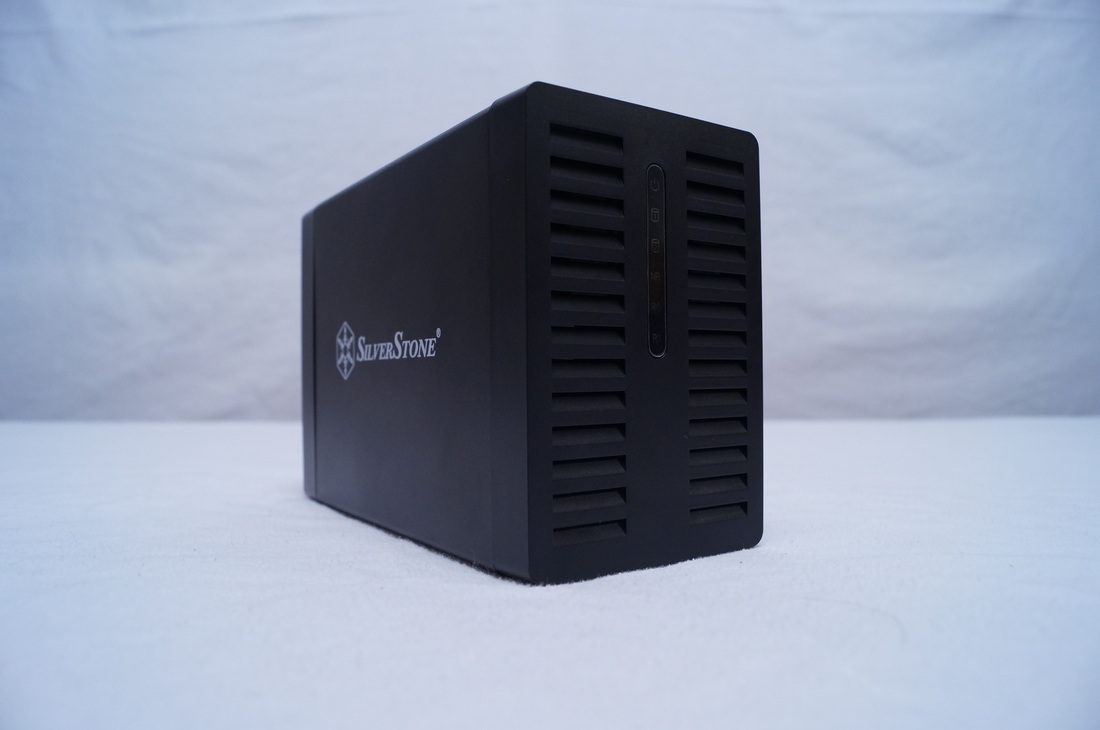
A dual bay external hard drive enclosure that's not much bigger than the drives it holds!
Here's the spec:
| Dimensions: Material: Weight(g): Drive Support: Interface: Transfer Speed: Raid Support: Power Requirements: Active Cooling: Supported O/S | 175(D) x 80(W) x 120(H)mm Aluminum & Plastic 780g±20g 2x 3.5" Sata SSD/HDD's (Up to 4TB volumes) USB 3.0 B to A Max 5Gbps 0 and 1 12V DC 40mm 2 pin cooling fan Windows XP/Vista/7/8, Mac OS 10.x and Linux |
Design:
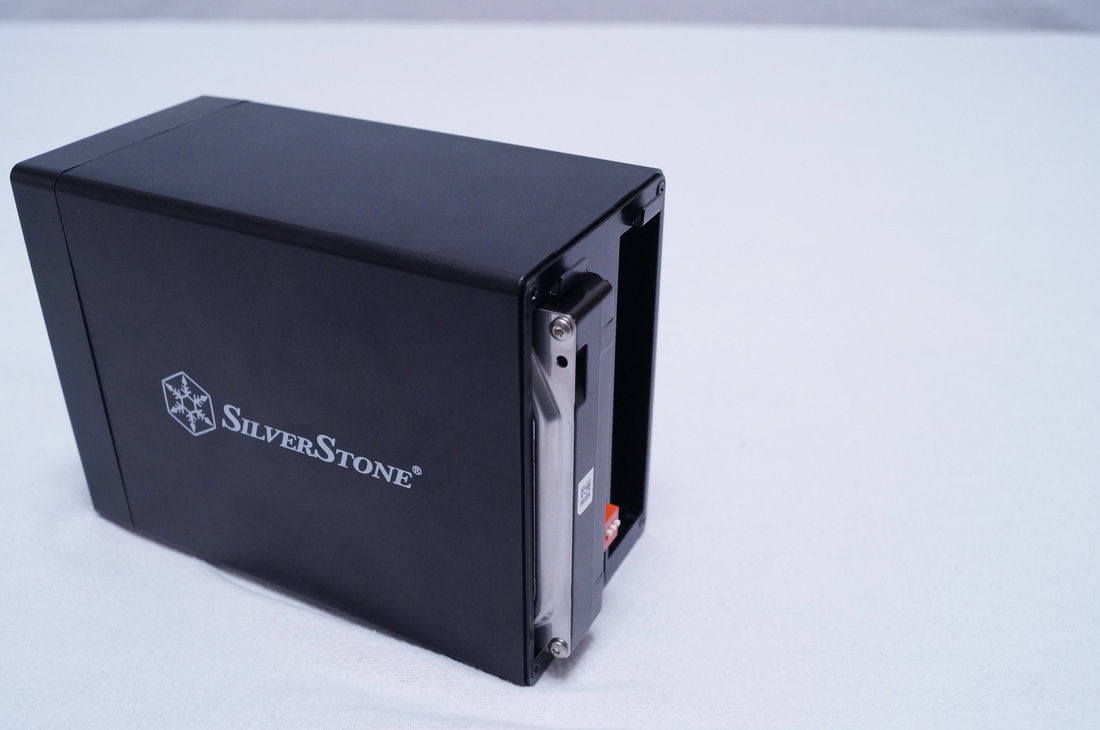
The DS322 is a 2 bay external hard drive bay that really isn't much bigger than the drives.
| Made from aluminum for the most part the DS322 is quite heavy for it's size and gets even heavier with installed drives. Weighing around 1.8KG when loaded with two drives it is very reassuring knowing that slight knocks and nudges won't budge this device so the chances of you knocking this over and potentially damaging the internal drives & losing your data is very slim. Like this device. |
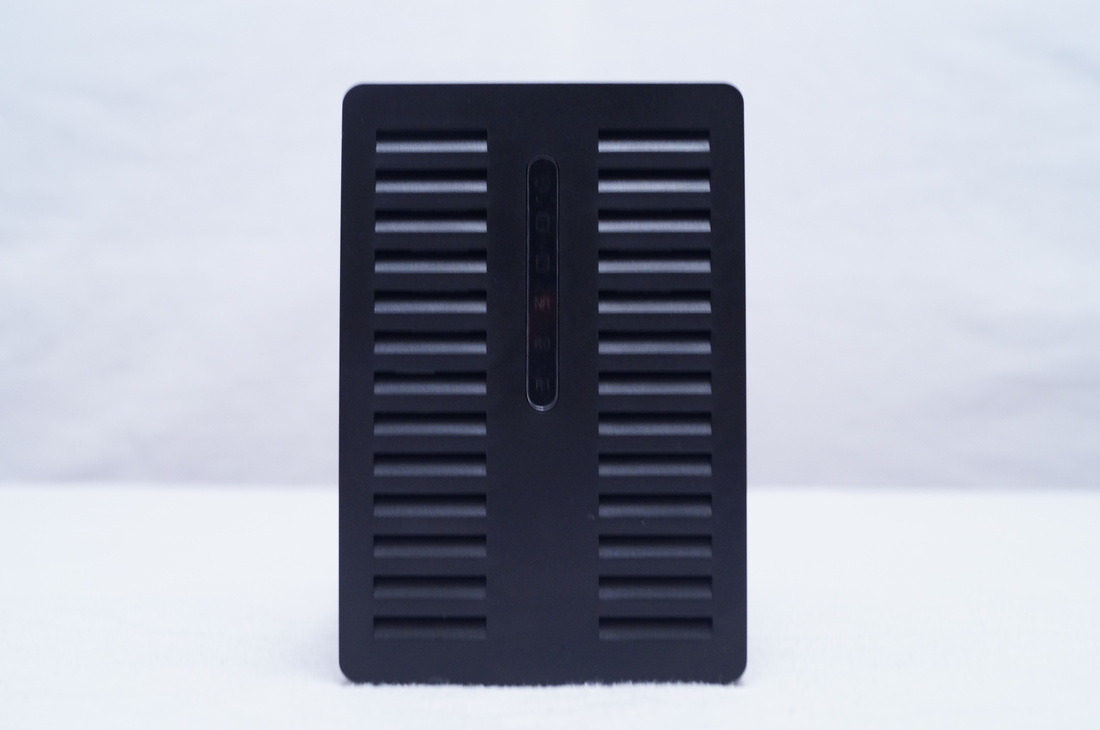
| The ends of the DS322 are made of a plastic that I wouldn't say is the highest quality but it fits in with the look and texture of the aluminum portion. The front is styled in a server style look with angled venting in front of both drive bays and a line of indicator led's to compliment them. I find too many external enclosures to be to boring and uninteresting but the DS322 definitely stands out for me. |
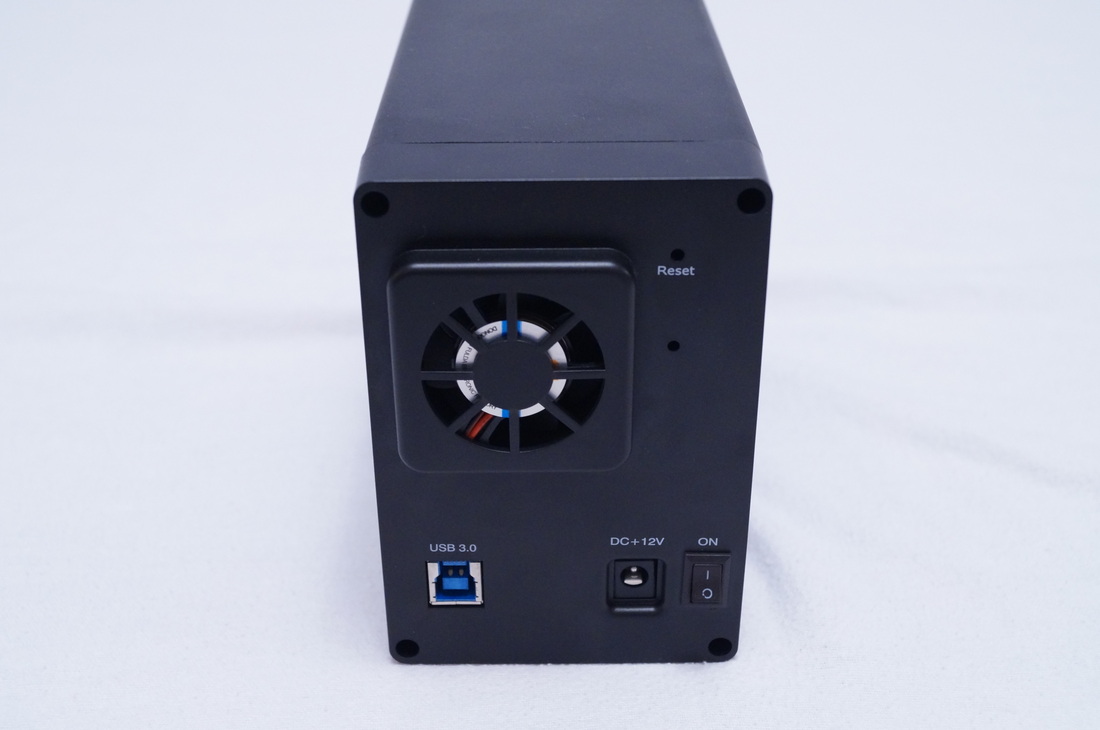
On the back is the 40mm fan along with a reset button, power switch, DC power input and your USB 3.0 B-type connector. The fan does protrude from the back but this does help lend a little bit of protection to the enclosures connectors large cables.
My only complaint with the plastic pieces the DS322 is the front panels integration with the metal chassis. The lock design which you will see later means that it's secure enough to not fall off when locked but it wiggles around a lot and can make quite a bit of noise when you move the enclosure at all as does the hard drives which again we will come too.
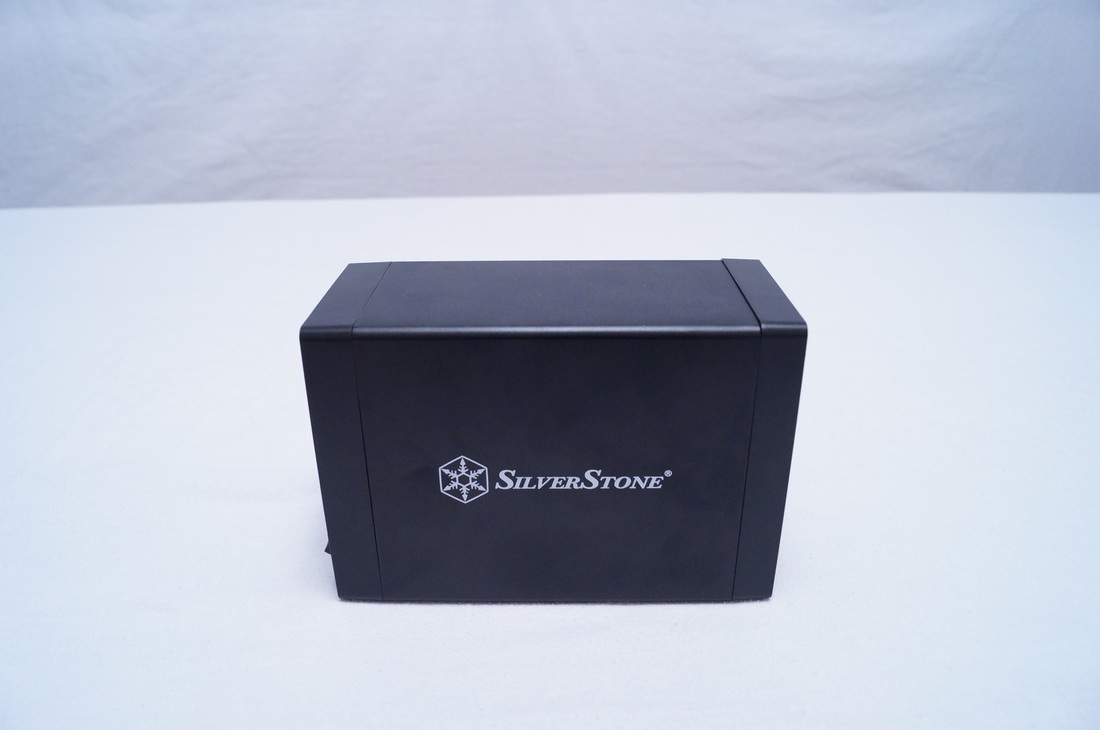
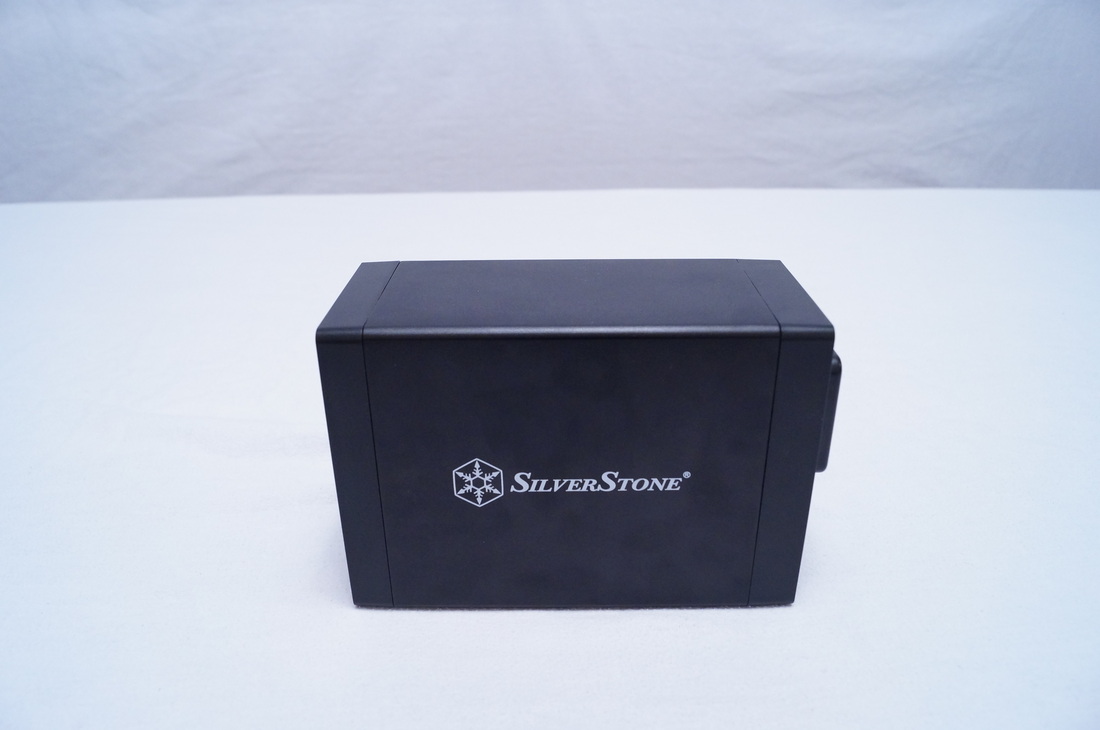
Moving on from the plastic and onto the aluminum portion of the chassis we find a smooth black painted metal with the Silverstone logo in white on both sides. The aluminum differs internally in a heatsink type fashion between both 2 and 4mm in thickness making this extremely tough and capable of withstanding extremely large amounts of pressure.
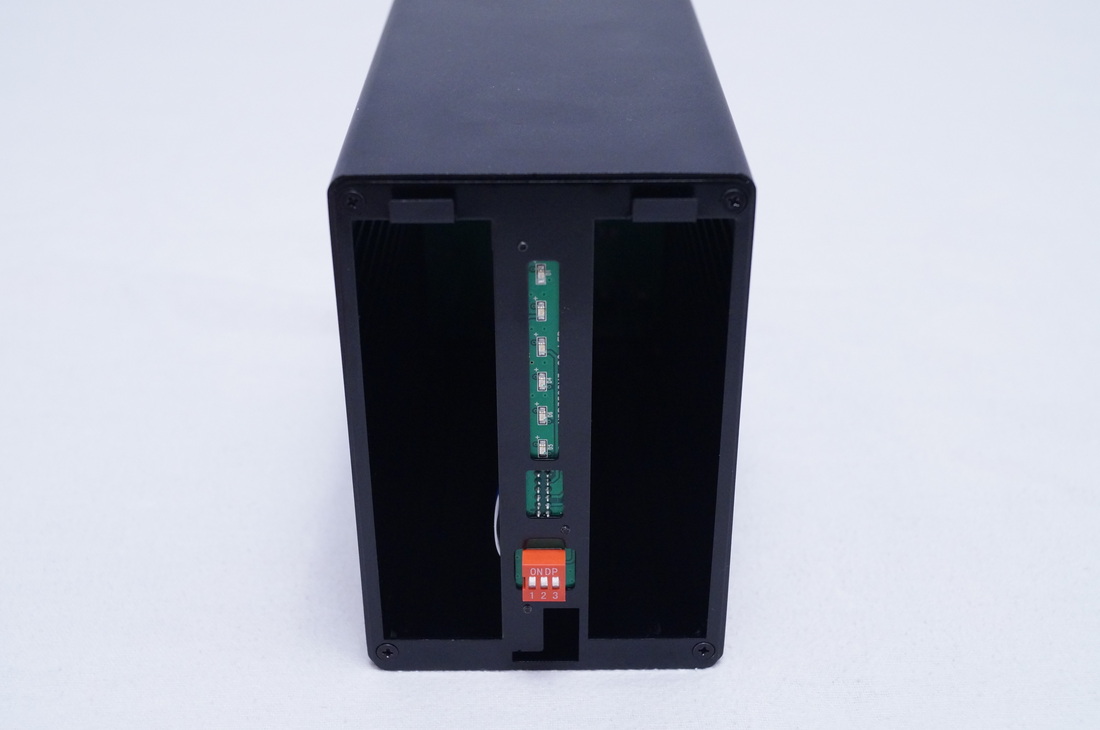
| Taking the front cover off reveals the two bays that house 3.5" hard drives (not included), an led information/diagnostic panel and a switch box that you will use to choose which raid mode you want to use our of 0, 1 or neither. As you can see the drive bays have absolutely no locking or secure mechanism to make sure the devices don't move around internally or put unnecessary pressure on the sata connections. With drives in the DS322 can get quite annoying when moved as the metal hitting metal noise is far from attractive. other than that the led panel display and raid switch box are simple and easy to use with leds for (top down): power, drive bay 1 activity, drive bay 2 activity, no raid, raid 0 and raid 1. Instructions for the raid switch are on the inside of the front panel. |
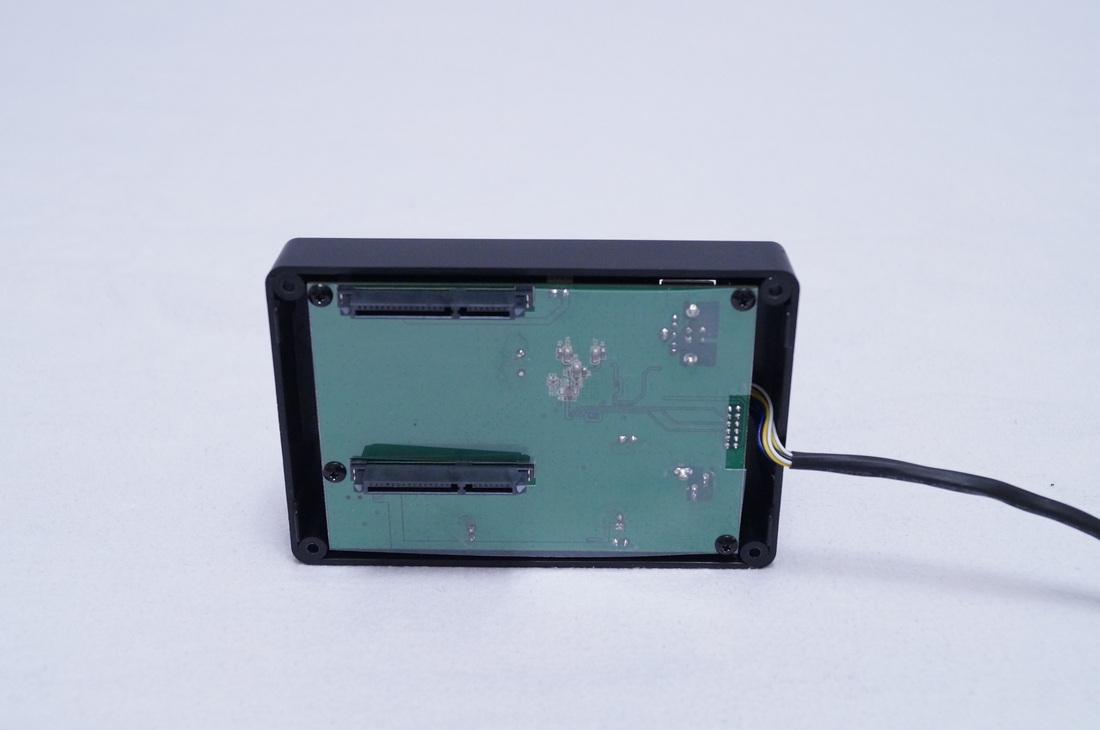
Unscrewing the back panel via the 4 screws and we find the heart of the beast. here is the back-plate for the two hard drive bays and Silverstone have obviously given it a bit of thought as they include an insulating sheet of plastic to make sure that installing the hard drives doesn't short any of the circuitry. The cable leading out to the right on the photo(Below) goes to the front of the DS322 for the led's and raid switch through a centre channel in the chassis.
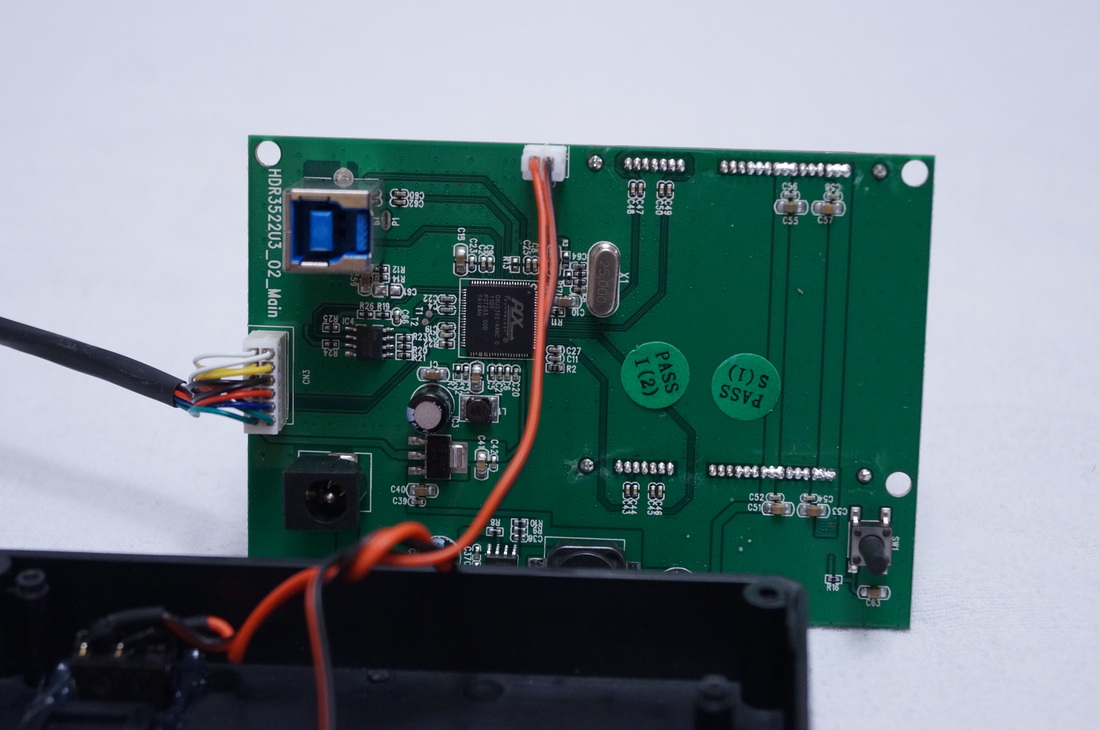
Delving even further by unscrewing another 4 screws and we come across all the connectors involved in running the DS322. The only important connector worth mentioning here is the 40mm fan connector which is a 2 pin connector. The fact the cables aren't soldered and use the 2 pin format means that you will be able to replace the 40mm fan if and when you want!
With not much else to say on the simplistic server style design, lets move onto performance!
Performance:
*Performance results not yet available
Conclusion:
*Conclusion to be made on performance results
