Author: Hal Thompson
Here's the spec:
|
Dimensions
Materials Colour Motherboard Form Factor 5.25" Bays 3.5" Bays 2.5" Bays Expansion Slots Display Front I/O PSU Cooling included Max CPU Cooler height Max GPU Length |
160(W) x 420(H) x 465(H)mm
Aluminium & Plastic exterior, Steel body Black/Black, Black/Silver Micro-ATX, Mini-ITX 0 2 2 5 2.4" TFT, 240 x 320 2x USB 3.0, 1x Audio 1x Mic Standard ATX 1x 120mm Intake fan, 1x 120mm Exhaust fan |
What comes in the box:
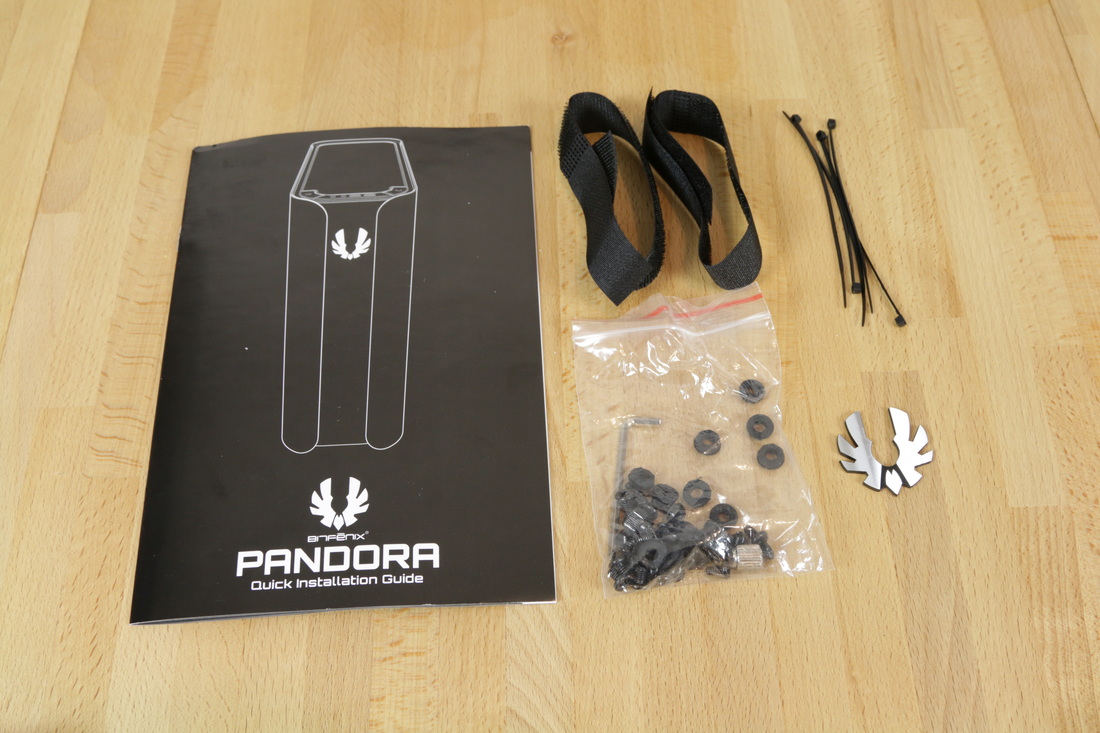
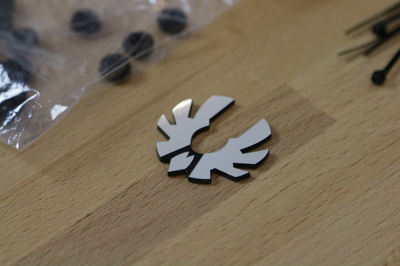
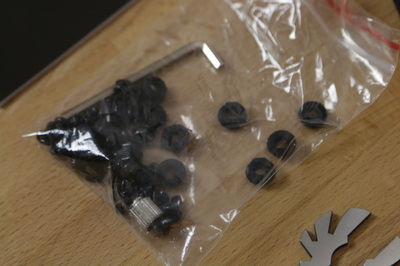
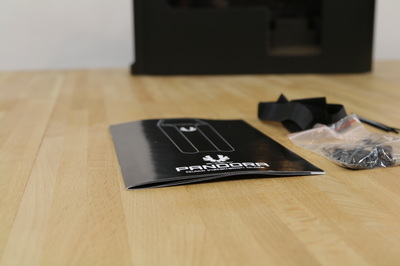
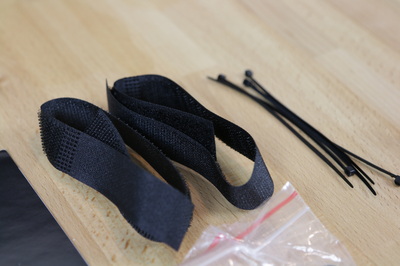
Out the box the BitFenix Pandora comes with a nice simple accessory package. You get a quick installation guide that will run you through all the basic set up instructions for working inside the Pandora, a bag of screws and other small tools that you will need, two Velcro straps for manage larger cables, five cable ties for the smaller ones and a shiny new BitFenix logo as an optional addition for your case. The optional badge is definitely a bonus as it is very much a marmite feature for most people as it is essentially just branding which some people are opposed to. This optional design was also seen back on the Prodigy with the custom front panels you could buy where the badge could be bought separately. Overall a nice package.
Exterior Design:
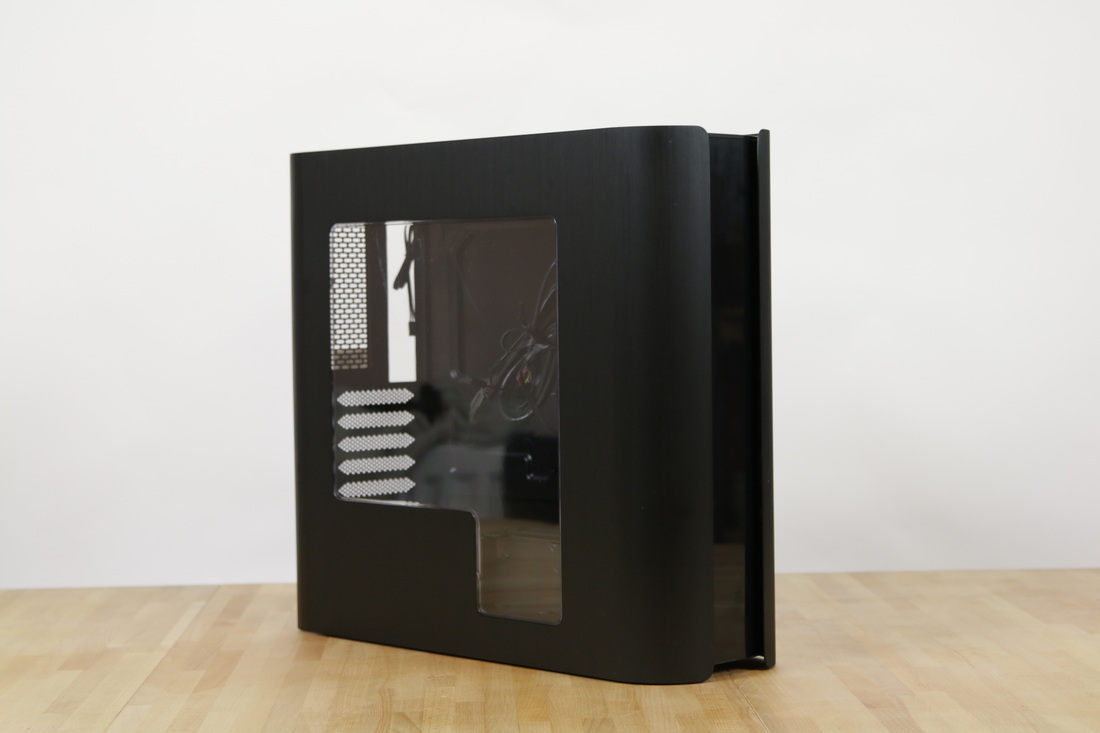
The exterior of the BitFenix Pandora is about as distinctive as it gets. With wrap around aluminium side panels and an LCD panel in the front, it really is a very unique case.
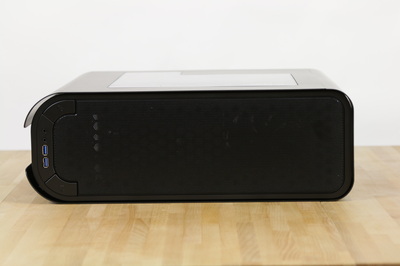
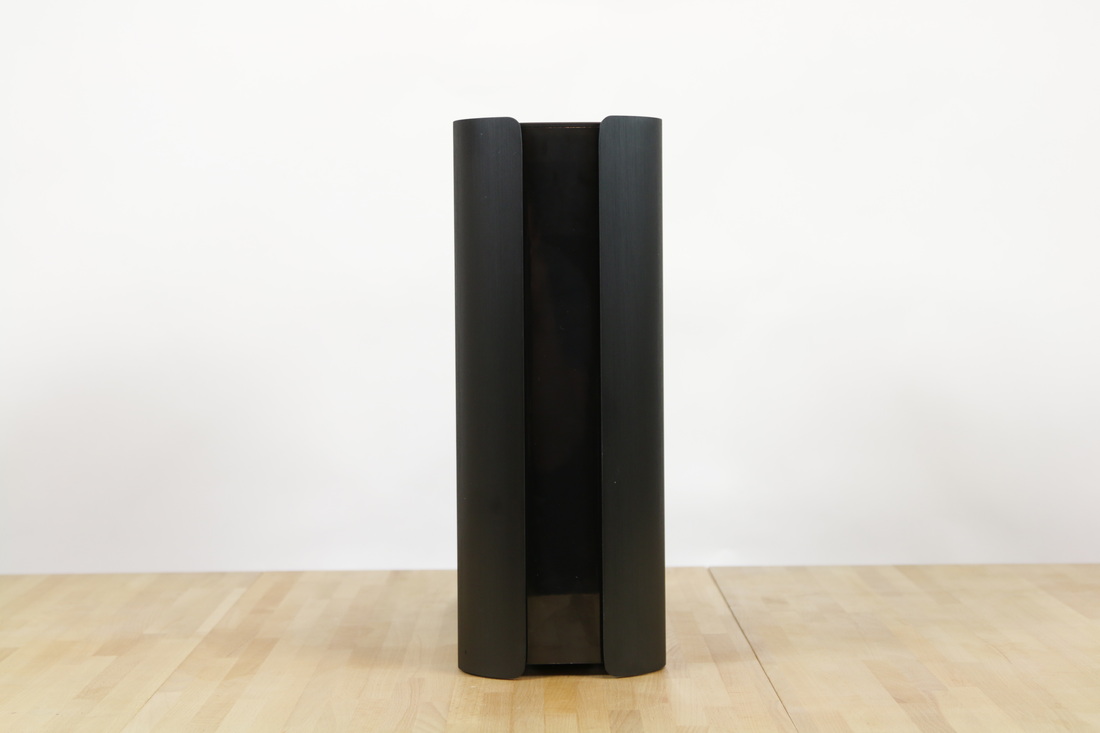
The front of the case features a black glossy plastic with the side aluminium panels wrapping around its curved portions in a very smooth manner. This works out great as it actually hides away the front intake cut-outs that are surprisingly very large. While I'm not a huge fan of the glossy plastic they went with on the front, I can't fault anything else about this design as honestly it doesn't really look like a PC case, from this perspective at least.
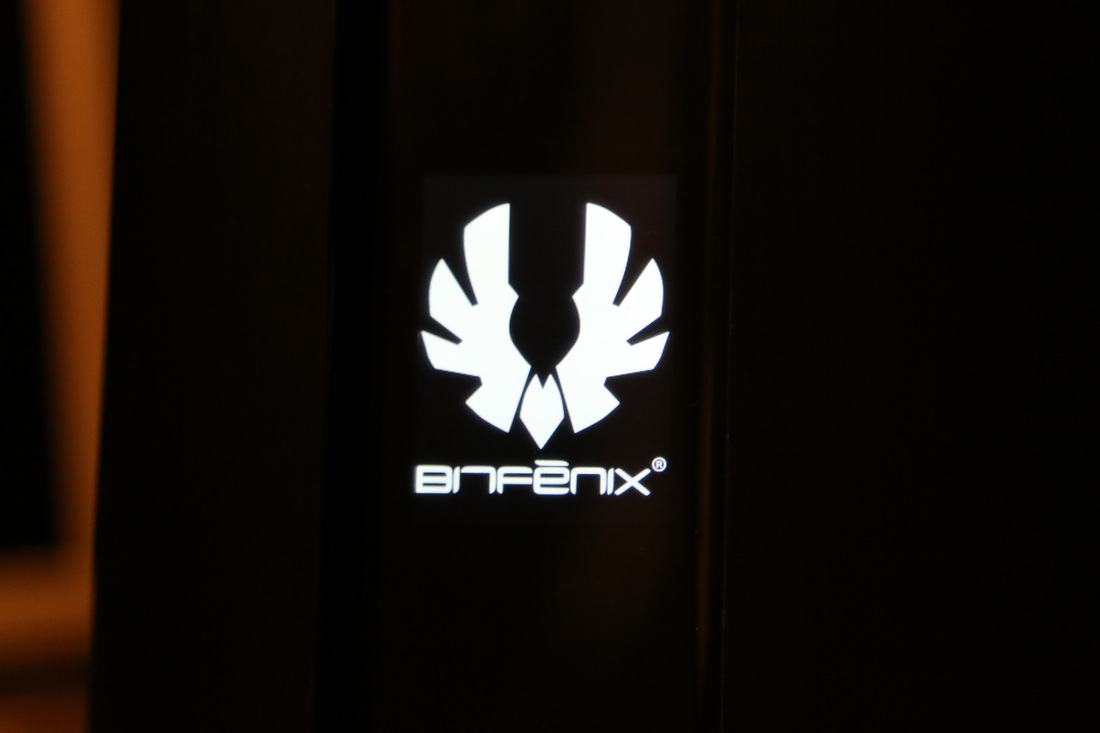
Other than the fact the front of the case is beautiful, there doesn't look like there is much to talk about on the front but that's not entirely true. The top-end model of the Pandora features their ICON LCD display in the front boasting a 320 by 240 resolution 2.4" screen (If you ever had a Blackberry Curve(prior to the 9360), this is the same resolution as those).
I really like this very unique feature as it gives a sense of individuality to the product and really lets you make your system personal straight out of the box.
I really like this very unique feature as it gives a sense of individuality to the product and really lets you make your system personal straight out of the box.
The way it works is so simple as well as it simply plugs in to your USB 2.0 header and acts as any other USB device. After downloading the app that's available on their website, you will have a desktop ICON that you can literally drag and drop your image onto, automatically causing the program to run a command line script replacing the current image with your new one. If you are the owner of a small company, part of a gaming team or even just a system builder, imagine how distinctive the branding capabilities would be the ICON teamed up with a custom Windows Splash Screen.
However, if this doesn't tickle your fancy and you would just prefer to save money to not get this feature, BitFenix have you covered as always with their CORE version that comes cheaper enough to buy some sort of other aesthetic accessory for your system.
The ICON display does have one downside though and it's pretty much unavoidable give the cost of displays. As the LCD requires a backlight it will bleed light, therefore if you don't have a square logo and just use a black background, the black background will still be lighter and lit-up compared to the black plastic of the case and so the whole of the LCD is still visible rather than it showing just the logo.
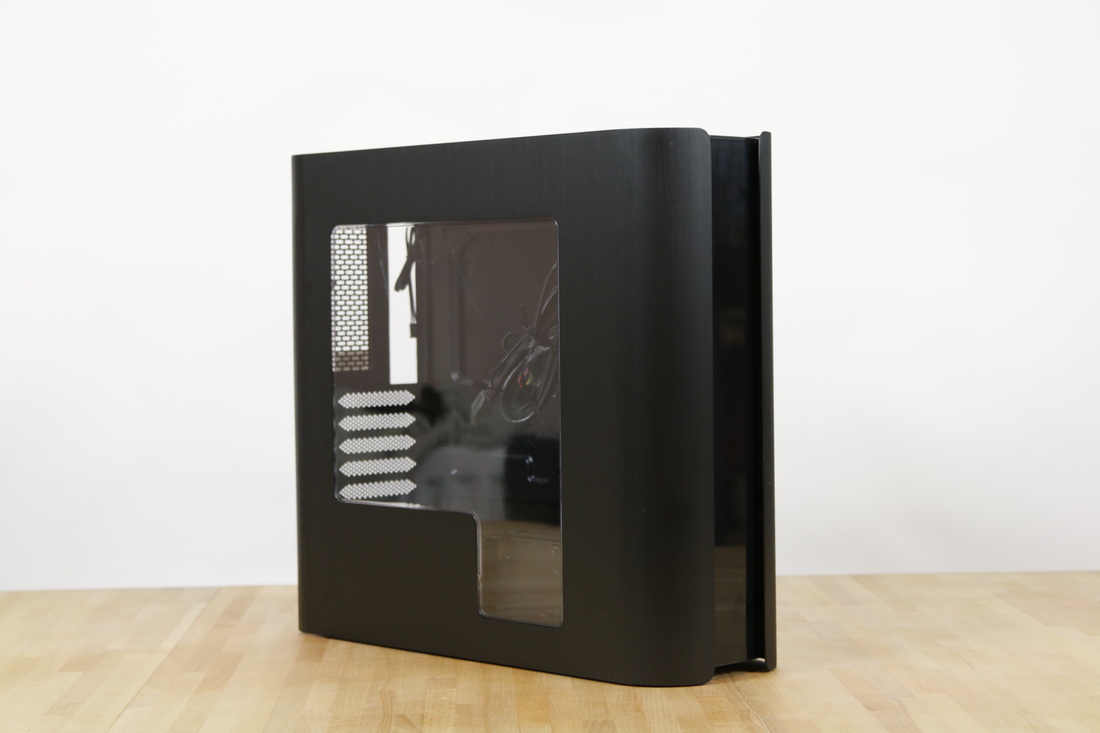
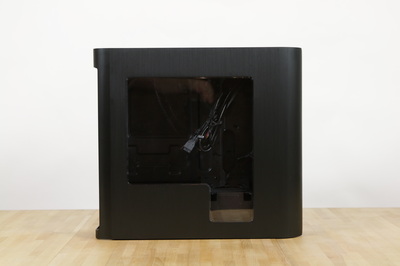
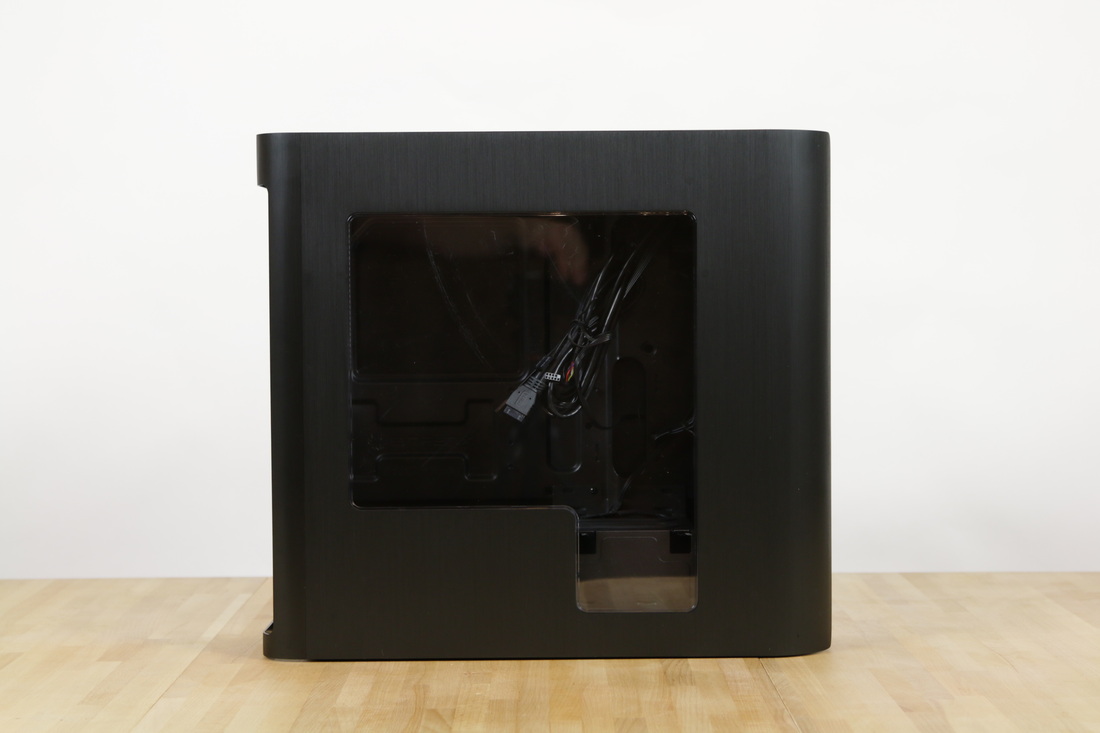
Moving on from the front panel we have the windowed left side panel. This surprisingly nice combination of acrylic window with aluminium works well together thanks to the similar corner structures of both materials. While on most aluminium cases I would say go with the non-windowed version because you get a much nicer aesthetic as nothing beats a solid panel of aluminium, I definitely do like the shape and size of this window; it shows just about enough of everything you want to see with the power supply section cut off completely and as we will see later on, a cage around the PSU's cable area that can be used to showcase a 2.5" SSD along it's side in the lower portion of the window.
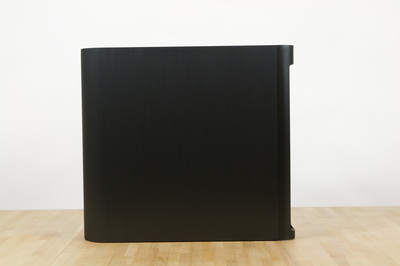
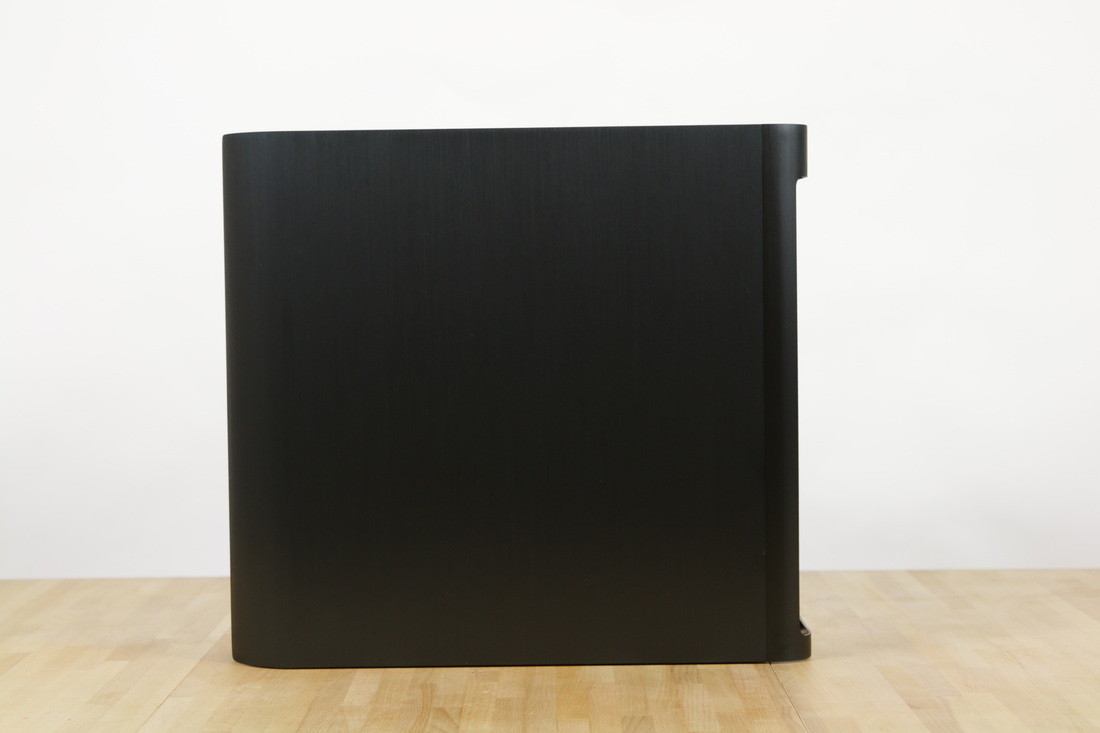
The right sight panel features just a plain brushed aluminium panel that works nicely with the wrap around prtion at the back of the case. These panels are not as distinctive in person as they are in the photo (this is just exaggerated by the studio lighting).
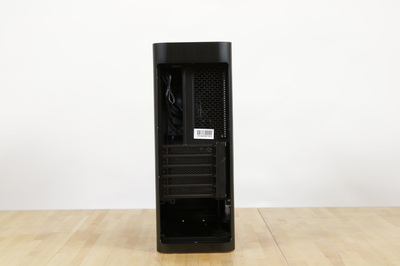
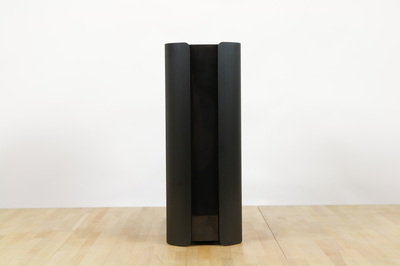
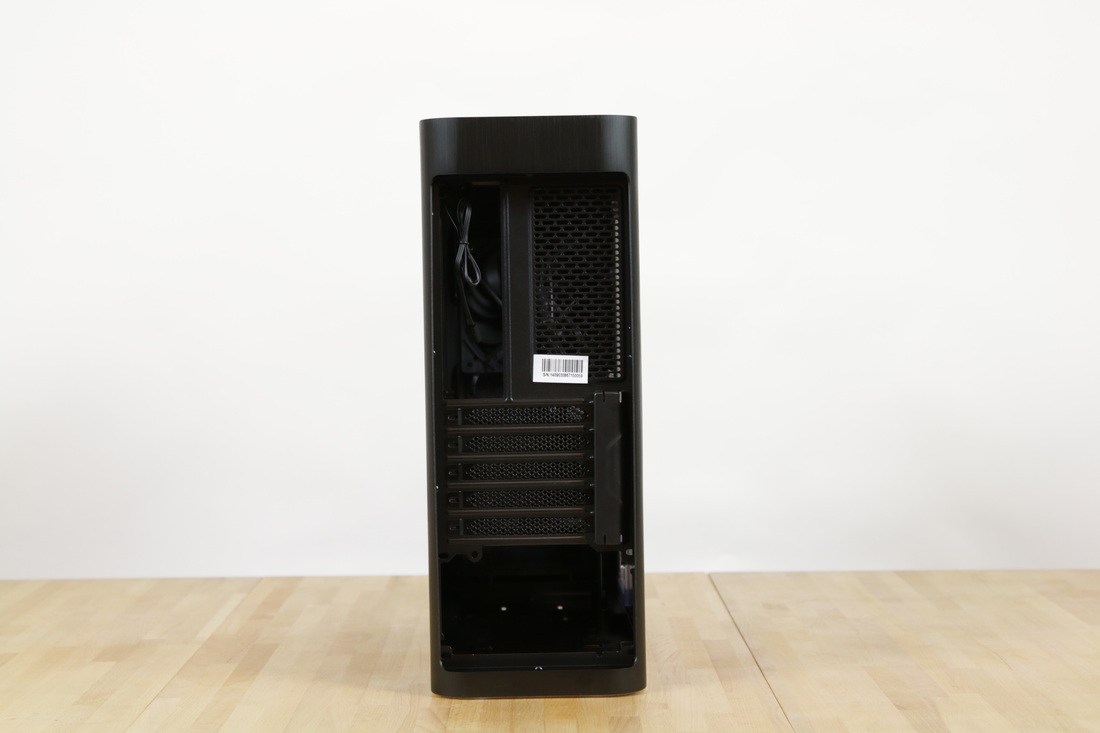
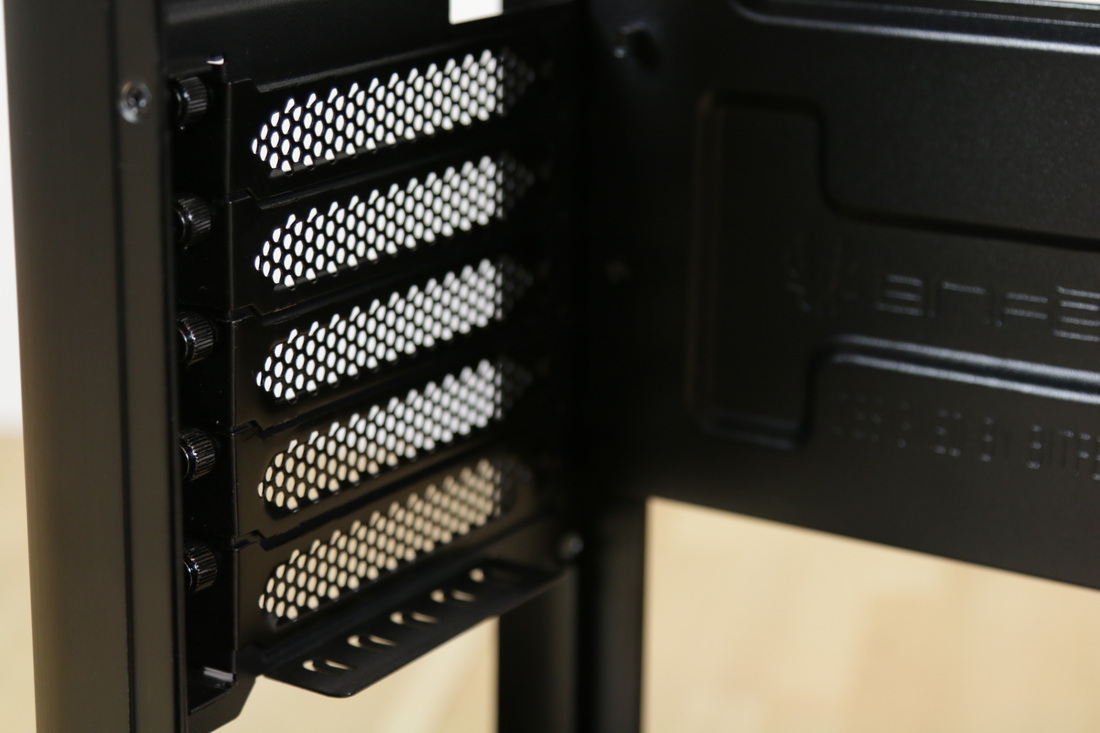
The back of the Pandora I find very interesting. From this angle you can really see how thin tis case is, remember the entire case is 160mm wide! that's less than some cases have just for CPU cooler clearance. As far as features go you get the obvious I/O cut-out, extended 5 expansion slots and a standard ATX power supply mount but you also get this interestingly shaped grill above the the I/O cut-out that is obviously not big enough for any serious cooling, I would have liked to see something like two 40mm fan mounts here because for the size and shape of this cut-out, I think some Noctua NF-A4x14 fans would have looked really cool in a Noctua styled system.
The main feature of this back though that I like is the curved aluminium that goes around the case. It doesn't lengthen the case at all in practical use as your power cable alone will protrude far past it and the extra curves and beauty it offers from pretty much every angle is so worth the slight hassle it adds to getting access to your PCI mounting screws. It does also help quite a bit with picking up and carrying the case but this is definitely an aesthetics only addition to the case at least from the perspective of the designers.
The main feature of this back though that I like is the curved aluminium that goes around the case. It doesn't lengthen the case at all in practical use as your power cable alone will protrude far past it and the extra curves and beauty it offers from pretty much every angle is so worth the slight hassle it adds to getting access to your PCI mounting screws. It does also help quite a bit with picking up and carrying the case but this is definitely an aesthetics only addition to the case at least from the perspective of the designers.
The top of the Pandora really makes the exterior of the case. Up here we still have all the lovely curves we've seen and these are put into every feature they possibly could.
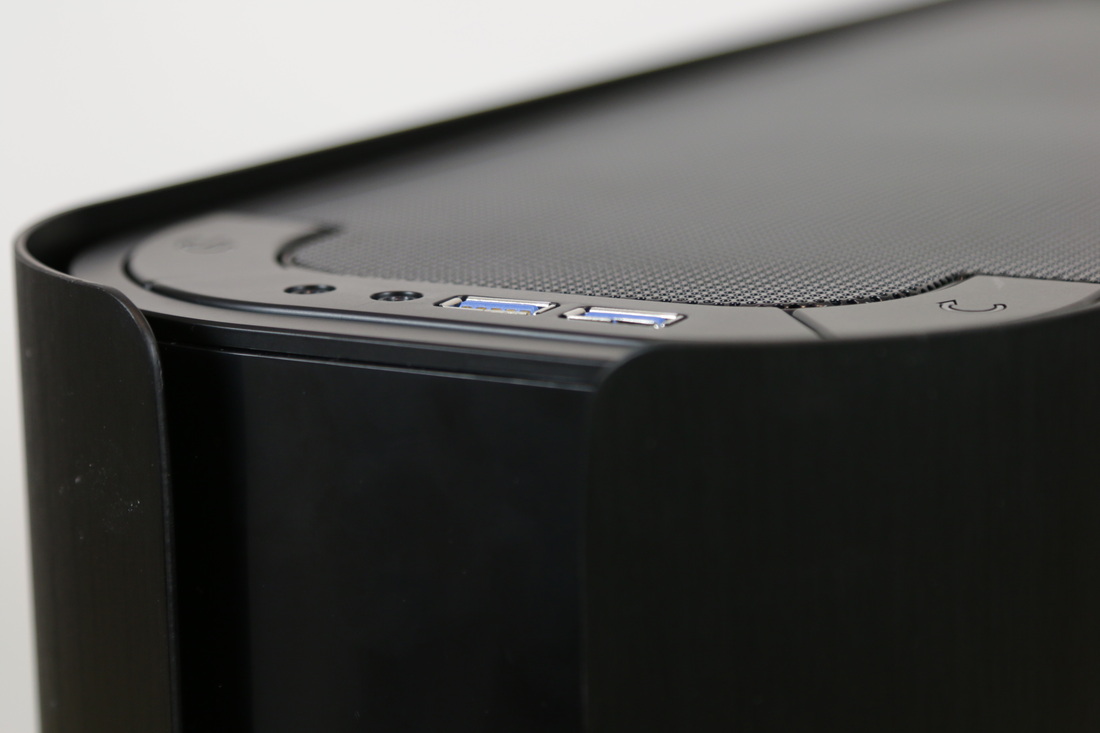
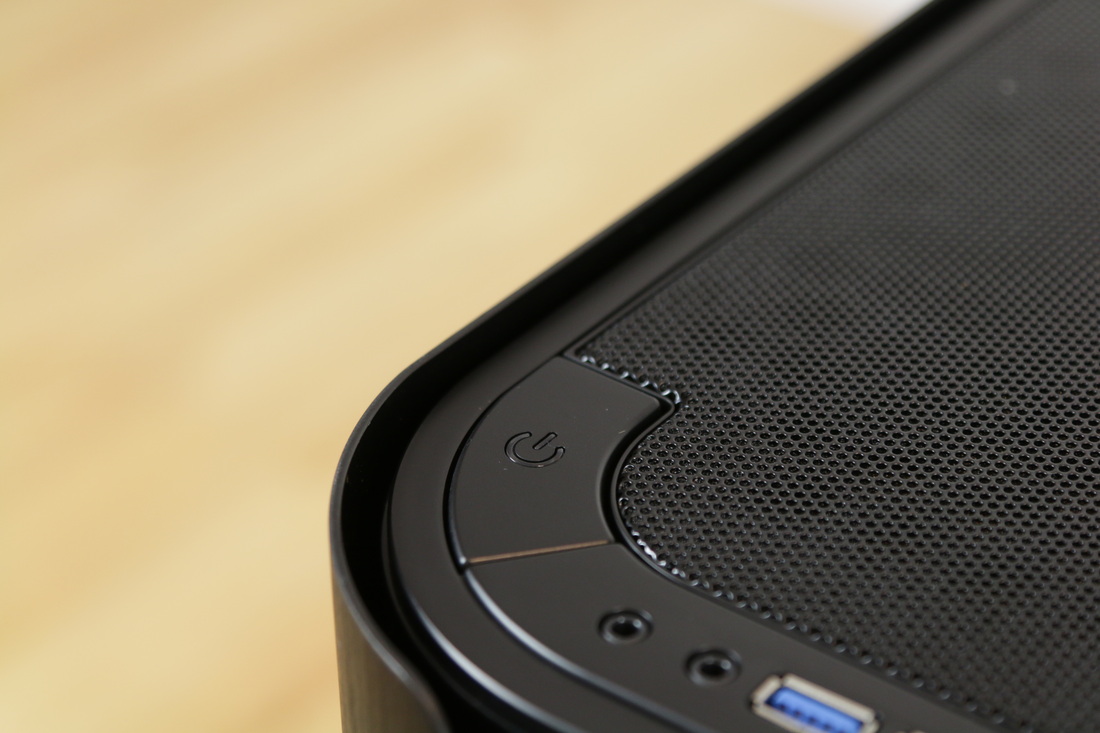
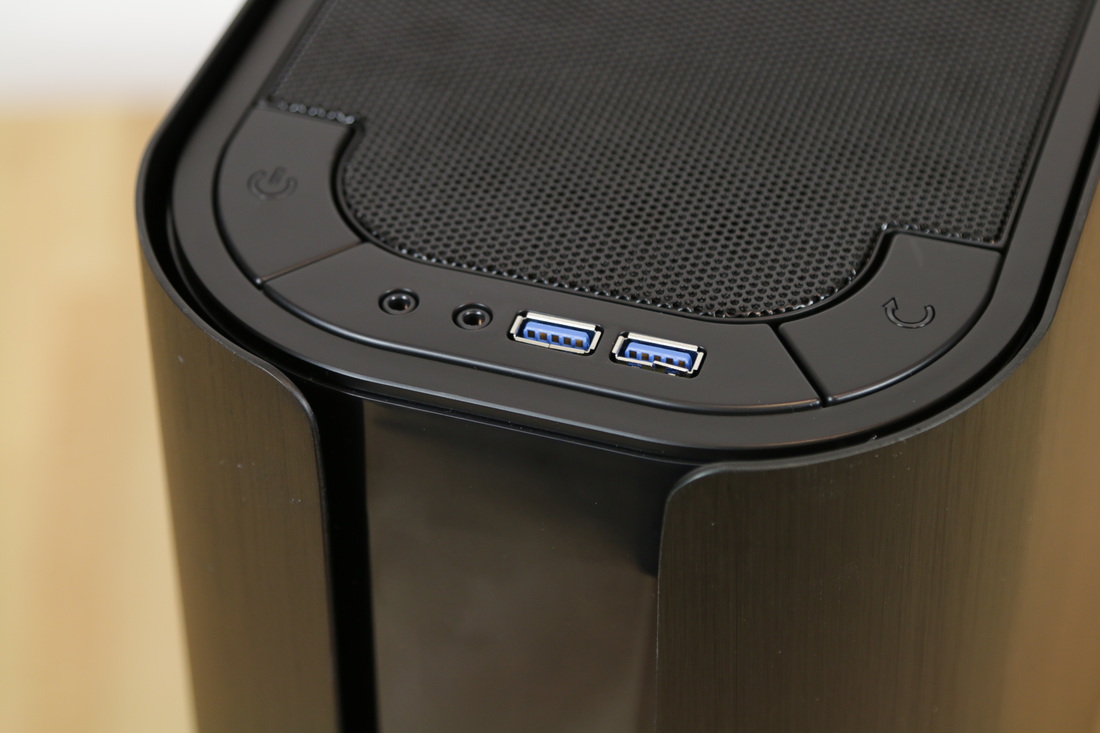
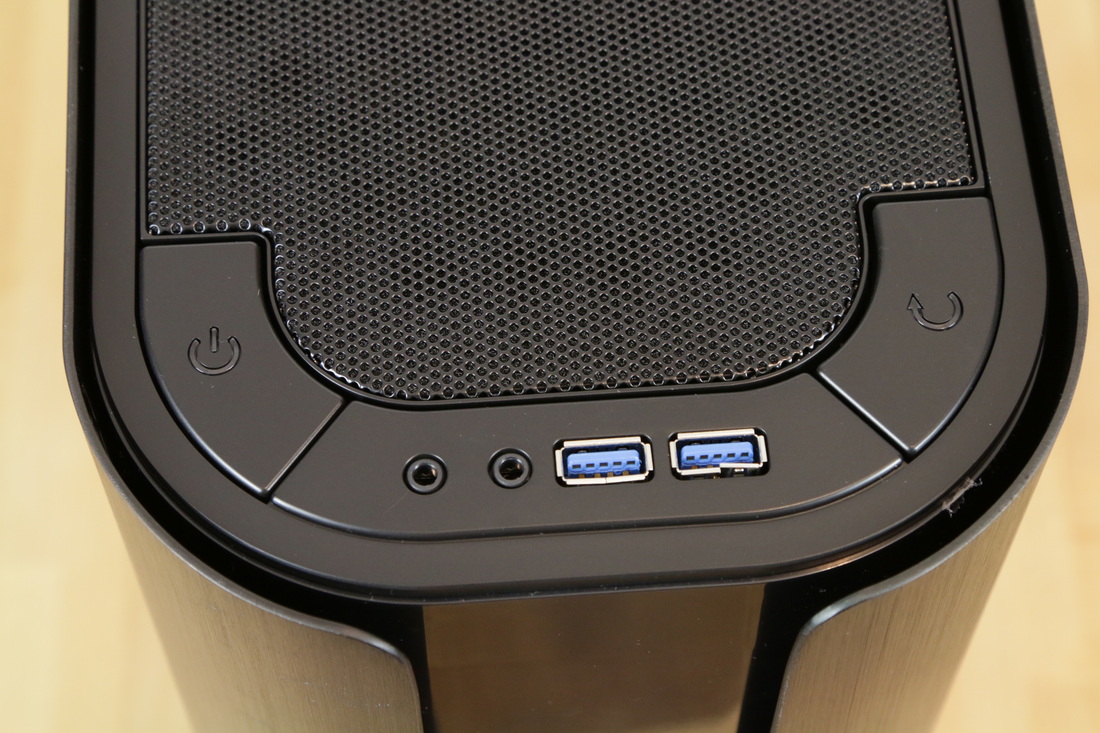
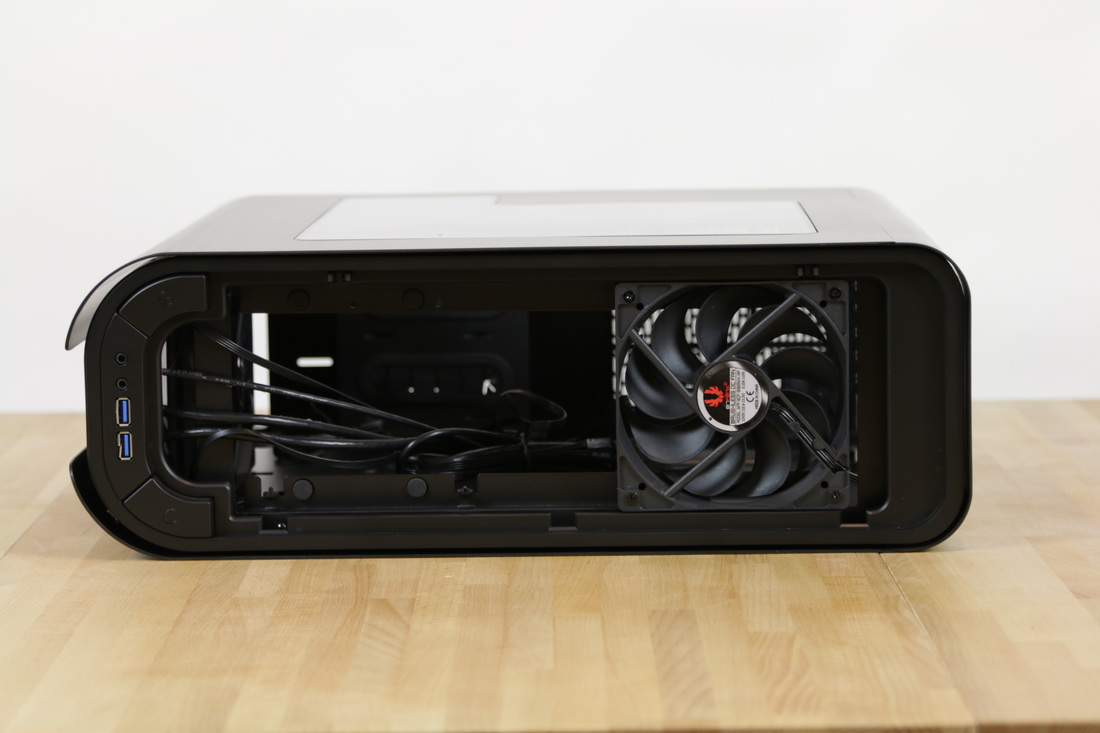
At the front on top we find all of our I/O which includes the power and reset buttons, audio and mic 3.5mm jacks and two USB 3.0 ports. Overall it looks like a very nice package and the layout is definitely pleasing to the eye but I would have much rather had a more practical split between the USB 3.0 ports with them on each side of the 3.5mm jacks. The power and rest buttons however I thoroughly enjoy, with a very distinct difference between them both with the labelling and with them being on opposite sides of the case, it means you can get a perfect full sized reset button with is nothing short of awesome. The buttons do however have a distinct wobble to them but they're not unbearable like we saw on Cooler Master's CM Storm Trooper. In fact it doesn't bother me at all on this case as it doesn't make it any harder to push them down to the point where they click. They have a very nice travel to them as well.
|
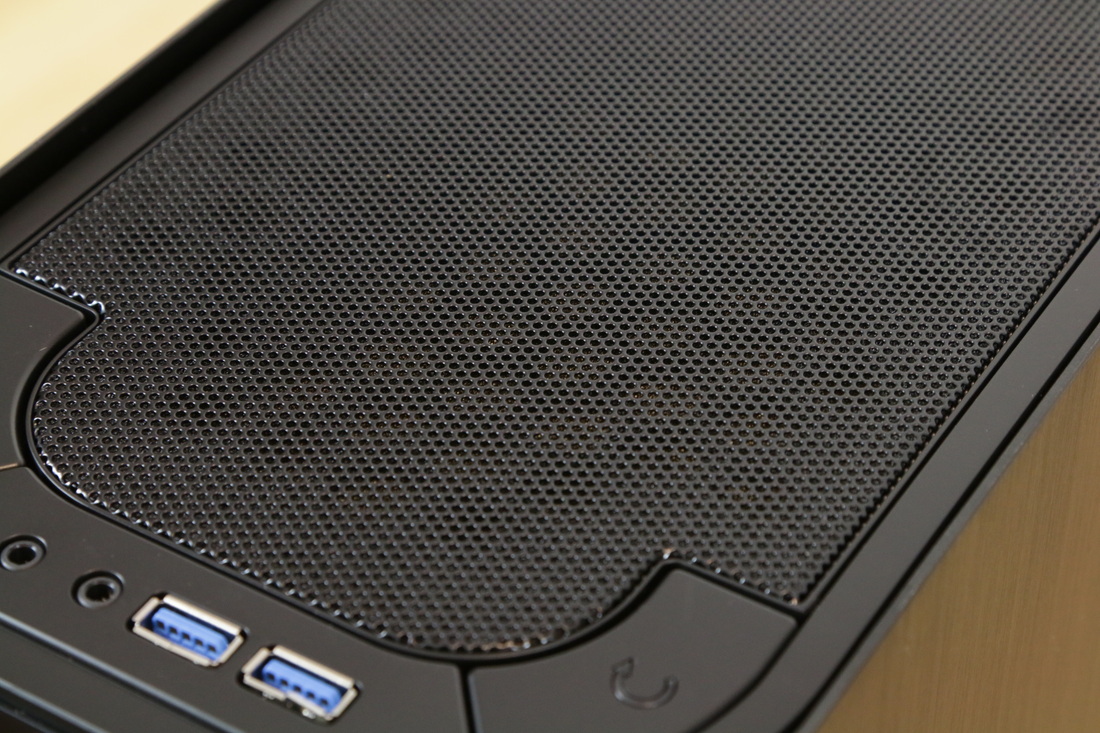
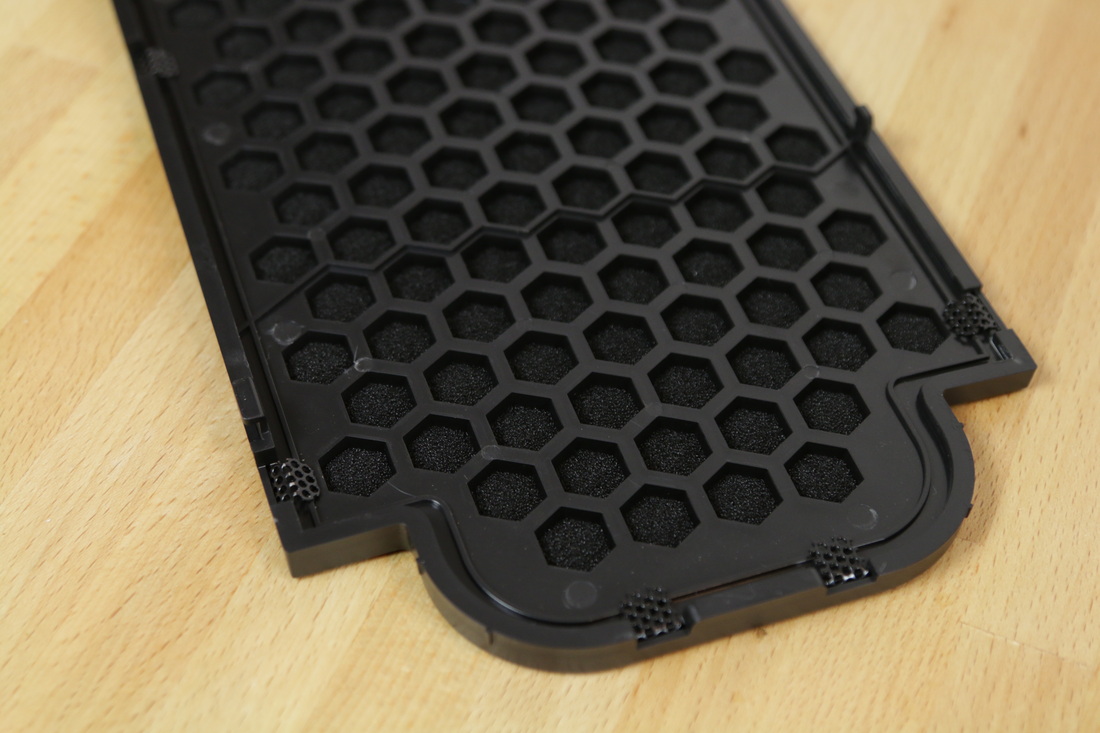
Behind the buttons there is really only one thing to talk about and this is the massive circular meshed grill, of which the front I/O curves itself around. This easily removable mesh panel locks into place via two pressure catches on the left side of the case making it perfect for quickly removing and cleaning during your monthly(?) maintenance. The panel also sits nice and snug thanks to BitFenix's attention to detail, something we also saw very clearly on the Prodigy's top panel. Remiving the top panel and looking underneath shows that instead of going for the popular tight square mesh dust filtering that we commonly see, BitFenix have gone with a denser foam which will be better at filtering both dust AND noise but will also reduce airflow at the same time, a trade-off I can happily accept.
|
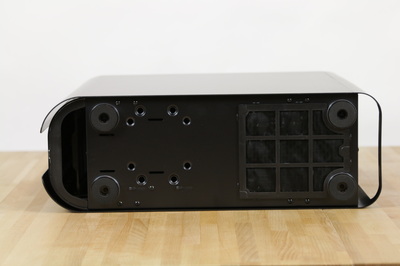
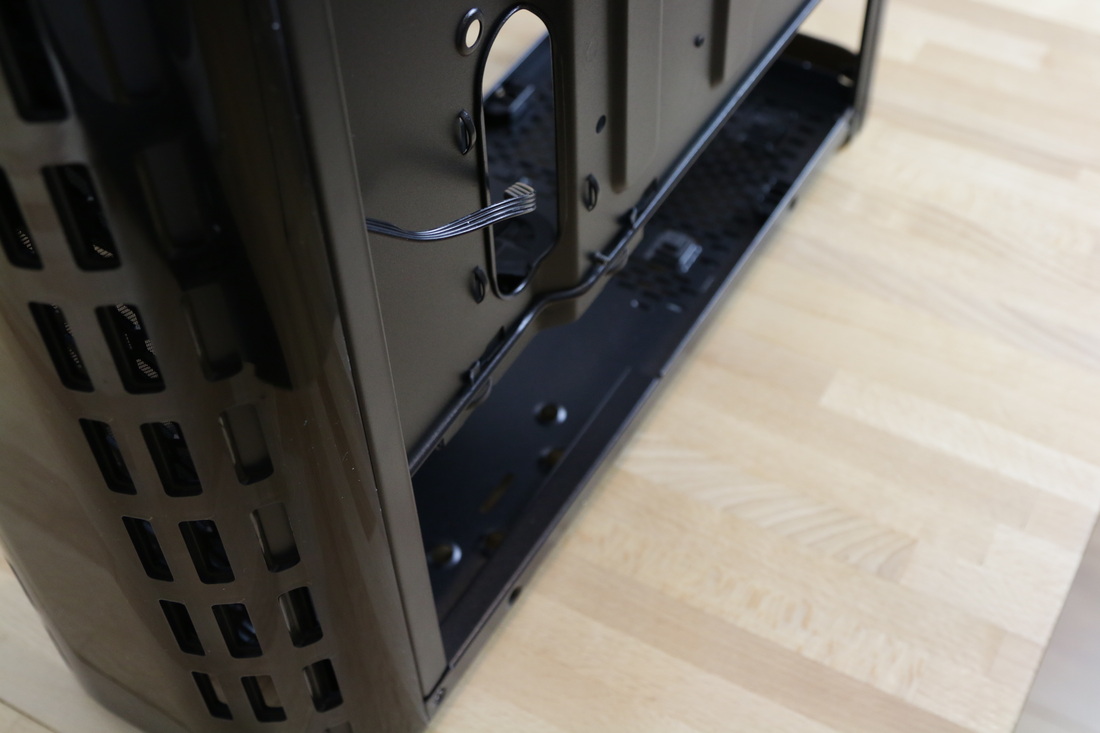
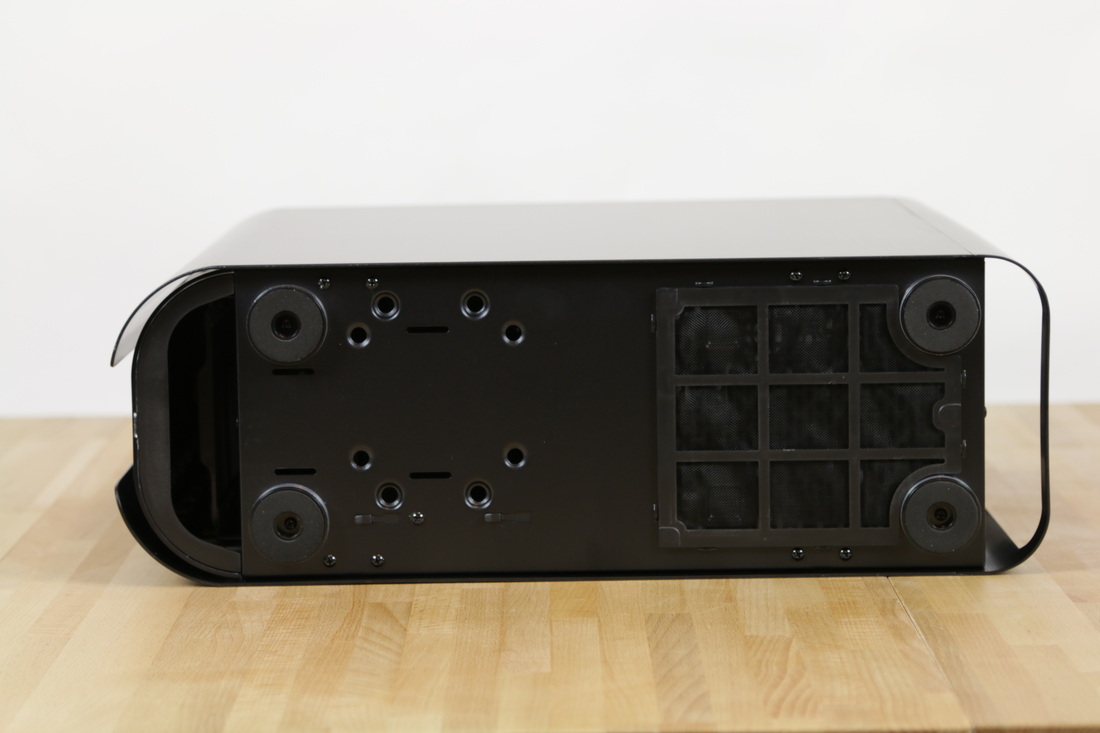
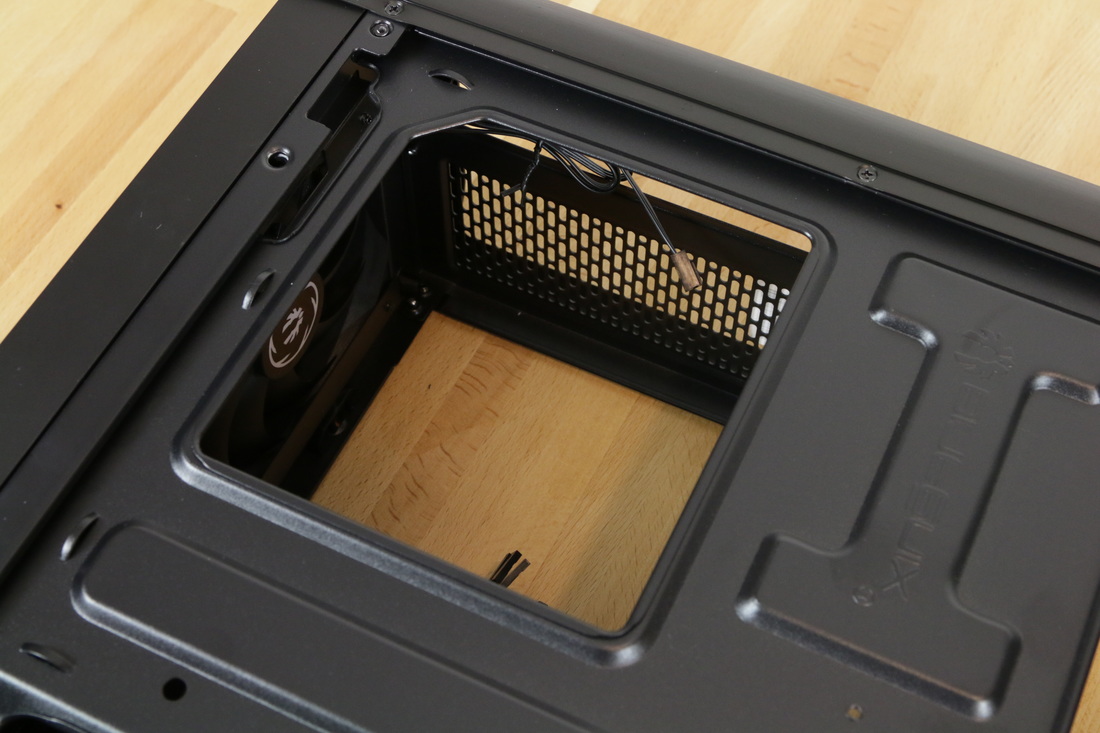
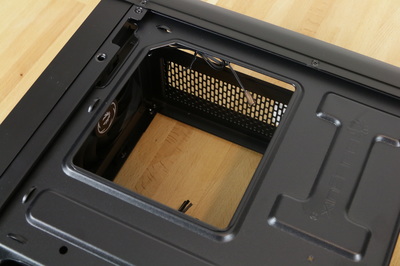
Finally, on the bottom of the case we get some interesting insights into the internals of the case. First off we see a massive intake in the bottom of the front fascia and while this actually makes it look like a ton of space is wasted because of the curved design, this actually sits sort of underneath the fans as opposed to being in front of them because the fan mounts push out from the main chassis for added space. We also get a power supply dust filter, four foam padded plastic feet, and what seems to be both a 2.5" and 3.5" mounting set up in the bottom front of the case.
Interior Design:
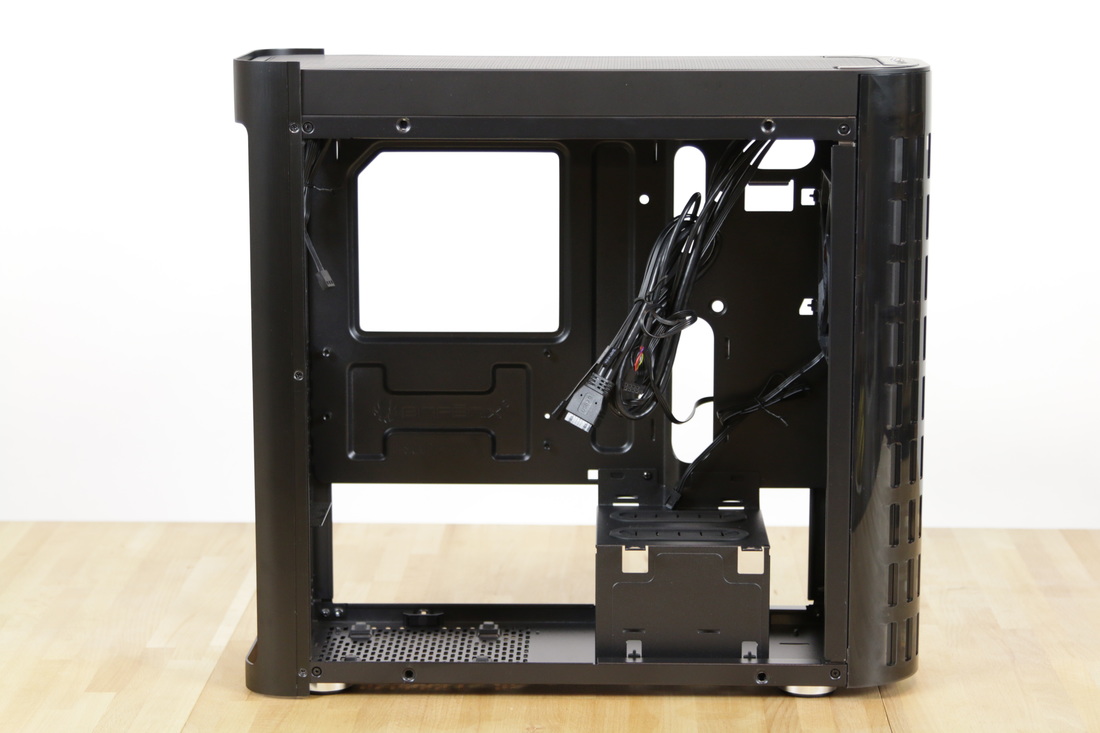
Opening up the case reveals a very simply and open interior with no real focus points. While some cases come with very omplex interiors and so come empty, I prefer a more even approach to the interior and so right of the bat I feel as though there would be some changes I would make to this cases interior.
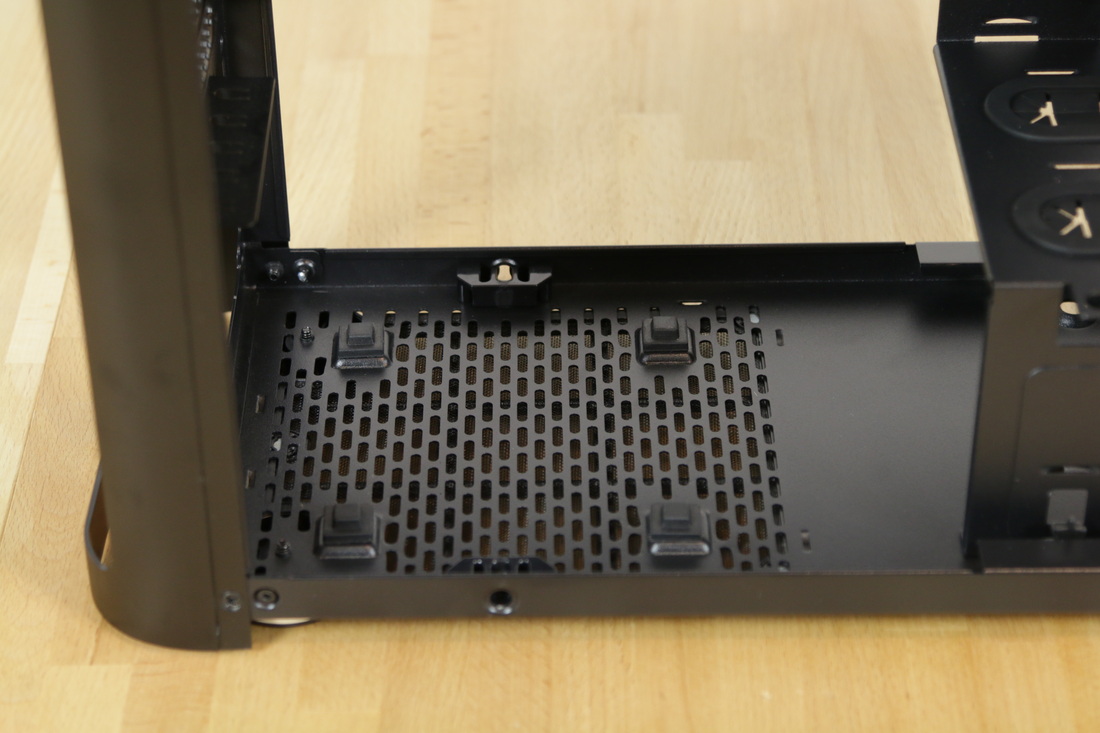
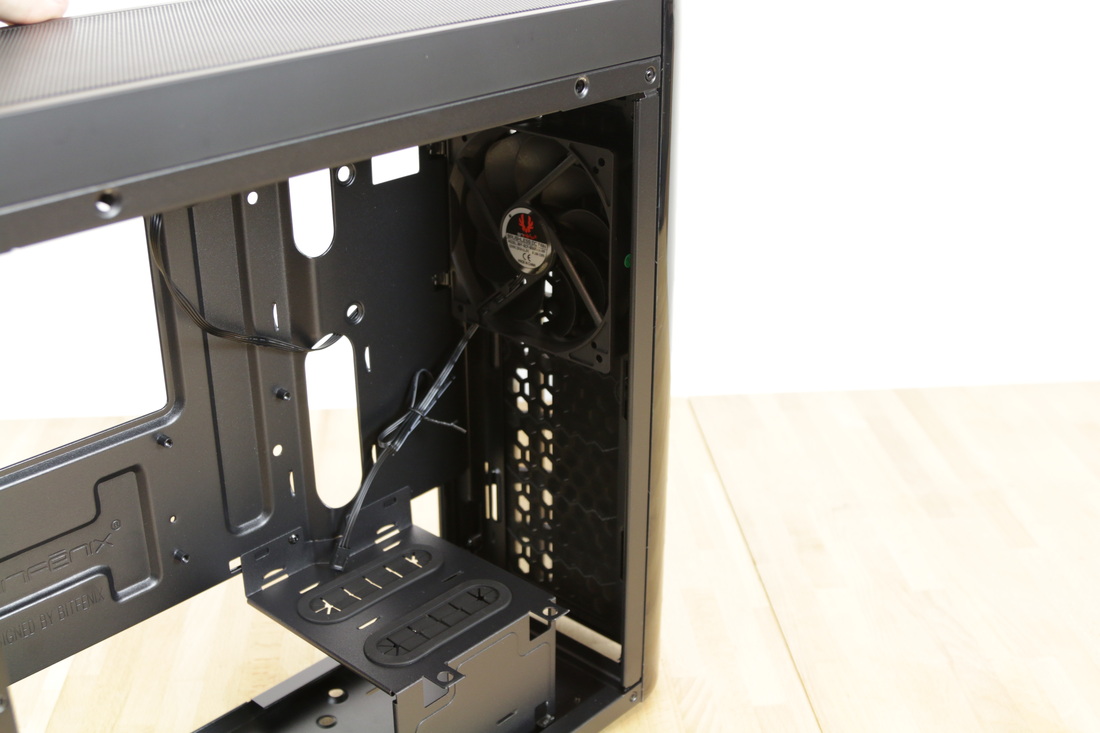
In the bottom left corner of the case we find our power supply mount with four cone shaped rests for the PSU to sit on. Below this is the intake grill and like on the rear I/O, this has the very different looking design. To the right of this is a cage of sorts, designed to hide the cable mess of your power supply and also give you a little bit extra in the meantime. While not a full shroud of sorts, it does covers a good amount of space and the closer you get your chosen power supply length to the .........mm limit while using this shroud, the better (Remember to take into account modular connections). For those who want to use their window fully, the side of this shroud has a 2.5" SSD mount to show off one the more expensive components you would normally have hidden away in a cage if you were to use a different case.
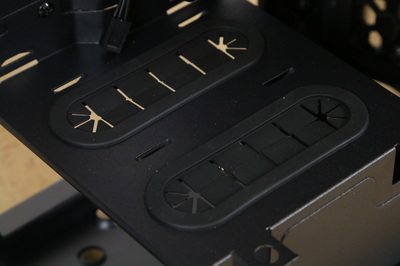
The Shroud features two grommeted holes in the top, big enough for all and any power supply cables to go up and out of though I wouldn't use them if I could as they exit out into pretty much the middle of the case. You can also notice two loops pressed out between them for tying cables onto its underside.
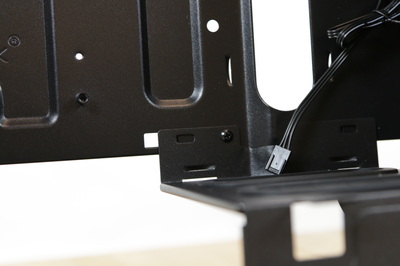
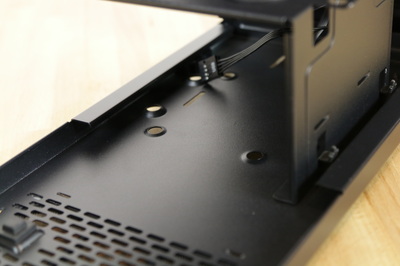
Should you decide you don't want this cage or even just need more access to underneath it, you can remove it with two screws, one on the motherboard tray and the other on the underside of the case. Removing it will however give you easier access to one of your two 3.5" hard drive mounts that is hidden under here. While nowhere near the best mounting set-up for a hard drive, this is still the best of the two so make it count. I would have liked to see a better implementation of this though as there is nothing I want less than for my hard drive and it's more delicate connections being roughed around by all of the systems main power supply cables, this is just asking for trouble.
|
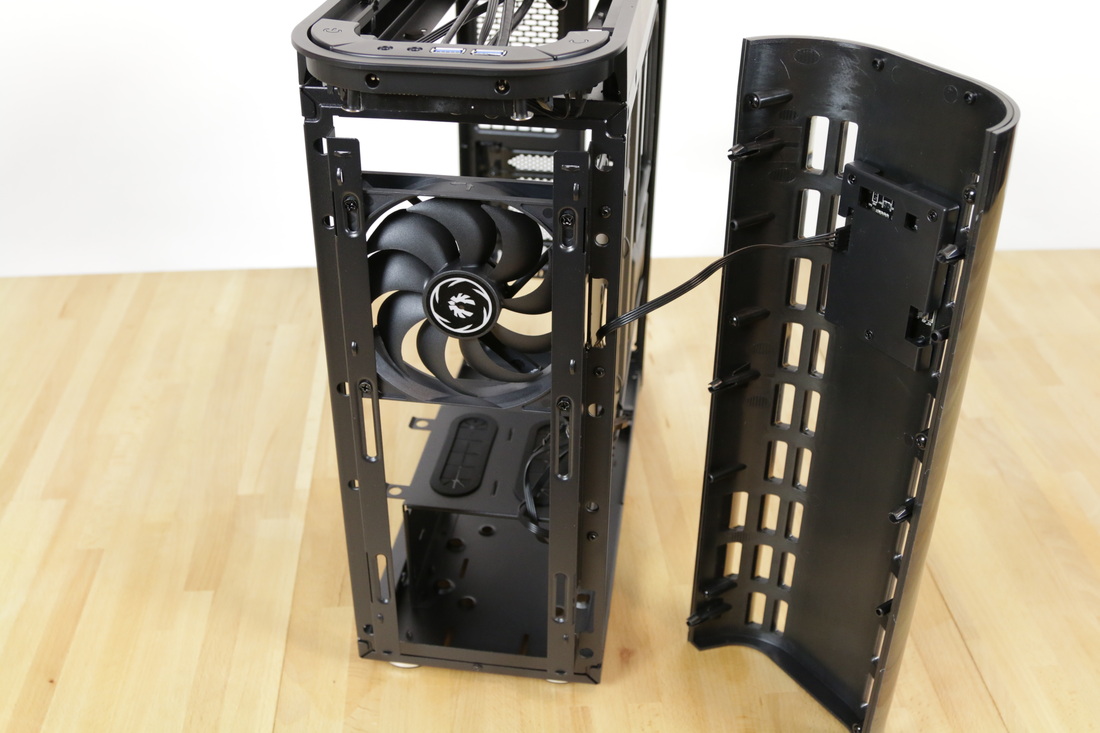
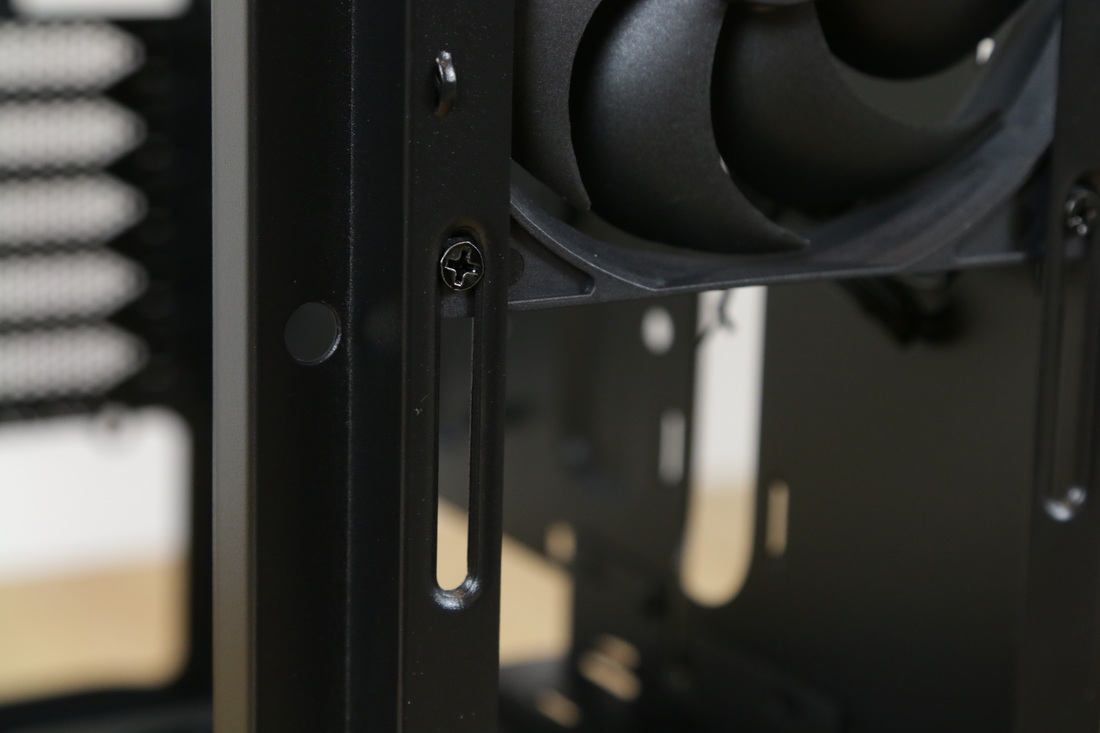
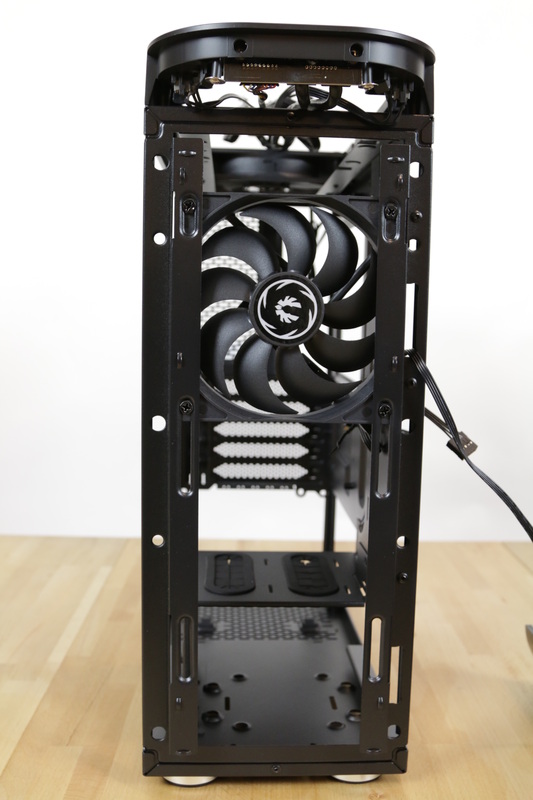
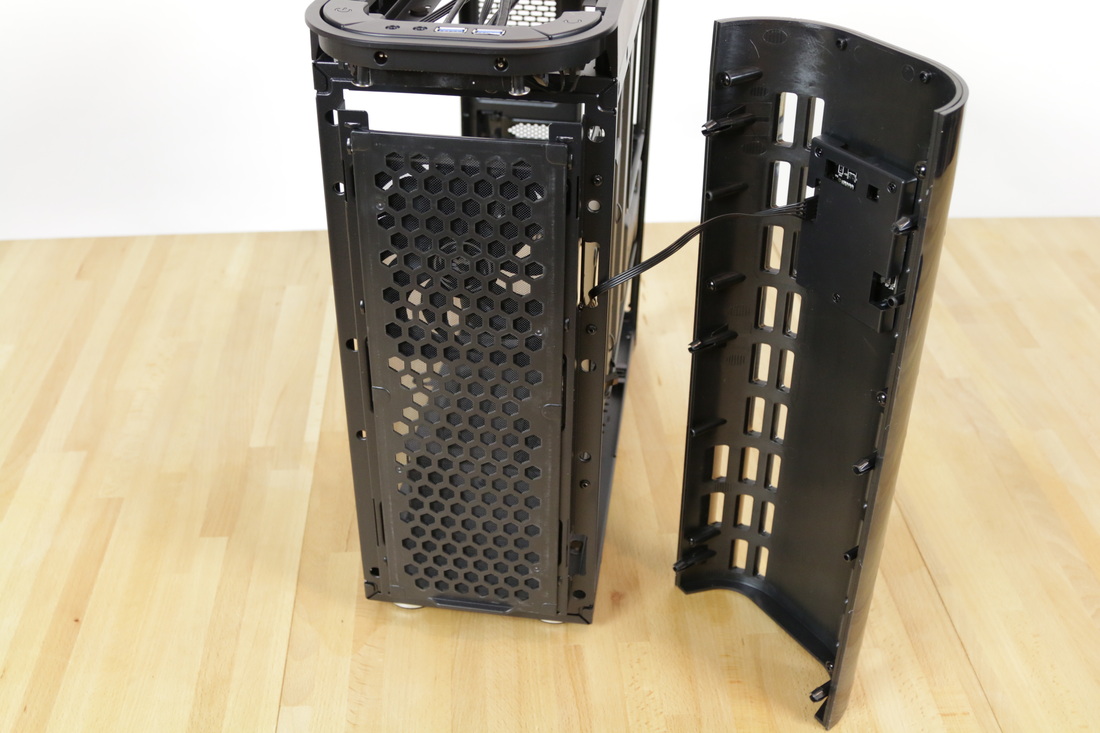
Sitting in the front we find a dual 120mm fan or 240mm radiator mount that sits further out from the case and more into the curved front fascia where it gets very good ventilation as we saw earlier. What makes this great for mounting radiators is the offset mounting sliders that accommodate any radiators regardless of the mounting distance between the fan mounts. This intake is also dust filtered but it is a nightmare to actually get to the filter.
|
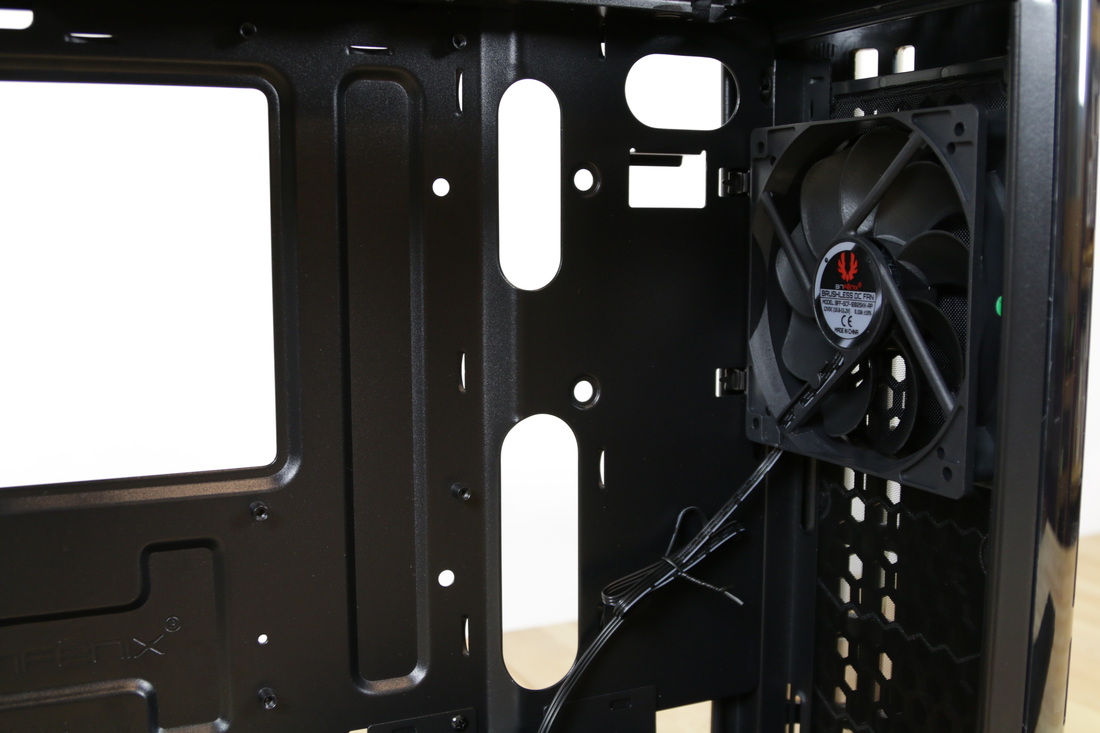
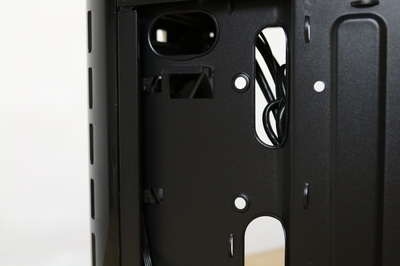
Up in the top corner of the case behind the front included intake fan we get some extra cable management cut outs that will help with the front I/O cables and nicely complement the rest of the cable management holes dotted around the case.
|
As far as cable management holes go you do actually get a nice set-up in the Pandora. Rather than having multiple cut-outs up and down the motherboard tray, this case has only two down the right side but they are both large, long but thin holes that allow for all your cables to get through with ease, while still keeping a lot off the mess hidden. You do also get an 8 pin EPS cut out in the top left.
|
|
Other than cable management, the motherboard tray is pretty well set up for any environment with five expansion slots for if you want to keep a space between you graphics cards, a very large cut out for your CPU cooler bracket with up to a 134mm cpu cooler?. Graphics card support also sits in at up to 350mm but I would recommend trying to stay just a little short of that.
|
|
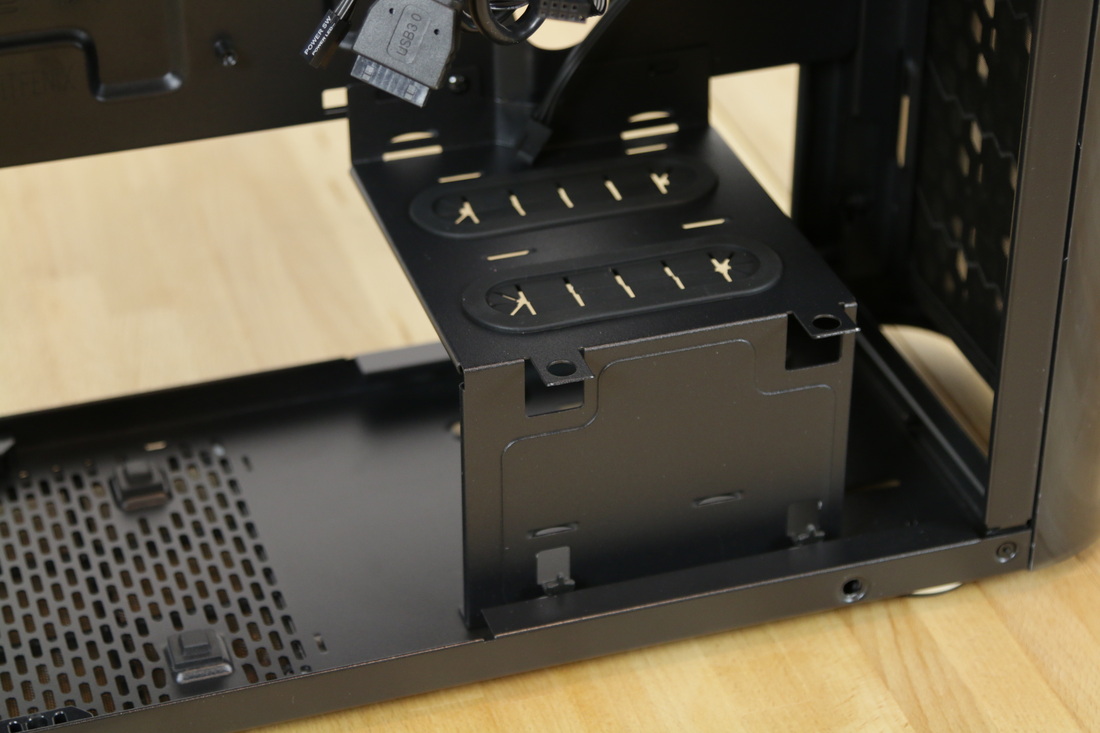
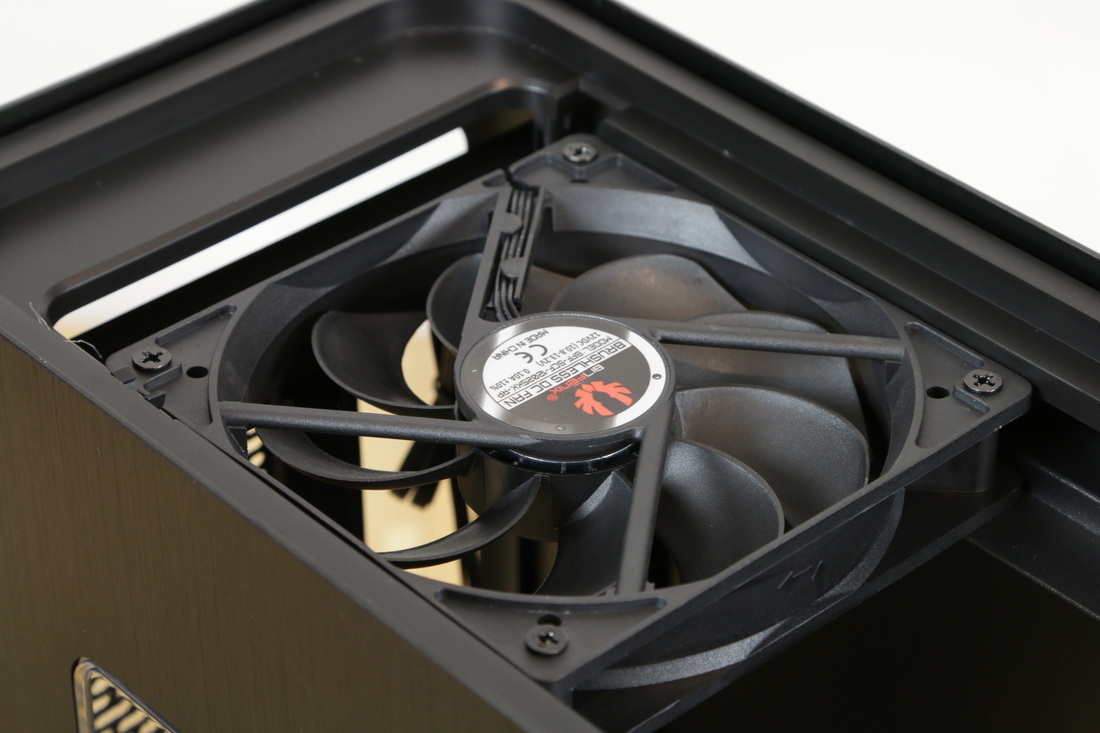
Above the motherboard tray right where the top removable grill is, is an included 120mm Spectre exhaust fan sitting in the rear of the case. As this is the only fan mount in the top and it's cramped, don't expect to be able to put in sort of water cooling here, the only support for that is the front. In front of this exhaust fan is your second 3.5" hard drive mount, an ungodly awful place for a large mechanical hard drive. While your are given anti-vibration pads for you hard drive to sit on, I wouldn't even consider using this mount as you are guaranteed to ruin the look of your system by doing so, if not by the drive itself, by the cables that then fall into the case from it. I would definitely recommend looking into a single high density hard drive and/or storing your media elsewhere.
|
|
Get Creative: A few simple mods could allow for a second fan up here, improving the cooling a lot
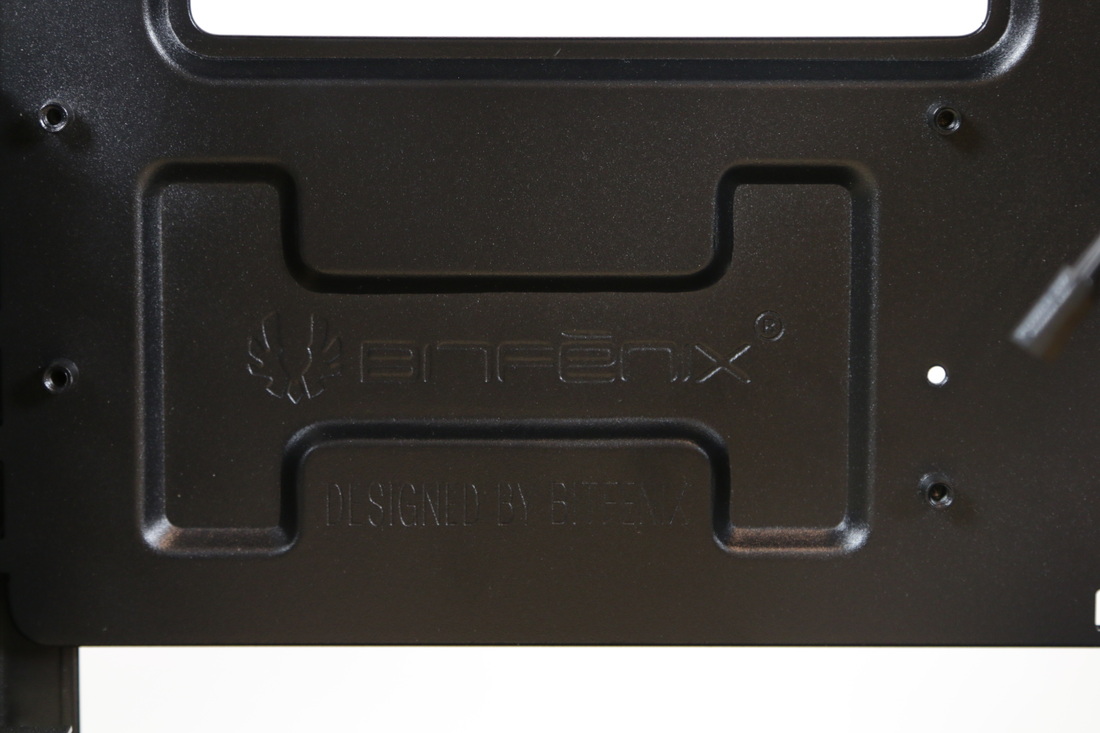
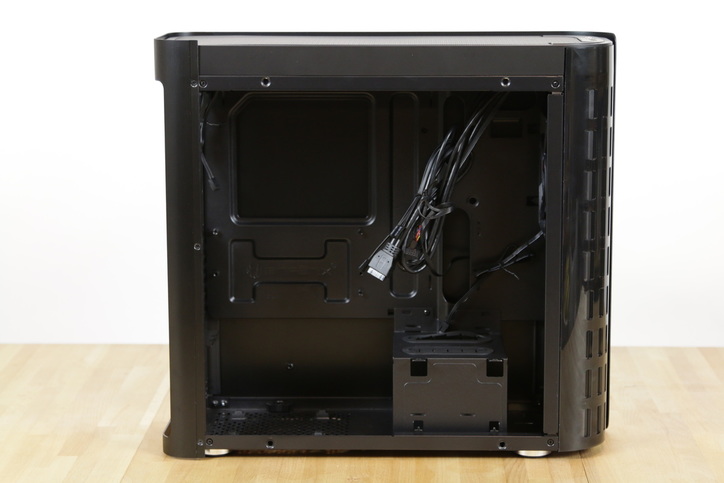
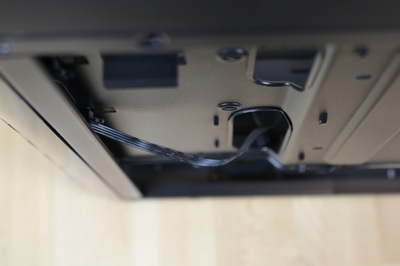
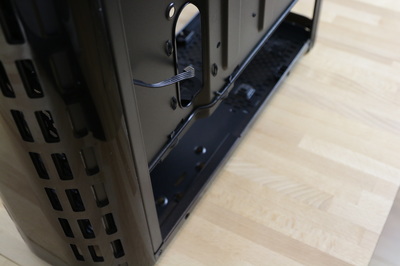
Pulling the right side panel off and exposing the back side of the motherboard tray reveals of the the biggest compromises made within the Pandora. At 160mm thick, the case needed to lose space where it could, and the able management space behind the motherboard tray is the largest non-essential use of space in a case so this was clearly one of the first things to go. Now don't get me wrong, I love cable management space, that is my thing, but in a case so thin what was I really expecting? And to be quite honest you can actually make this work if you're willing to put in a decent amount of work, but by decent I mean hours. You also get a really good sized cooler cut-out as we've discussed and also another of your 3 2.5" mounts.
|
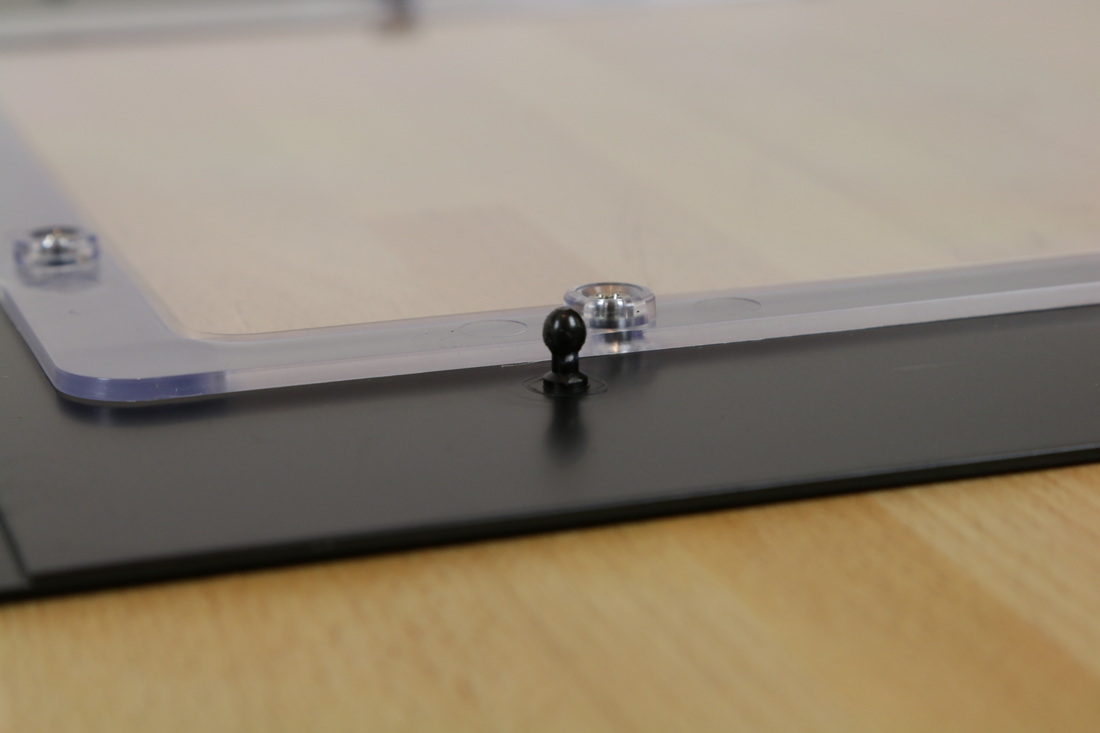
Another issue that will hinder your cable management is the side panels. To achieve the smooth transition between the side panels and the rear of the case, BitFenix has had to change the mounting mechanism for the side panels from your normal screws to this type. The downside to this is that it doesnt take much pressure against the side of the case for the panel to pop off, perfect for the left side
|
panel with the window but an absolute nightmare for the back panel. For me this is a problem even if it's a system with a lot of cable management space IF I don't intend to spend a lot of time on the back side of the case. Most of your large cables will definitely be staying in the front of the case with the back part here being reserved for the smaller cables like data.
Photo Gallery:
Here is all the product shots taken for the review, plus some that haven't been used. Have a look through to get a good feel for the product!
Conclusion:
With such a big difference between the standard and core series Pandora, it really is two very different stories being written with this case. On one hand you have an interestingly styled case that is very unique in it's own way being that it's so slim; falling in very nicely into place in the market with it's competitive price. On the other you have an completely new feature (BitFenix ICON) being added to an already good case to create an entirely distinct and even more unique product that sets itself apart from every other case, but is more expensive than most it's comparable competition with it's most distinct feature being the only upgrade you get therefore placing it in territory it may not be able to hold it's own in. While we reviewed the standard Pandora, I will try my best to summarise my thoughts in a way that differentiates the benefits of each model fully.
As far as exterior designs go, the Pandora doesn't have much competition. While every case company out there is trying to achieve success with their blocky square cases that I do openly admit, I will always love, the Pandora focuses purely on curves and elegance. It's unintimidating looks has a very specific appeal that I can see many people liking and the way the side panels curve around the front and the thin profile, makes this case a pleasure to look at and spend time around.
The inside was never going to be as good as the outside but we knew that from the get go, no company can alter the laws of physics and they did very well with what they had. My main gripes with the interior are definitely in the area's of storage and cable management (as with every case ever). The cable management or lack thereof (due to size and side panel mounts) forces this case to need more work doing to it, to make it work how you want it to, but with a bearing likeness to the rotary engines of various Mazda coupe's, once you've put the initial groundwork in, you'll never have as much satisfaction with a 'normal' width case again. Storage is the worst thing to see go because of the cases form factor and I definitely think if they had pulled back a bit on style and maybe developed some sort of 'drop in' vertical mount for 3.5" drives, they could have easily fit in more drive bays while not impeding GPU length all that much. Every other part of the case from the easily removable dust filters to the 2.5" window display complement the case nicely, reminding you why you chose this specific case.
All in all I could argue every decision made in the design of this case but then also come up with my own counter-argument to it. This small case never wanted to hide in the crowd and that's what makes it so special. The ICON display has it's issues and BitFenix knows it's a marmite feature which is why in typical BitFenix fashion, you get more buying options that is probably necessary but it's why I like the case so much, there's an option here for everyone, the only question is, can you handle the entrance fee(Cable management work).
|
Performance:
Build Quality: Features & Compatibility: Aesthetics & Packaging: Value For Money: |
23/30
12/15 25/30 14/15 8/10 |
Rating:
82/100 |
Awards:
Search pricing for this product:
If you wish to buy the product, don't forget to use this affiliate link to help support us as we get a nice little kick-back from it!
